


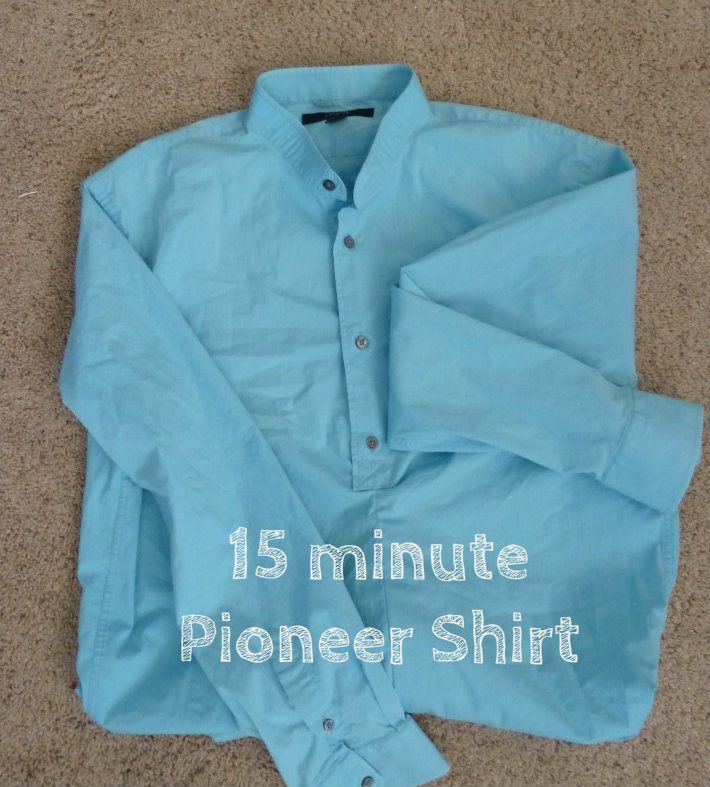
Today I want to show you how to make a simple pioneer shirt. For more information on why I am making a Trek shirt and dressing like a pioneer, click here!
I originally found a tutorial for this in some random place online, but it wasn't a website so I couldn't pin it. I redid this tutorial, tweaked it and made it my own, but the link to the original is here.
To start, you need a button down shirt in 1 size larger than you normally wear. I bought mine at the Goodwill for $2. Plaids, stripes and solids are all good choices.
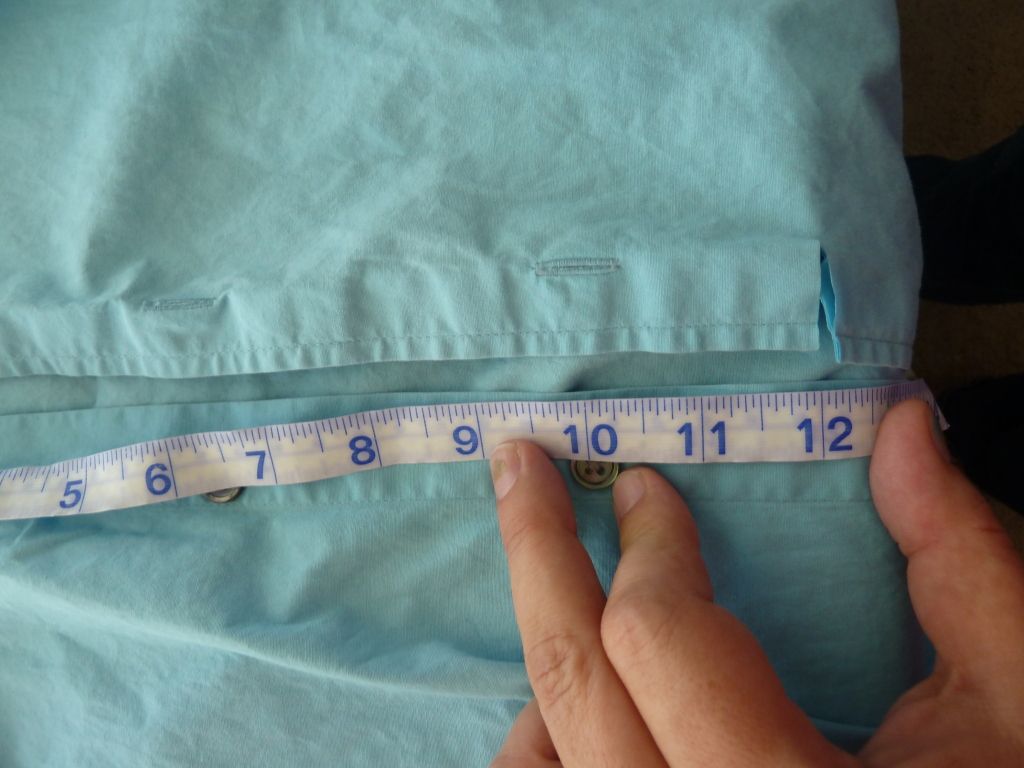
Step 1: Measure down 12 inches from the collar and cut through placket. (The placket is the part of the shirt with button holes.)
Step 2: Turn shirt inside out. Place buttons and placket right sides together, and pin.
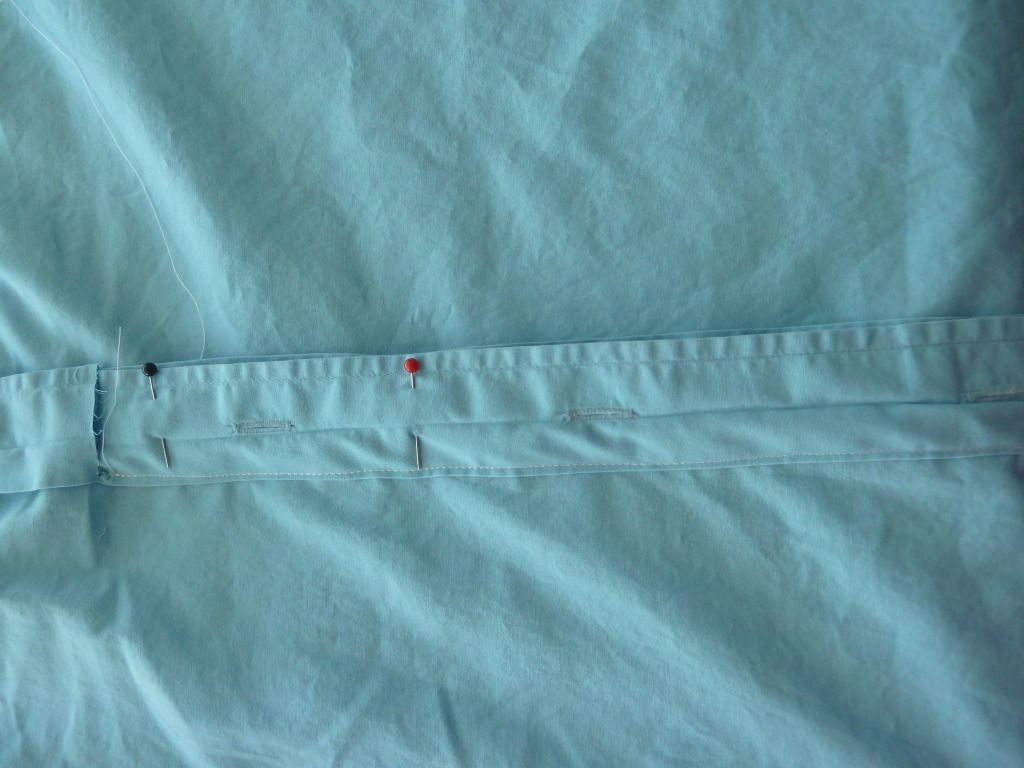
Step 3: Stitch together at edge of placket from bottom of shirt to the cut.
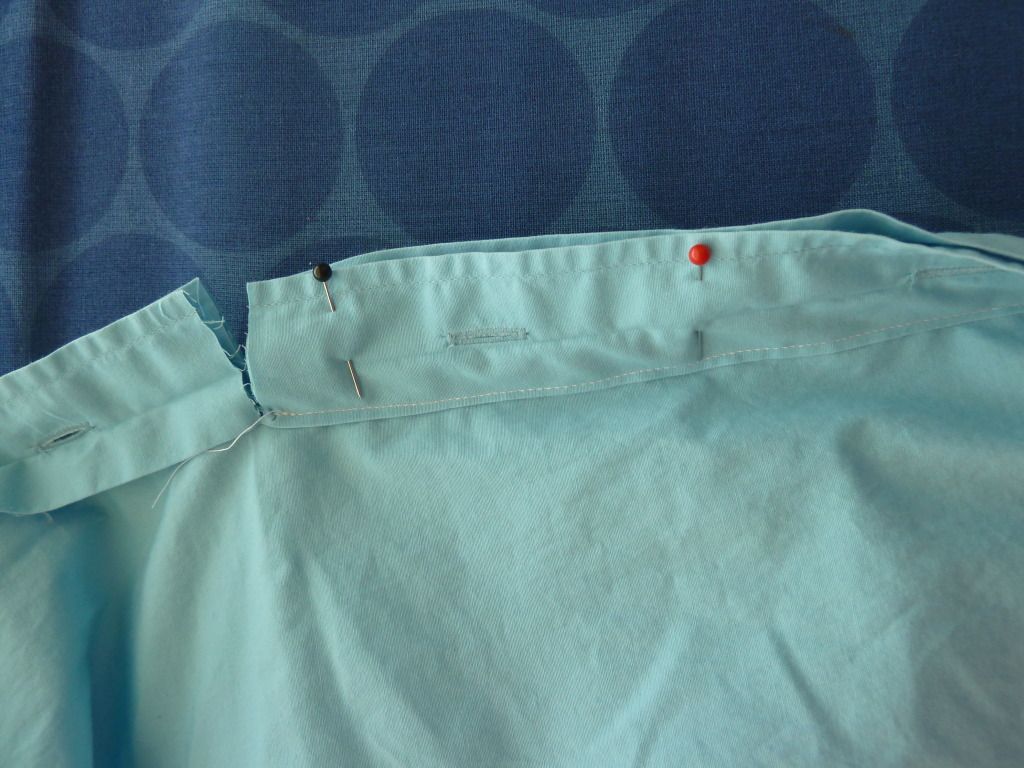
Step 4: Press seam.

Step 5: Turn shirt right side out again. Button up the shirt. Tuck cut edge of the placket under and pin in place at the seam.

Step 6: Sew a square and and "x" for reinforcement.

Step 7: Cut off the collar just above the band. Since it is stitched right there, it won't fray.
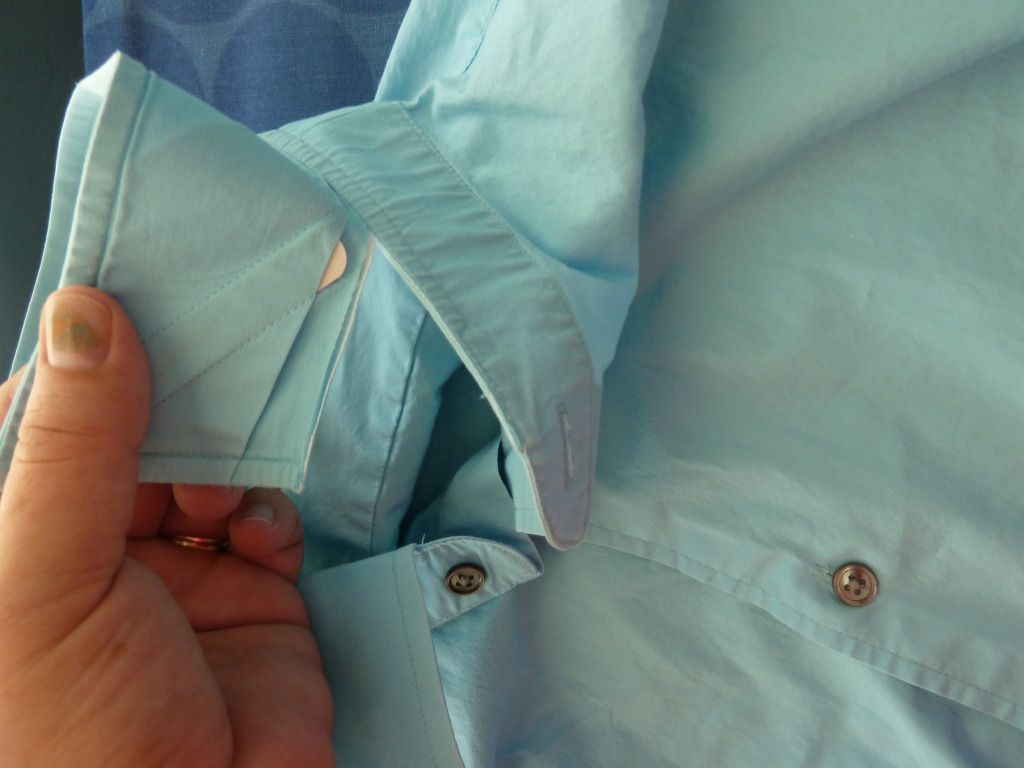
That's it! Your Pioneer Trek shirt is now complete!
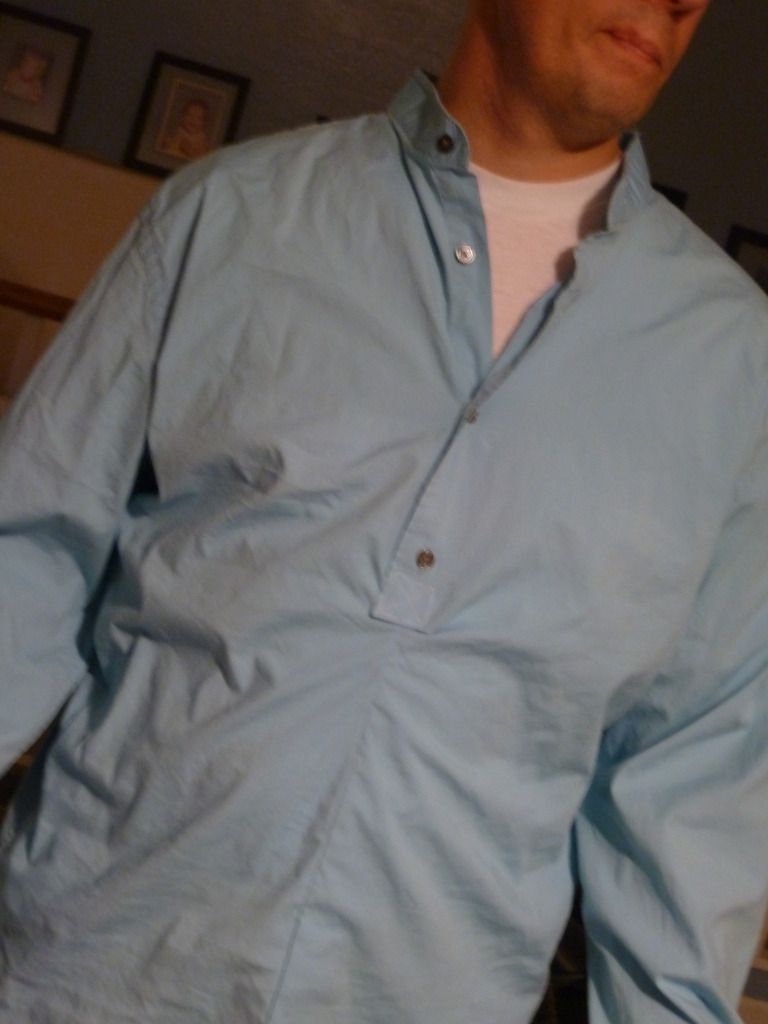
And as a side note, this shirt is actually for me. But my husband was a good sport and modeled it for me. lol! And it IS turquoise, not light blue as it appears here. I figure if I have to be dirty, sleep with no pillow and not wear makeup, at least I can wear some fun colors, right?


