


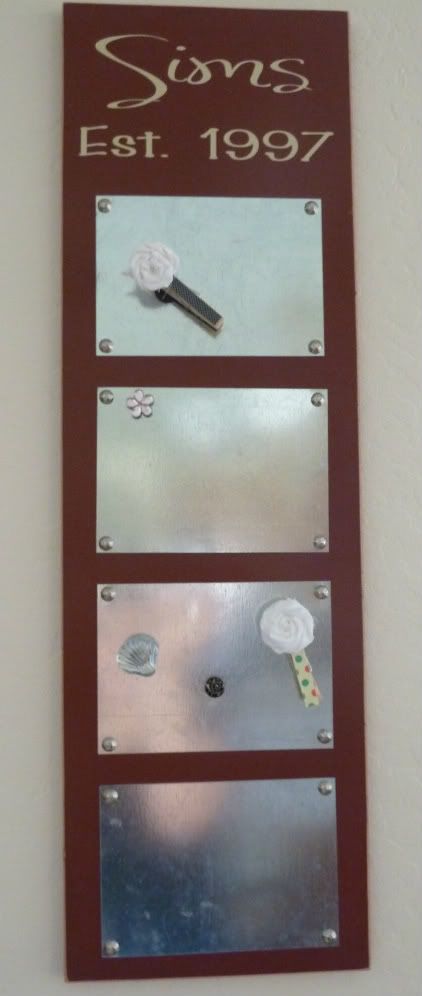
We also made these awesome picture frames:
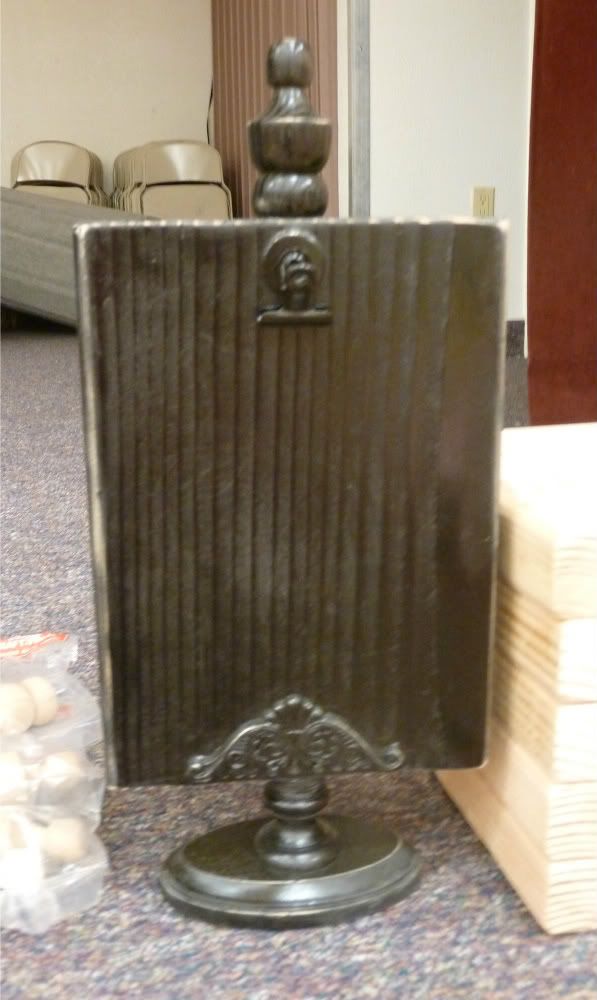
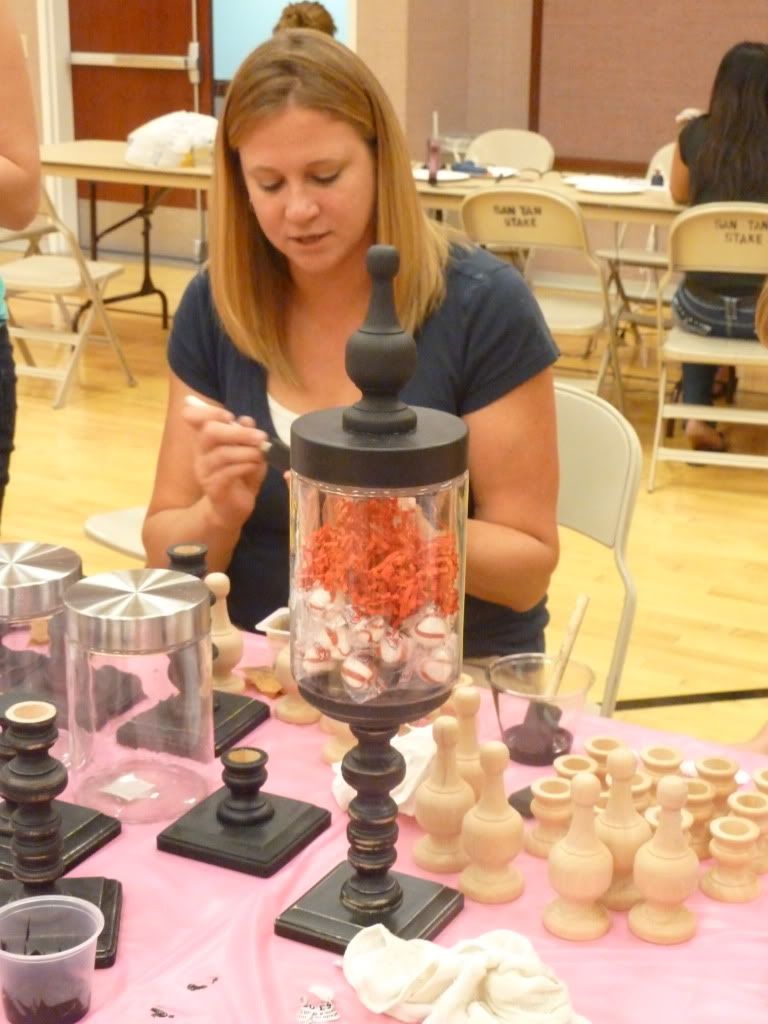
And some really cute apothecary jars:
Oh, and how can I forget the magnets?!?
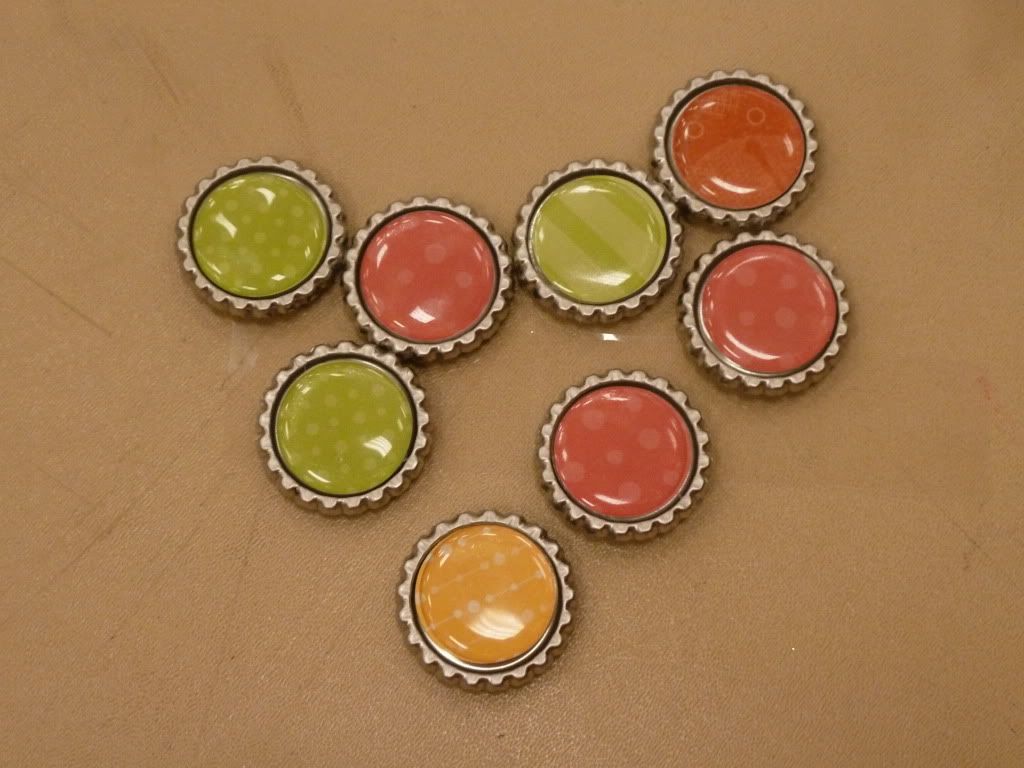
These are going to look super great on the turquoise magnet board my mom and I made for my niece.
I have to give you the low down on finding supplies for this project. Lowes is my usual "go to" store, but not this time. Oh no. Home Depot was the only place for this magnet board. Lowes originally had some metal flashing sheets in their roofing dept. for about $1 that I was going to clip in half with some tin snips. I was NOT looking forward to this because I knew it would leave them a little jagged and that always makes me nervous with kids around. When I went to buy them, however, they informed me that they stopped selling them. So my only option was aluminum flashing. Well hello!!!!! Aluminum is not magnetic so no!! I already checked out Home Depot and they said they didn't have any either.
I was so disappointed. I had already collected the money from all the ladies and didn't know what to do. I searched and searched the internet with no luck (in my price range.)
I went back to Home Depot on a whim and did NOT ask for help this time. I just went straight to the roofing dept. and guess what!!! They sell the sheet metal for 64 cents a piece! Yeah! I was so excited. They had piles of them.
Magnet Board Tutorial
total cost: less than $10/per board
Items needed:
10" x 2 1/2' board. These come in 10" sections and they cut them for free. (They are about $16 a piece, equaling $4 each)
4 pieces of sheet metal from HOME DEPOT 5"x7" (64 cents each)
16 decorative nails (about $1.50 for 24)
Vinyl lettering
paint
sand paper
Step one: Paint the board. Front and sides.

Step 2: Sand the edges.

Step 3: Drill or punch holes in all four corners of the metal.
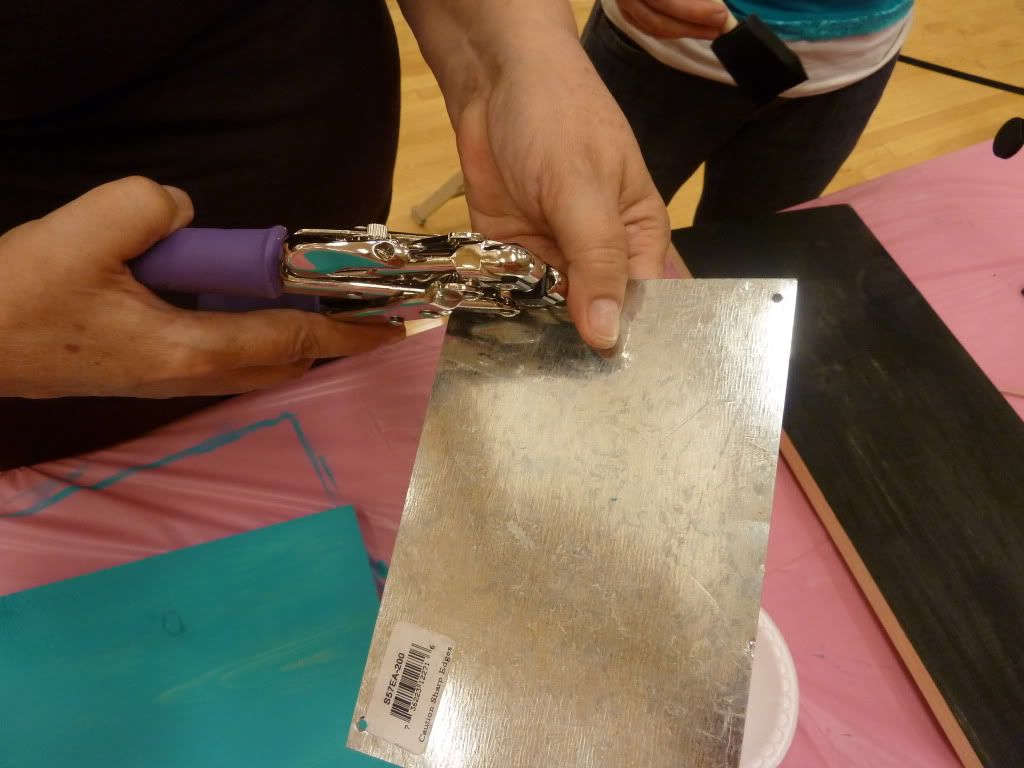
Now my friend Jen has this really cool tool called the "crop o dile" or something like that. It was awesome. It punched right through the metal. I have GOT to get me one of those. Otherwise, just drill little holes in the corners.
Step 4: Nail the corners on the wood. Just use a regular hammer and pound them in.
Step 5: Add your lettering to the top. I used Ma Sexy font. It was just a free one I found on the web and cut out using my Silhouette.
They turned out super cute and not bad for an under $10 project!
8 comments:
This is really cute!! Definetly awesome for under ten bucks!!
Oh, I'm your newest follower!
Thanks Chrissy! Your comments make my day! :)
Thanks for posting this. My friend saw the one I made and she wants one...guess what she's getting for Christmas?? :D. Thanks so much for putting the measurements for the wood on. Looks like I'll be making 4 more!
LOVE this! Fun stuff happening here on your blog! Love it! I am your newest follower! Come check out my blog when you get a chance! :)
hi! i am new to your blog and will be trying the magnet board. i was wondering if you have instructions on the magnets and photo frame that are in the same post as the magnet boards? - they look fantastic too! craigandjody@tds.net
supreme
kyrie shoes
balenciaga
supreme
pandora charms
adidas yeezy
golden goose
off white
yeezy boost 350 v2
off white outlet
j0l56t6g15 i6l08a4m61 j6q14x7v24 d9c04k7f14 v8i16t3z19 x0o13z5v03
Post a Comment