Photobucket Photobucket Photobucket Photobucket Photobucket Photobucket Photobucket

Tuesday, January 31, 2012

Family Photo Valentines

One of our darling grandmas likes to give my kids cookie cutters at Valentines Day.  We have a LOT of heart shaped cookie cutters!  This year, we decided to make some decorations out of them, also using some of our left over Christmas cards.


Materials needed:
Cookie Cutters
Photos
scrapbook paper
elmers glue
glue stick
scissors
pencil
ribbon
beads

First, trace around the cookie cutter onto scrapbook paper and cut out heart.
Next, using glue stick, glue pictures to the hearts.
I tried to make this easy to see....
Knot the ribbon around the top of the cookie cutter.  Thread the ribbon through the bead, to keep the knot in place.  If you have a bead with a smaller hole, you may have to use a needle to get the ribbon through.  This was the hardest part of the project, and the part I had to do, instead of the kids.  bleh.
Knot the top of the ribbon together.

Dot elmers glue around the cookie cutter and place the heart on the glue.

Look at these cute girls working so hard!

Let them dry and you are all done!
Hang them on hooks, or from a frame.
And do you like these pictures!  They were taken by the talented Katie at Sweet Rose!


Linked today at Lil Luna, Sassy Sites, Sugar Bee, Chef in Training, Mommy by day crafter by night, Not just a housewife, Funky polka dot giraffe, Hope Studios, Shwin and Shwin, DIY by design, Ginger Snap, Blue Cricket Decor Chick It's overflowing Somewhat Simple, Lolly Jane


Monday, January 30, 2012

Some new friends over at Lil Luna

I have some exciting news to share....  I am going to be a contributor over at Lil luna!  I'm sure you all know and love Kristyn already, but if you don't head over to her blog.  She has so many amazing ideas!  I will be contributing Kids Crafts and Kids Cooking ideas every so often, so keep on the lookout for me!

There are some other amazing women who will be contributing over at Lil luna and I wanted to introduce them to you.  If you get a chance stop by their blogs and show them some love!


The Bearfoot Baker


Photobucket


Blog


and Boxwood Clippings

Friday, January 27, 2012

Pinterest Gem: Sugar/Flour/Egg/Butter Free Cookies

I decided to have a post every-so-often on something I found, made and loved via Pinterest.  What's the point in such a lovely tool if I'm not going to make some of those goodies?  Some of you may know I am doing a 90-day sugar free challenge.  It is going awesome and I am already on Day 26!  My kids have some withdrawals, however.  No cookies again, ever?  (And just to clarify, they are not on a sugar-free diet.  I do not have cookies in the house, though.  Too tempting for me.)  When I found this recipe on Pinterest I tried it and...loved it!  Ainsley loved!  Alexa loved it!  Brandon, not so much.  ;)


image via pinterest

These were originally called Banana Pecan Granola Bars, but they have been evolving into cookies.  I made them both ways and prefer them as a granola bar.  So here is the deal-e-o with these babies.  No sugar.  They are sweetened with fruit.  No flour.  No eggs.  No butter.  I noticed the original recipe called for sesame seeds instead of almond meal.  I actually ground up almonds in my Vita-Mix until it  looked like flour.  Worked for me!

Banana Pecan Granola Bars
1 1/2 cups rolled oats
1 cup coconut flakes
1/2 tsp salt
1 tsp cinnamon
1/4 tsp allspice
1/4 cup almond meal 
1/2 cup mixed nuts, finely chopped
1 cup dried fruit (I used craisins)

3 ripe bananas, mashed
1/4 cup canola oil
1 tsp. vanilla

Preheat oven to 175.

In a large bowl, combine rolled oats, nuts, almond meal and coconut flakes. Stir in allspice and cinnamon. Add dried fruit and stir until well and evenly mixed. Make sure the dried fruit does not stick together in big batches.

In another bowl, combine canola oil, mashed banana and vanilla extract. Pour wet ingredients over dry ingredients and stir until well combined. 

Spread the batter evenly onto the baking sheet, about 1/2 inch to 3/4 inch high.

Alternatively, use a large cookie cutter and press spoonfuls of the batter into it. Remove cookie cutter. Bake for about 20 minutes or until edges are golden brown. The granola bars tend to get brown at the bottom first. Make sure not to burn them. Let cool completely, store in airtight container and keep in the fridge.

I used heart cookie cutters for mine.  These took longer than 20 minutes, though!  Maybe my 175 is lower than hers?  After 20 mins, I upped the temp to 250 and left them another 15 minutes. 

Give these a try and let me know what you think!  For more of my pins, follow me on Pinterest!


Wednesday, January 25, 2012

Heart Envelopes for Valentines Day!


These envelopes are just perfect for Valentines Day!  They hold little trinkets, candy, tickets, or little love notes!  And they are super easy to make, even for kids.


Items needed:
Scrapbook paper
scissors
bone folder (oh where oh where is my bone folder?!? I can't find it!)
ribbon (optional)
I would suggest giving this a try with some scrap paper first, just to get the hang of it.  :)

First, fold the paper in half and draw half the heart against the fold.  The cut out the heart.
Next, fold both sides of the heart into the middle fold line.  Use a bone folder for crisp lines.  I used a popsicle stick since I couldn't find mine.  I prefer the bone folder.  :)
Fold the top of the heart down, as shown.  Again, use the bone folder.
Fold up the bottom and tuck into the top section.  It holds perfectly.

Now, if you would like to layer hearts, it looks really cute!  As you can see, this is perfect for a couple of movie tickets!
And throw a cute ribbon through the middle to finish it off!  Perfect!

Linked today at: Lil Luna, DIY by Design, Somewhat Simple, House of Hepworths ECE 30 Days, Loly Jane and Someday Crafts

Friday, January 20, 2012

Lace Hair Flowers


Have  you seen the beautiful lace hair flowers Jamielyn did at I Heart Naptime?
My girls saw them and LOVED them.  In fact, Ainsley wanted to go to JoAnn's right away!
We went that night and there was a little issue.

That lace trim is stinking expensive.

And they didn't have many options in color.  Maybe they had light blue?  Total let down.
But then I had a brilliant idea!  (Of course!)  :)
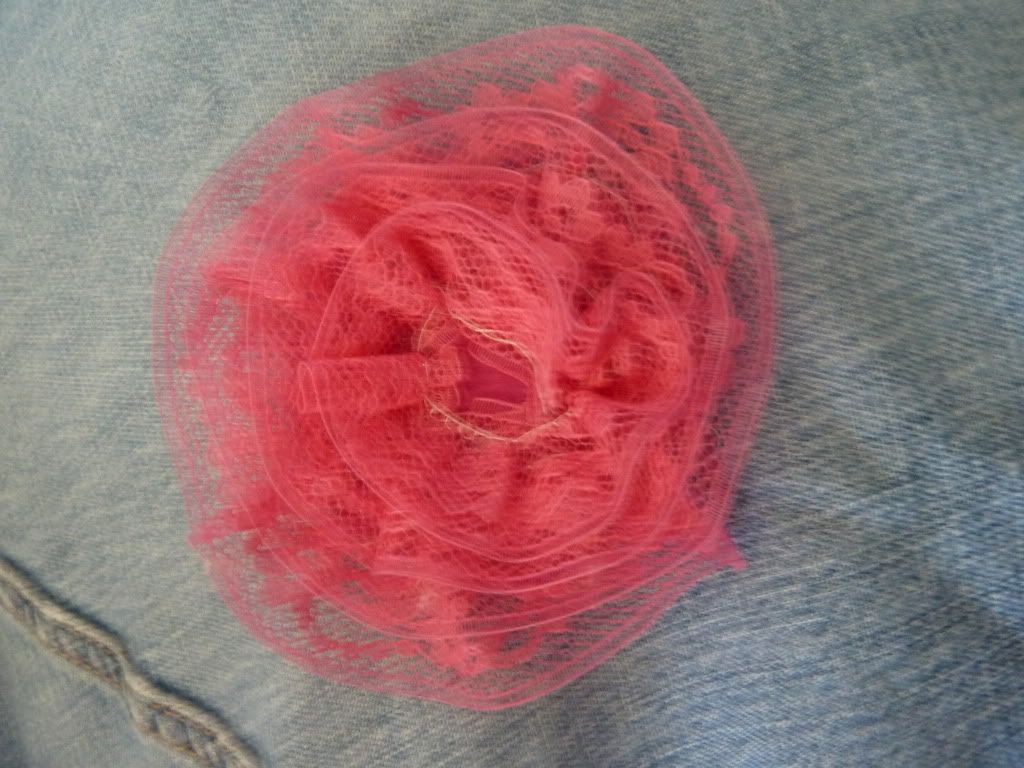
Lace Hem Tape!

It's only $1.89 for 3 yards.  They come in all sorts of colors.  The only problem is it isn't ruffled.  But that is an easy fix! 

Here's what we did:
1) Cut the hem tape into 3 -1 yard pieces.  (Yes, each package makes 3 flowers.)
2) stitched a straight line across one side of the hem tape to create a ruffle.  If you need to watch a video tutorial on this, click here for one I found on YouTube.  I promise it's super easy.
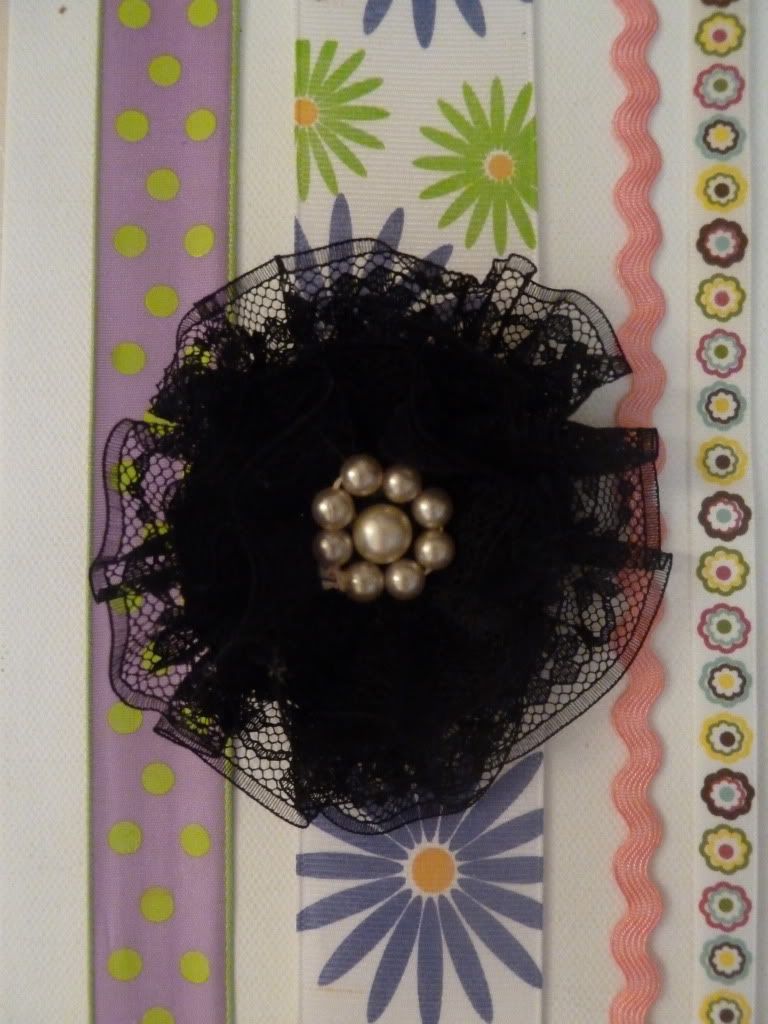
3)  cut out a felt circle
4) Using a hot glue gun, glue the ruffle around the circle.


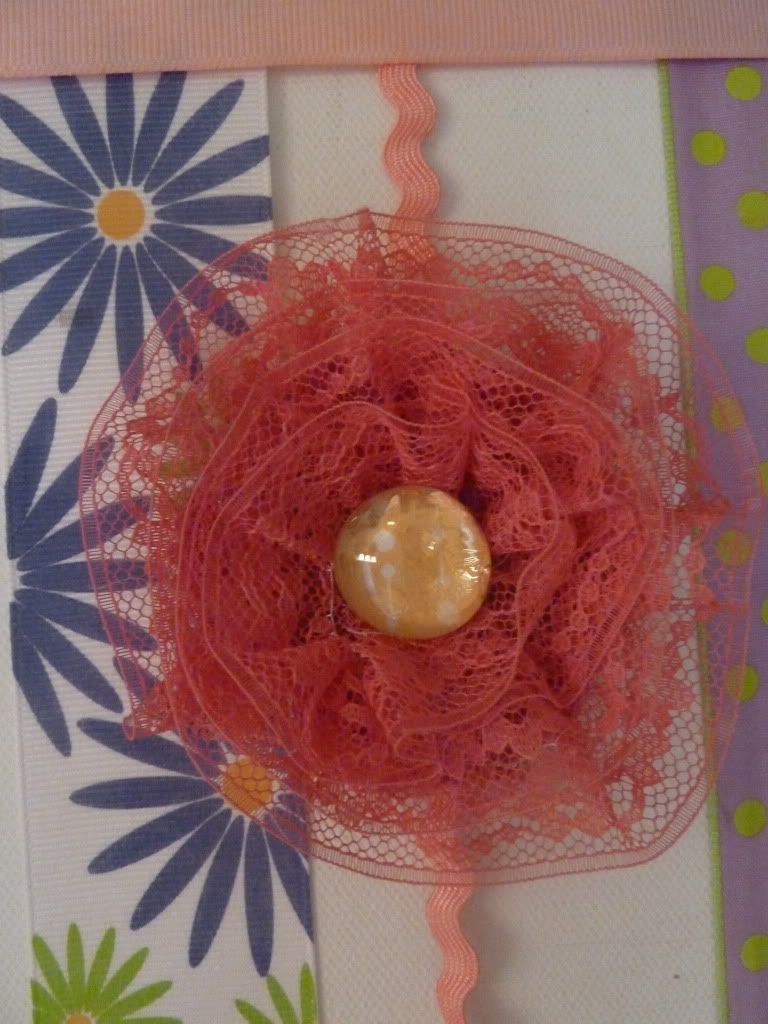
5) Glue a button, or pearl or whatever you like in the middle.  I put one of those clear stones with scrapbook paper on one of mine.  Why not?
6) Glue the hair clip to the back of the felt.
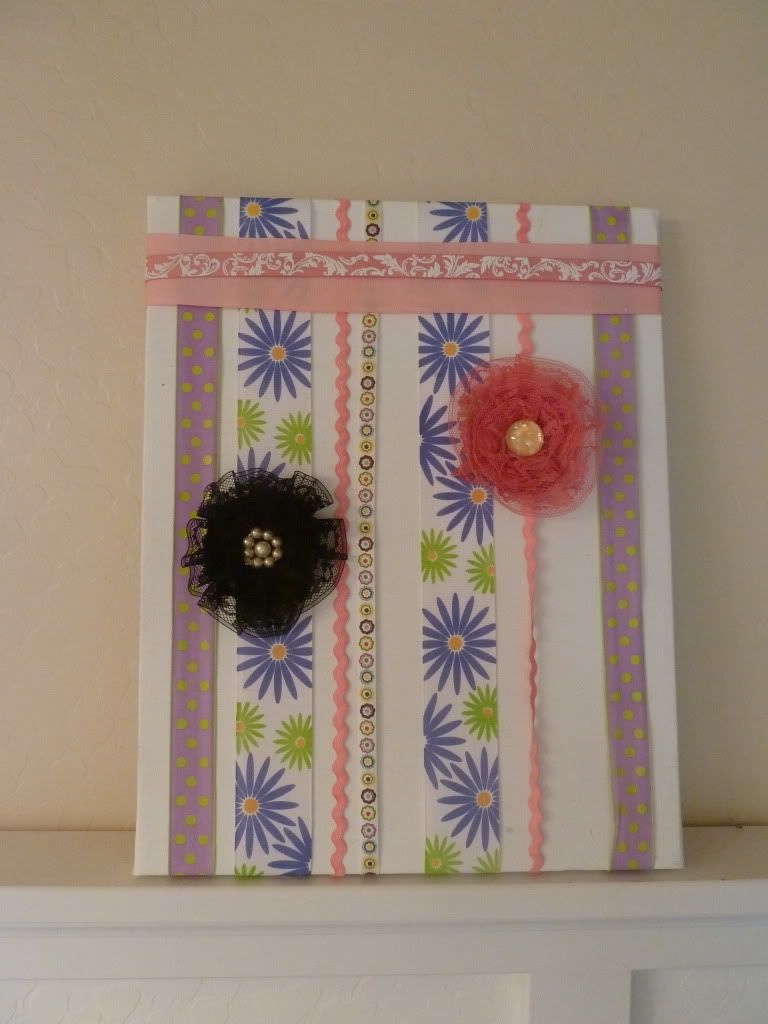
All done!  Make a few for those cute girls you know for Valentines Day.  They will Love it!

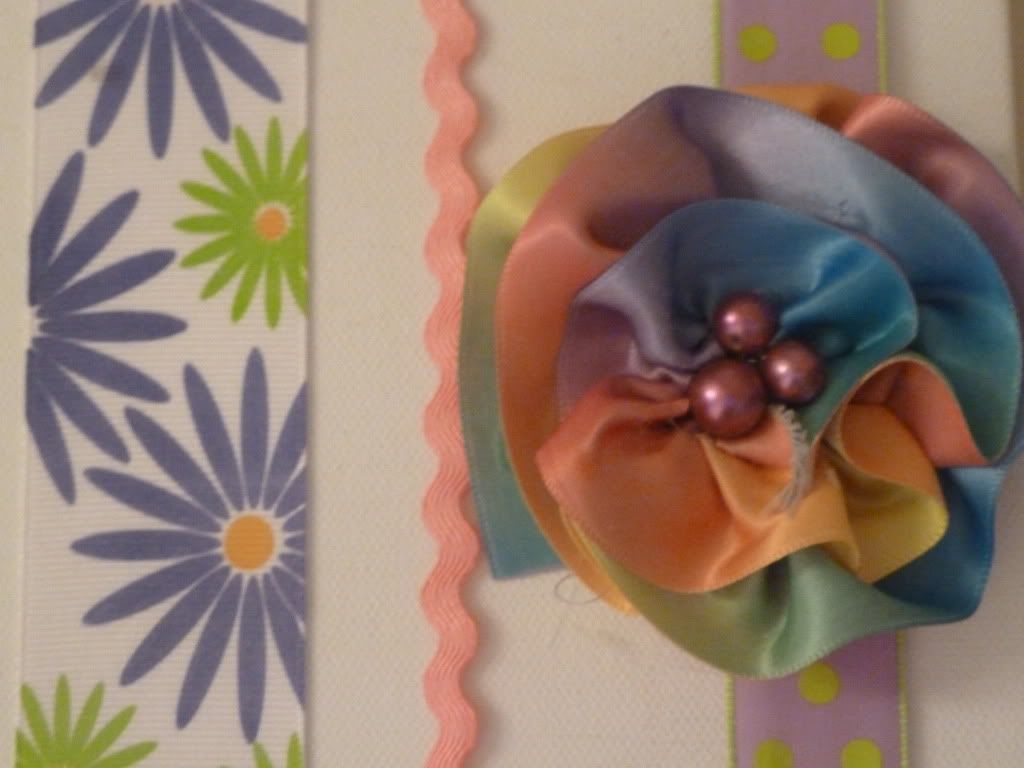
And in case you were wondering, this technique works well with ribbon, too!  Look at this darling rainbow flower we made!  LOVE!

Wednesday, January 18, 2012

Pinewood Derby

We had our Pinewood Derby on Saturday!  My husband and son were so excited for this event, we have been working on this car for a month!

He didn't win fastest, but his car was Out of This World!

He named it "Alien."  It was complete with Krylon's Glow in the Dark spray paint.
Here's a better shot so you can see the cool fins.
Way to go Brandon!  Anyone else have there kitchen and dining room overtaken by pinewood derby stuff?

Tuesday, January 17, 2012

Valentine {wreath}


I wanted to add something pink and sweet to my door for Valentines Day.

I found the tutorial for making the balls here.  Basically you punch out a million circles and glue them together.  I used lots of clips to hold it together while it was drying.


Then I tacked them to the frame so they wouldn't slide around.  I used a wide ribbon to hang it from the door but this prevented me from centering the middle ball.  I decided to tie it to the wide ribbon and let it hang.  It worked perfectly.

To hang the picture frame from the front door, first I put the wide ribbon round the frame and centered it at the top of the door.

Then, I simply pressed a tack in through the ribbon into the door.  I have freakishly strong fingers.  If you don't you may need a hammer.  ;)
All done!  Fun to make and perfect for my front door!


Today I linked up at: Funky Polka Dot Giraffe, Vintage Wannabe, Schwin&Schwin, Not just a housewife, MommybydayCrafterbynight, Sugar Bee Crafts, Sassy Sites

Friday, January 13, 2012

Family Goals 2012: Journaling

How are your Sundays?  Probably great.  You all take naps and feel all spiritual.  Us?  Not so much.  Our schedule is a little more like this:
7:00am  PLEASE wake up everyone!  Church starts in 1 hour!
7:30am GET OUT OF BED NOW!!!  (spirit is now gone as mom yelled it away!)
8:00am always there on time
11:00am church ends
the rest of the day: completely destroying the house we worked so hard to clean the day before
fighting
begging for wii time
no naps
driving each other crazy
(with a little faith in God work interspersed throughout the day and possibly a trip to Grandma's to break up the monotony.)

So another goal I have this year is to make Sunday a little more special!  Yes, of course it's easier when church is at 10 or 11.  But if you can't change things, you may as well change your attitude.  :)

One of the activities I am planning for every Sunday is journal writing.  My kids (Brandon especially!) don't love the thought of this.  But they said they are willing to try.  I am envisioning our family sitting together around the table writing with loving looks on our faces.  lol!

On Monday we got all of our journals decorated.  I bought these at Target for 97 cents a pop.  I'm sure they have them everywhere.
Then, following Jen's idea we decorated and talked about the importance of sharing our stories.
they are all hiding from the camera
First I got out all the scrapbook paper, stickers, glue sticks, etc. I could find.  And I let them go at it.  They are now quite excited to write in these babies!
Here's Ainsley - her front is simple, but the back is COVERED in stickers

Brandon's creation
 Dad and Alexa
and of course mine!
So what do you do on Sunday (besides naps!  That is a bad word here!) to make it a special day?

Monday, January 9, 2012

Family Goals 2012: Memorizing Scriptures

Whew!  The kids are finally back in school today and I am ready to post!
We (we meaning me) decided to make some family goals this year.  I really feel like my kids have so much potential in memorizing.  So we decided one of our family goals this year would be to memorize one scripture every month.  We (this time we really means we) will be looking at it and reciting it after family prayer in the morn and scripture study at night.

Of course, being me, I had to come up with a cute way to display our scripture.

To make this, I simply took a piece of wood, painted it black and modpodged scrapbook paper on it.  Then I used E-6000 to glue a clip on the top.  That's it!

Our scripture for this month is Mosiah 2:17  "And behold I tell you these things that ye may learn wisdom; that ye may learn that when ye are in the service of your fellow beings ye are only in the service of your God."

This scripture comes from the Book of Mormon.  If you are interested in more information or would like a free copy, please click here.

I displayed it on a little plate stand I got years back for like a buck.  I hope this inspires you and your family for a little goal setting this year!  :)


Linking this week at: Craft-o-Maniac