Photobucket Photobucket Photobucket Photobucket Photobucket Photobucket Photobucket

Thursday, September 29, 2011

Block Party! (pinterest finds)

It's finally starting to cool off a bit.  Just a bit.  And we are having a block party this weekend!
Guess who is in charge of games for the kiddos?

Thank goodness for Pinterest.  They came to the rescue once again!

Here are some fun Fall games I found to help the kids enjoy the block party.


This looks SO fun, but I am a little unsure about kids and darts.


This is a definite YES!  Donuts are always worth the money!


Bowling could definitely be fun.  But I'm not sure I would use toilet paper.  Maybe make ghosts out of water bottles?


Bobbing for apples has always grossed me out a bit.  All that spit in one place?


Source: bhg.com via Whitney on Pinterest


Guessing Games are a hit for adults and teens, too.


This tossing game looks easy and fun.  I think it will make the cut!

So, do YOU have any tried and true games fun for a block party?

Wednesday, September 28, 2011

little monster shirt tutorial

Last week I shared this fun tutorial while guest posting on Jen's Brain Things.  If you missed it, here you go!

A few moms in our neighborhood had some baby boys these last couple weeks, so I decided to share with you a fun idea I made for these little fall babies.

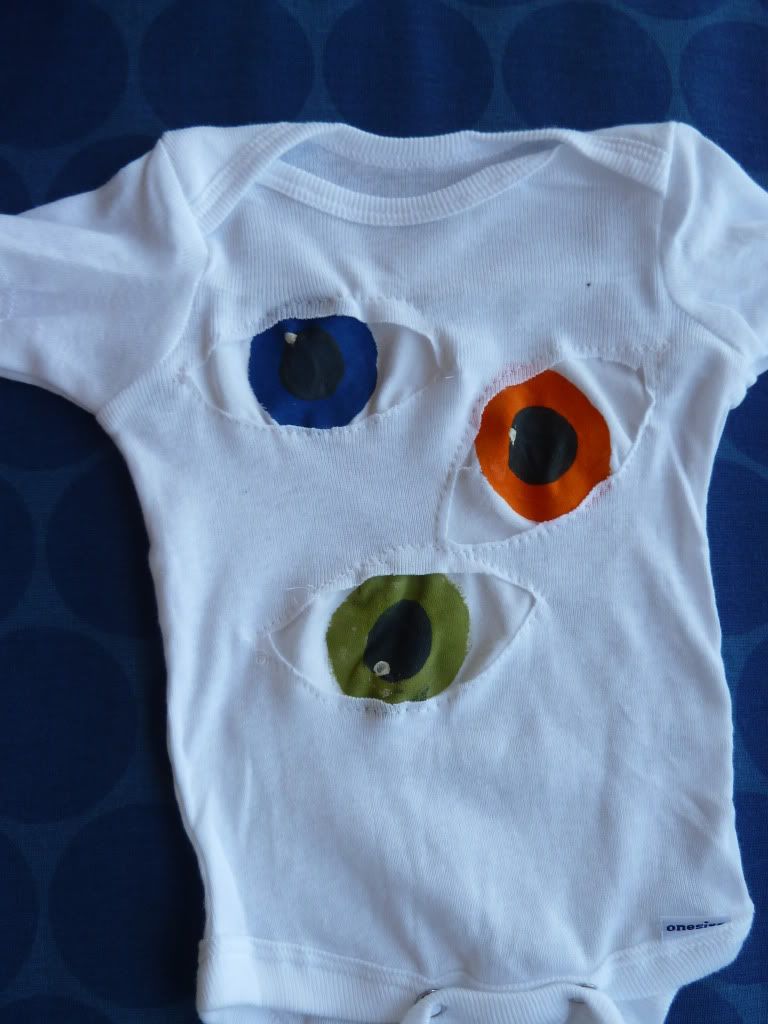
Remember those Martha Stewart eyeball T-Shirts from a few years ago?  I took that idea and ran with it.  I made some really spooky onesies and sweatshirts for this Halloween season.


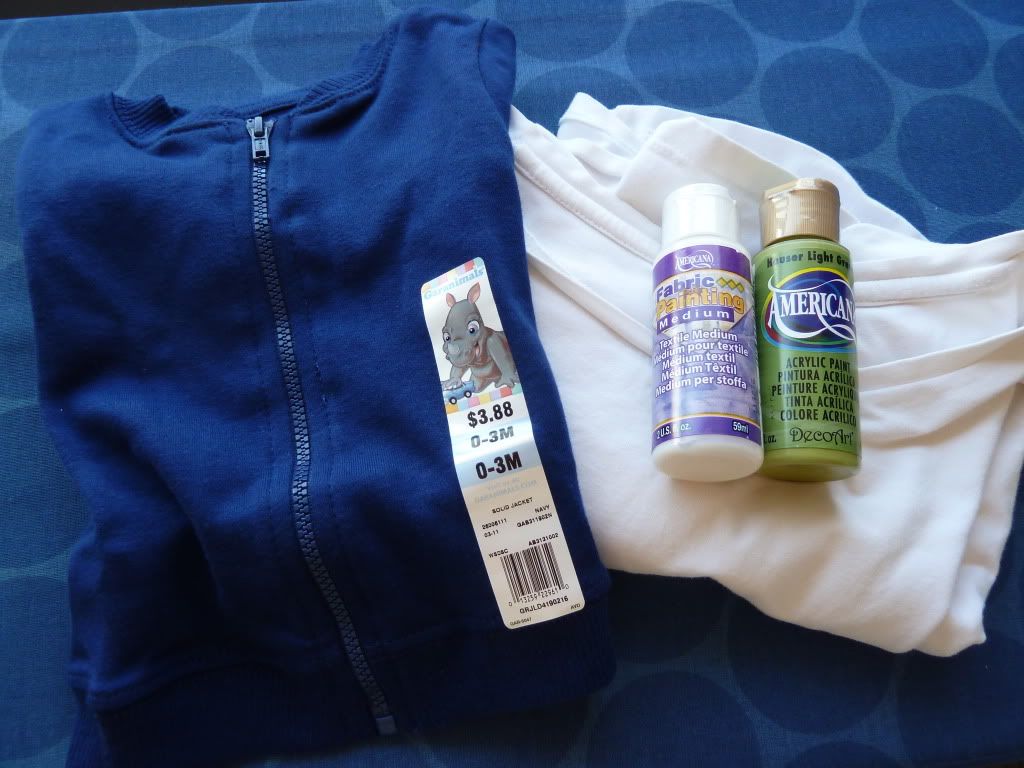
First, gather together all  your supplies.
You will need:
onesies, t-shirts, etc.
an old white t-shirt to cut up
Acrylic paint (or fabric paint)
Fabric medium (if you don't use fabric paint) This is about $1.99 at Jo-Anns and you can use it with any color acrylic paint you may have.  Much cheaper than a bunch of different color fabric paints.
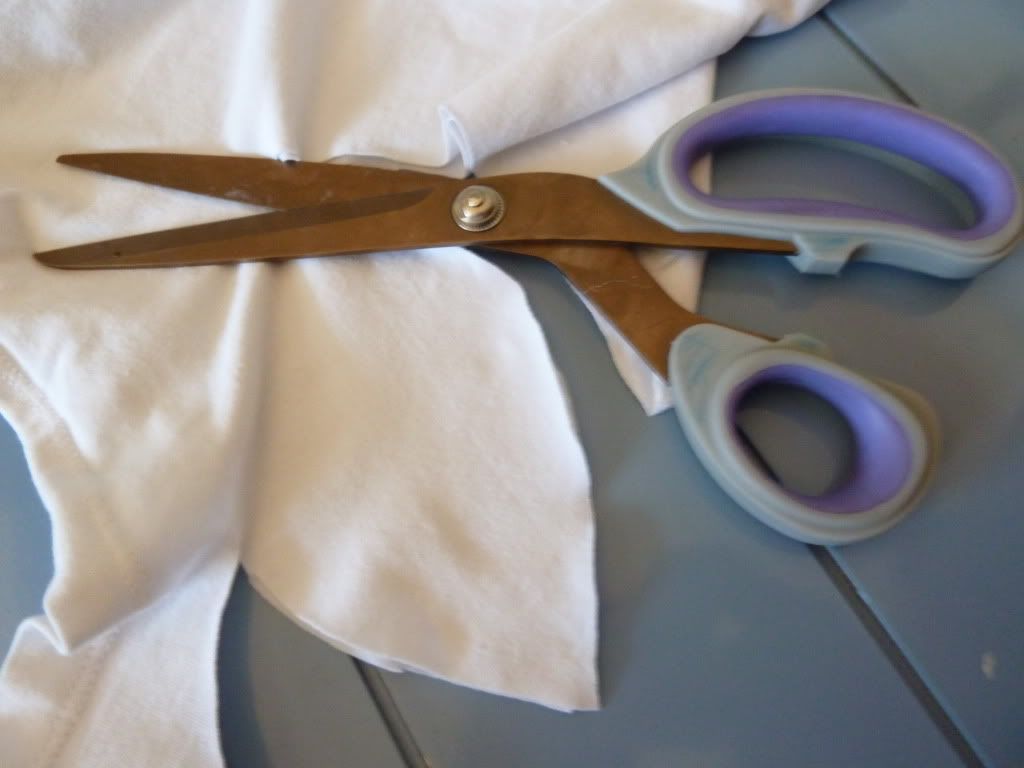
Next, cut out an eye shape out of the old white t-shirt.
I just "eyeballed" it (no pun intended!) but if you don't trust yourself, use a marker or pen.  It won't show.
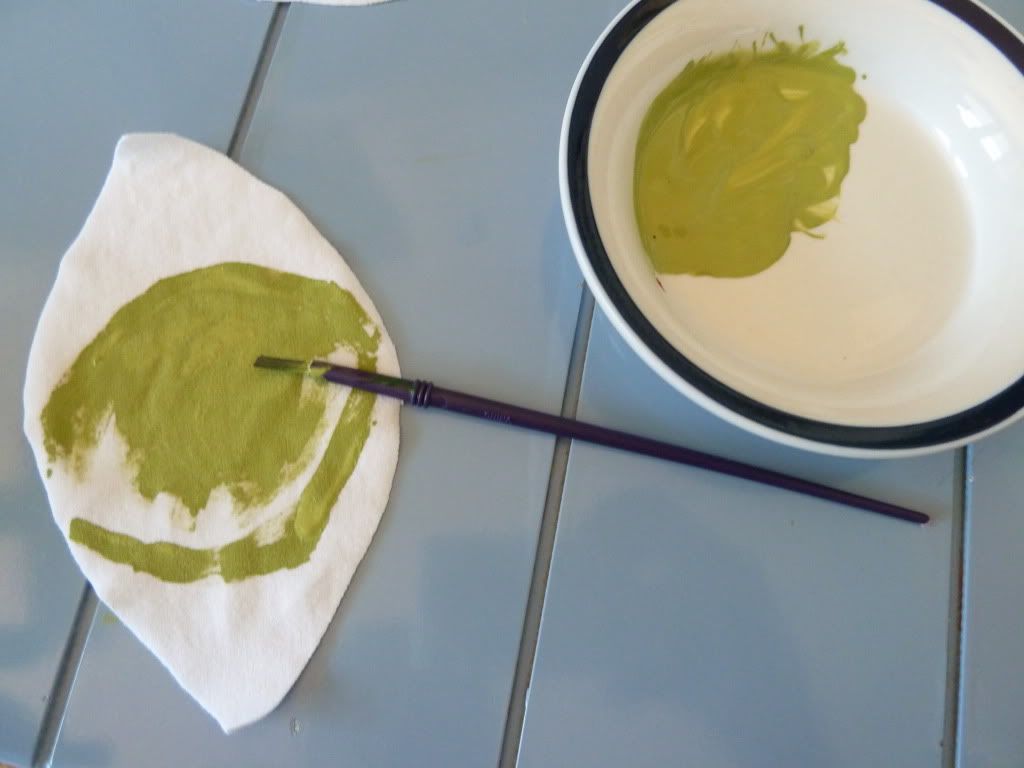
Mix your paint and fabric medium 2:1 ratio and paint on the eyeball.
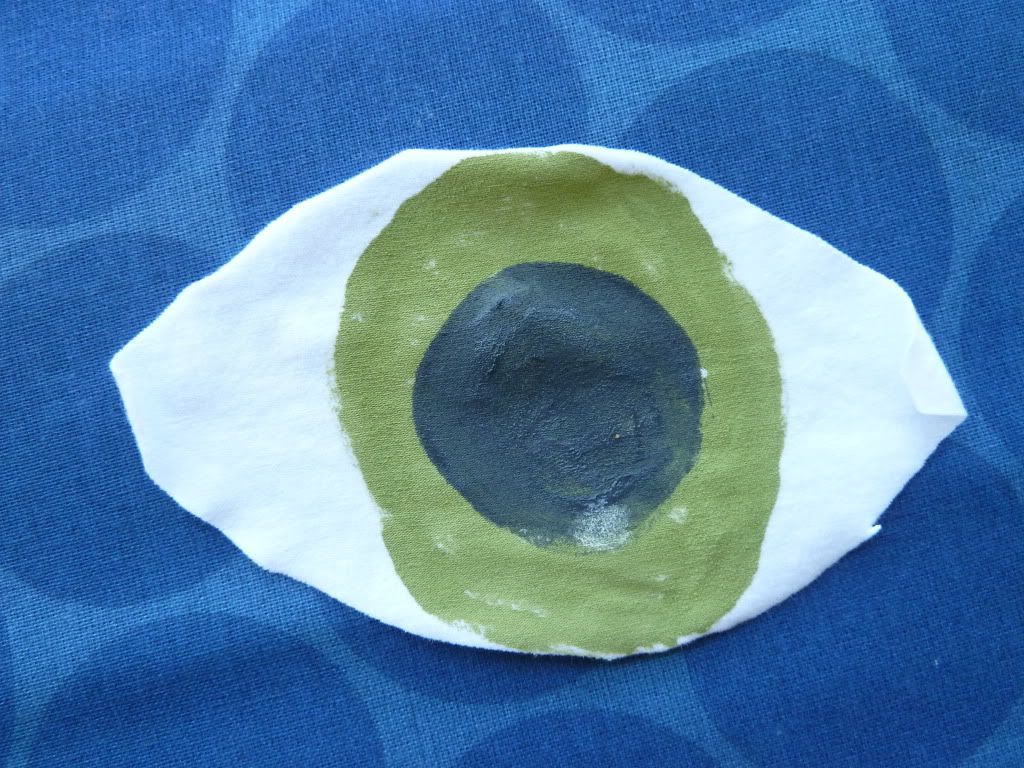
When that layer dries, add the pupil.  I added a small white dot for a sparkle.
As you can tell, this does NOT need to look perfect!  
Now, lay the eyeball {face down} to the INSIDE of the shirt.  See the label?
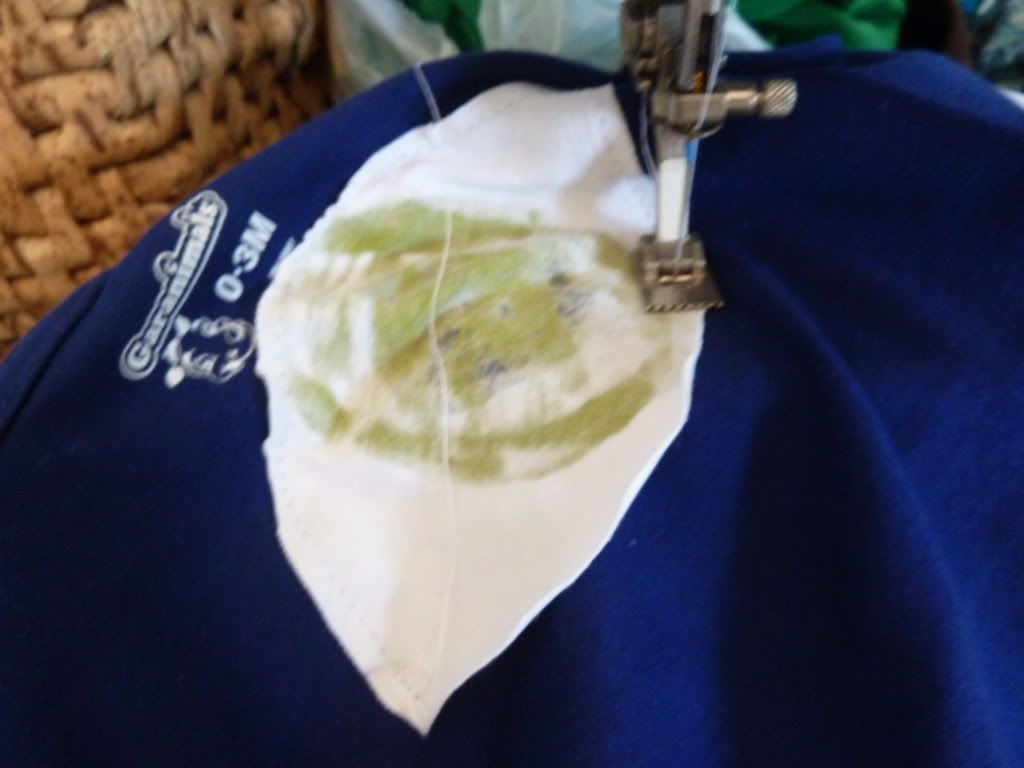
Then, sew around the entire eyeball.
Flip the shirt to the right side.
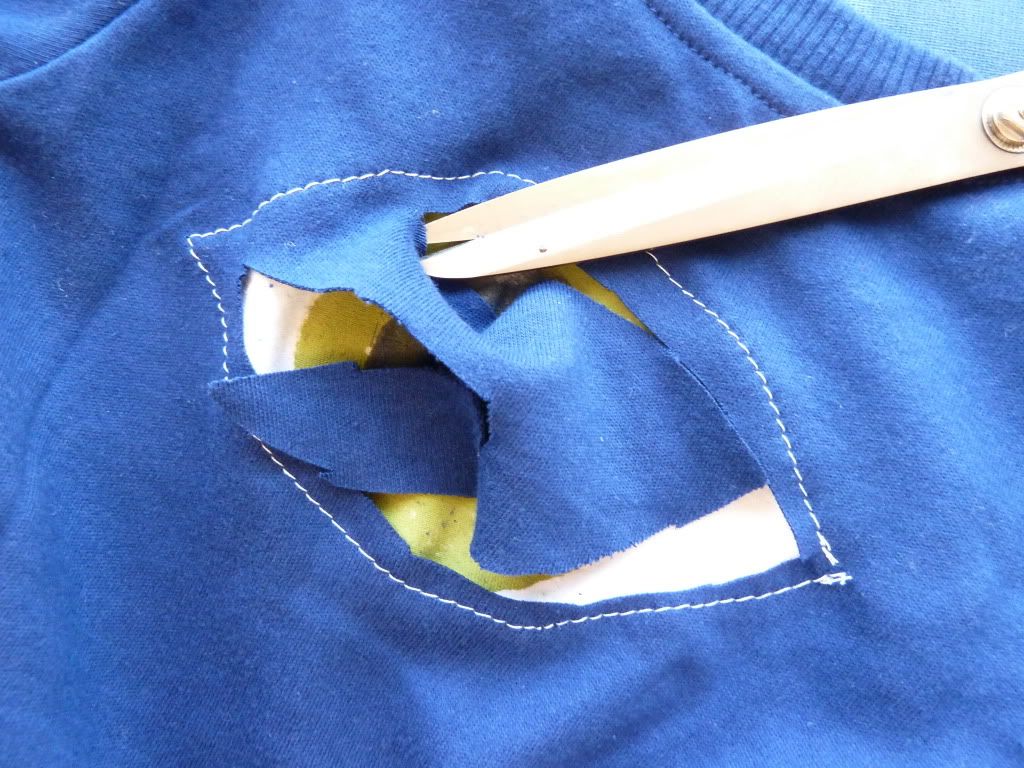
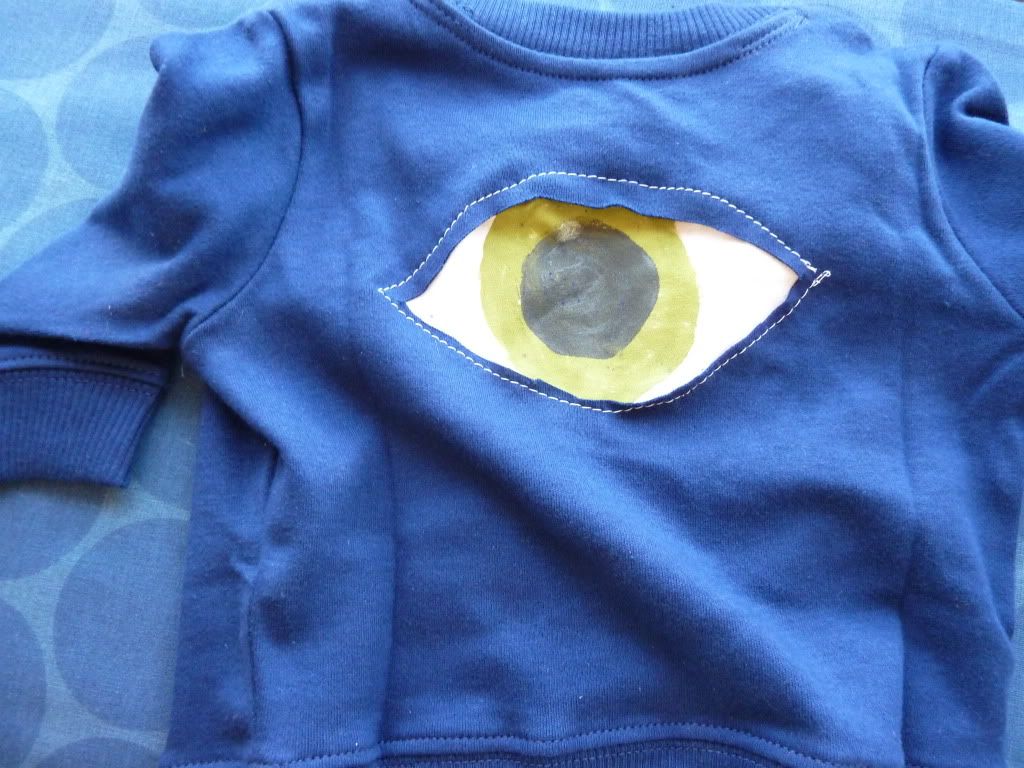
Using sewing scissors, cut around the inside of the stitching.  Be careful not to cut through both layers of fabric!  Leave a little extra at the top to look kind of like an eyelid.

As you can see, I put the eye on the BACK side of the sweatshirt, and the front of the onesie.
So, have fun and create!

Linked today at Lil Luna Someday Crafts DIY by Design Ginger Snap Crafts Eisy Morgan Night Owl Crafting Blue Cricket Todays Creative Blog

Tuesday, September 27, 2011

Backyard - NOT delicious

One of my goals when starting this blog was to make MY home more delicious and bring you along for the ride.

I decided to just bite the bullet and show you the least delicious parts of my home, then work on making them better.  Hopefully this will give you and me both some incentive to organize things around our homes!


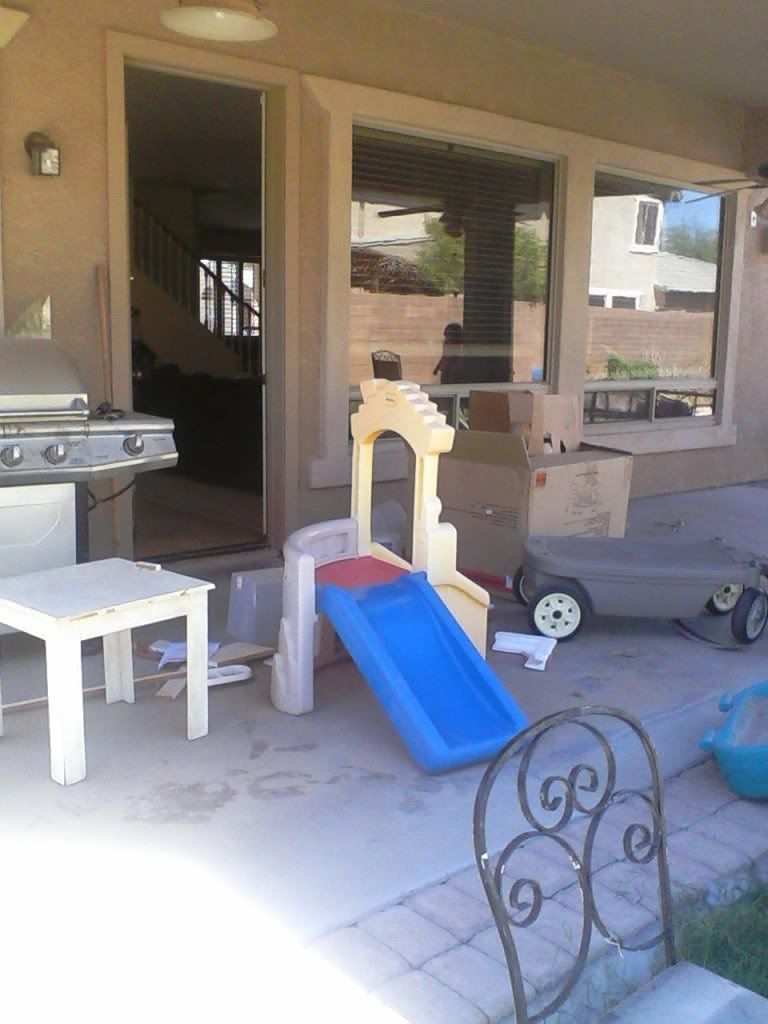
This week I wanted to show you my back patio.  This is SO embarrassing! (And sorry for the phone pics.  The battery was dead on my camera!)

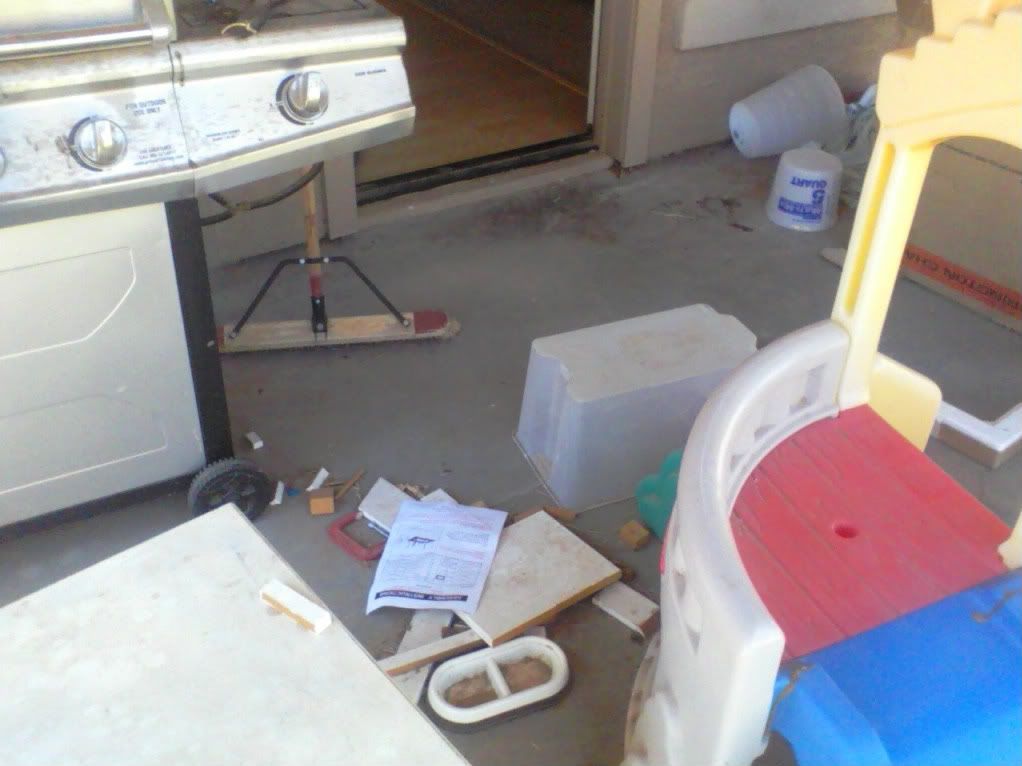
Do you see thick dust on the ground?  And if it doesn't look bad enough, here is a closer up shot.

Ha!  Lots of dust and scraps from our bathroom redo WAY BACK WHEN.  And what is up with all the plastic totes, trashcans and buckets?  I wonder what my kids are actually using for a cat dish?


OK, so now you have seen it.  My goal is to clean this heap up and have an after picture for you by the end of the week!  It is finally starting to cool off here (maybe just a bit) and I know the kids are going to want to be playing outside soon.  Wish me luck!

Wednesday, September 21, 2011

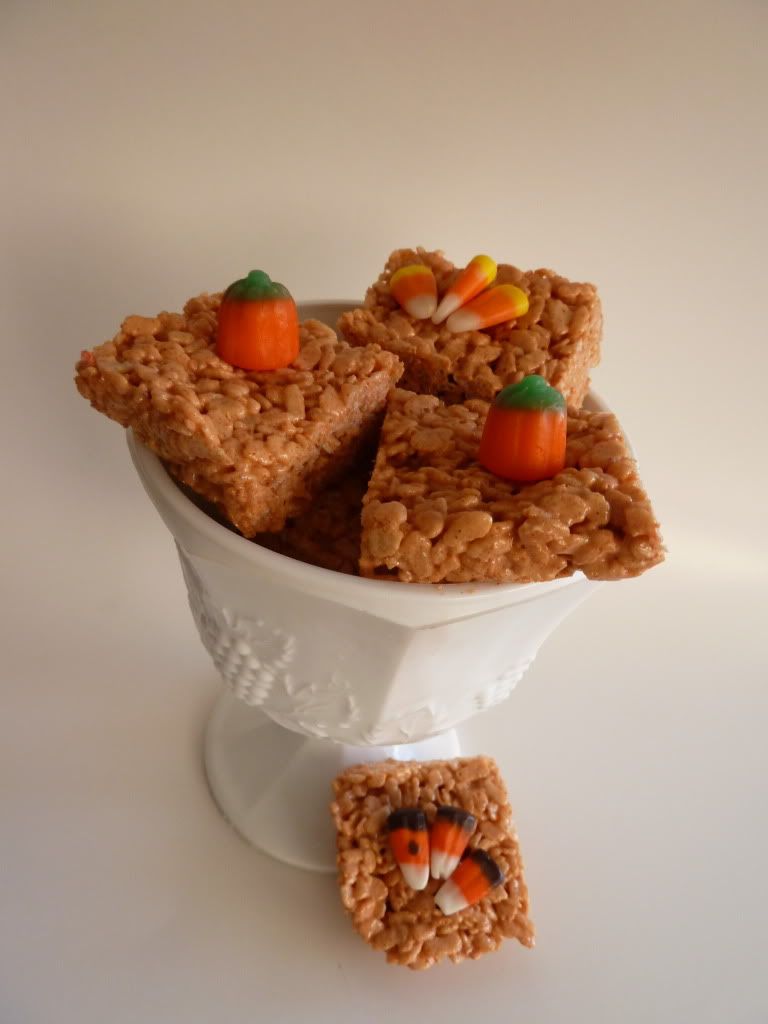
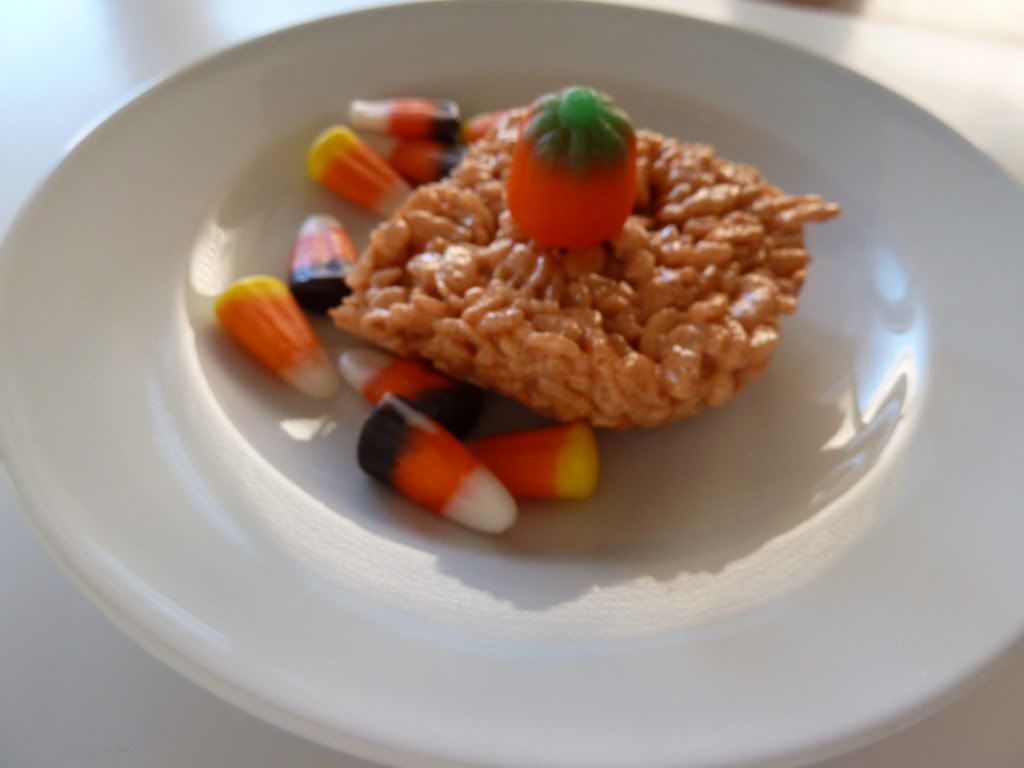
Pumpkin Spice Rice Krispie Treats

I was dreaming about these the other night.  The idea popped into my mind and wouldn't leave.  It swirled through my dreams until I made them.  It's just so hot here, I want to celebrate Fall, but can't imagine turning on the oven yet!

These did not disappoint!  It brought fall to my home without the oven!

Pumpkin Spice Rice Krispie Treats

1 pkg marshmallows
1/4 cup butter or margarine
6 cups rice Krispies
1 1/2 tsp pumpkin pie spice
orange food coloring (optional)

Melt butter in a large plastic bowl in the microwave.  Mix in spices and a few drops of food coloring.  Add marshmallows.  Microwave and additional 1 1/2 minutes.  Stir until all are nice and smooth in color.  Add cereal.  Press into greased 9 x 13 pan.

Cut them up and yum!


Linked with Lil Luna, Someday Crafts, One Artsy Mama Vintage Gwen Idea room

Tuesday, September 20, 2011

Gorgeous Journal Tutorial from Jen's Brain Things


Hiya Home Delicious readers!  I’m Jen from Jen’s Brain Things.
I was so pleased to be asked by my friend Whitney to be a guest blogger.  

I’ve been a crafter all of my life. I enjoy creating things for my home, my friends and family. In fact my hubby’s first question when he sees me working on a project is, “Who are you giving that to?” because in his words, I never keep any of the things I make.

Lately I’ve been altering a lot of composition notebooks to give to the young women at church for their birthday presents. I try to specialize it to each girl’s favorite colors and other likes.  The book I’m showing today is for a young lady that likes purple and zebra print. J

First I start by gathering all of my supplies.


I attach the paper to the front and back paper using rubber cement and let it dry thoroughly.


Then using a craft knife I trim around the edges. I go back with a good craft glue and catch any loose edges where the cement didn’t adhere the paper to the book cover.


Then I decorate up the cover using stamps, inks, die cuts, ribbons…..


… punches, embossing folders, glaze… whatever I have that fits the theme I’m working on.


These books are readily available at most any mass merchandise store, drug store or office supply. And they can be altered into a nicely personalized gift for any occasion.  It’s also fun to add a bit of ribbon and fluff to personalize what would normally be considered an ordinary pen to go with the gift.


 Hope I was able to inspire you to try something new.
Have a great day!


Aren't those great?  Jen has so many crafty ideas, you have got to stop by her blog and check them out!  And thanks Jen for coming over today!

Sunday, September 18, 2011

Kick Off with Hass Avocados Recipe Contest and my favorite avocado recipe

This is a Sponsored post written by me on behalf of Hass Avocado Board featuring Hass Avocados for SocialSpark. All opinions are 100% mine.

I love Hass Avocados.  Growing up in California, we ate avocados all the time.  The best part was taking out the pit, sticking a toothpick in it and putting it in a cup of water.  We always thought it would sprout and we could grow our own avocado tree.

image via google images

image via google images


So lately, we have been trying to introduce healthier fats into our diet.  Enter the avocado!  1/5 of an avocado has only 50 calories and contributes nearly 20 vitamins and minerals!

So, I am super excited about this recipe contest !  They are having a weekly sweepstakes where they give away a box of avocados a week for 14 weeks!  And a recipe contest where the winner gets a trip to the Rose Bowl Game®!

So let's get creative!  Think outside the guacamole!  The avocado central website has tons of avocado recipes to get that creativity flowing.  One of our favorite ways to eat avocados comes from when my hubby lived in Africa.  We mix chunks of avocado with crab and tomatoes and eat it over French Bread.  It is so yummy!  When I lived in Brazil we ate a ton of avocados, too!  But sweet!  Avocado icecream, pudding, and straight with sugar!

The recipe I want to share with you today is my BLAM.  Tomatoes don't always go over well in this family, so instead of a traditional BLT, try this BLAM.  Bacon, lettuce, avocado and mango.  Oh so yummy!  Avocado and mango together is a delicious combination, and it gives it that sweet addition.

BLAM

Ingredients:

Toasted Ciabatta bread (I throw it under the broiler)

2 Tbls honey Greek yogurt

1 lettuce leaf

sliced mango

sliced avocado

cooked bacon (I by the precooked kind so my whole house doesn't stink up)


Instructions:

Spread the yogurt on both sides of the bread.  Layer all the other ingredients.  Enjoy!


So here are the details on the recipe contest.  I know you have an awesome recipe you want to submit!

The Kick Off with Hass Avocados Recipe Contest has this awesome Grand Prize package which includes the following for 4 people:

Round trip airfare, hotel accomodations, participation in a Rose Bowl Game® welcome reception, admission to the behind the scene Rose Bowl Parade ® decorating site, sight seeing tour of Pasadena, admission to the Rose Bowl Game® on Jan 2, 2012 and more!

For more information on how the winner is chosen, be sure to check out their facebook page.

So, make sure you head over to the Kick Off with Hass Avocados Recipe Contest and sign up for their emails while you are there!  It's only once a month and you will get loads of ideas sent right to your inbox.

Visit Sponsor's Site

Thursday, September 15, 2011

Guest Blogger - Emilee from Sweetly Made


I wanted to introduce you all to one of my sponsors and friends, Emilee from Sweetly Made.  I have known Emilee for a long time and she has always been talented, it definitely runs in her family!  I have never seen a more organized home than the one she grew up in.  Her ideas on home organization are tried and true!  So after you read her post and see her beautiful work, head on over to her blog and show her some love!  (I think she still has a couple of spaces open for Christmas stockings!  Get yours before they fill up!)


Hey bloggers...it's Emilee from
"Sweetly Made (Just for you)."
I was thrilled when Whitney gave me the opportunity to share with you my
creations and my Etsy shop found {HERE}.
My love for knitting started in 2005 when I decided that it was
time to learn how to knit. My grandma knitted all of our
Christmas stockings and I knew that I needed to continue the tradition.
 
So, I asked my grandma if she would teach me and she was thrilled.
Next thing I knew, I knitted my very first Christmas stocking for my niece Emma.
I kept going...and knitted four more that year (with the help of Michaels since I had moved a few
states away from my grandma).
I was on a roll!
I started my blog found {HERE} in 2007 and started receiving orders.
I even designed some custom orders such as
 

{Christmas Kitty}
{Sleeping Beauty & Cinderella}
{Snowboarder}
{The Grinch}
A friend told me about Etsy so I checked it out.
I haven't been too successful but I'm still learning and I receive most of my orders
through my blog.
However, my other creations are found on Etsy...
Overall, I love to knit. I have a passion to create. And, my favorite thing to knit are Christmas stockings

because they bring joy and happiness to other people's lives. And I know they will cherish them for
a lifetime. Let me sweetly knit something "just for you." Thanks and have a wonderful day.


Thanks Emilee!  Isn't she great?  Now, be sure to see my guest post today over at Sweetly Made (Just for you)
 

Wednesday, September 14, 2011

Magnet Board (for a BOY!)

It seems so many of the cute projects we have these days are for girls.  Well, my son has some special papers and pictures he wants to hang up, too!  So I decided to make a super cute board, perfect for an 8 year old lego lover.
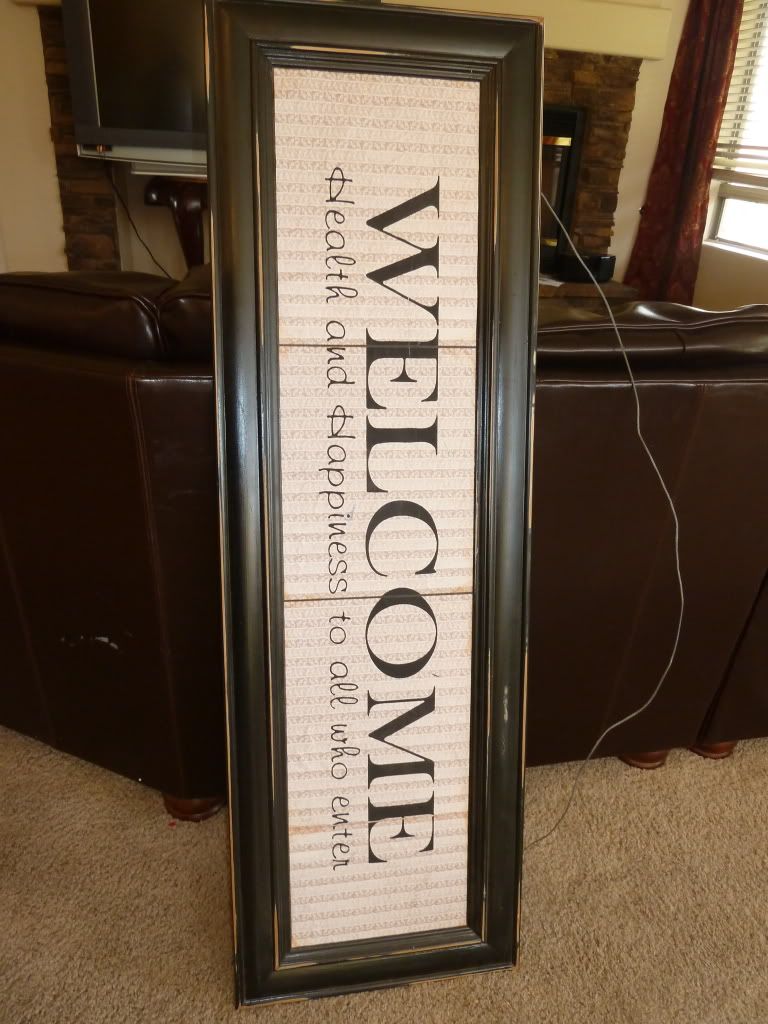
First, I found this picture frame for about $7.50 at the Good Will.
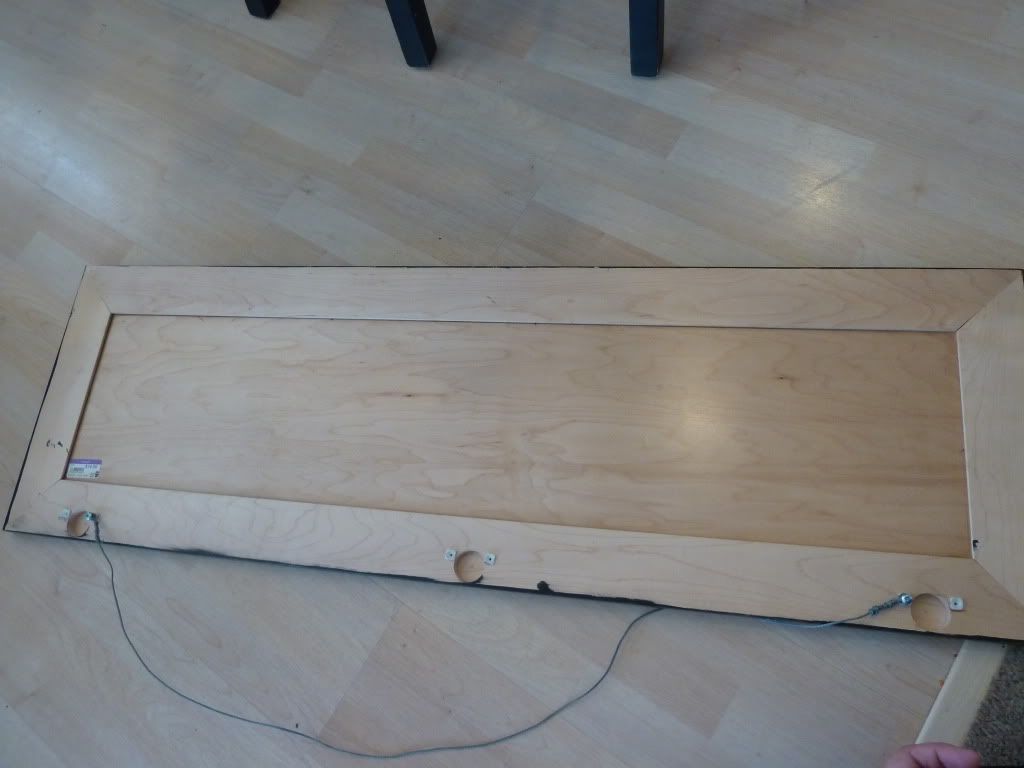
I thought it was a great buy, but when I got home and turned the frame around I found:
It was really an old cabinet front.
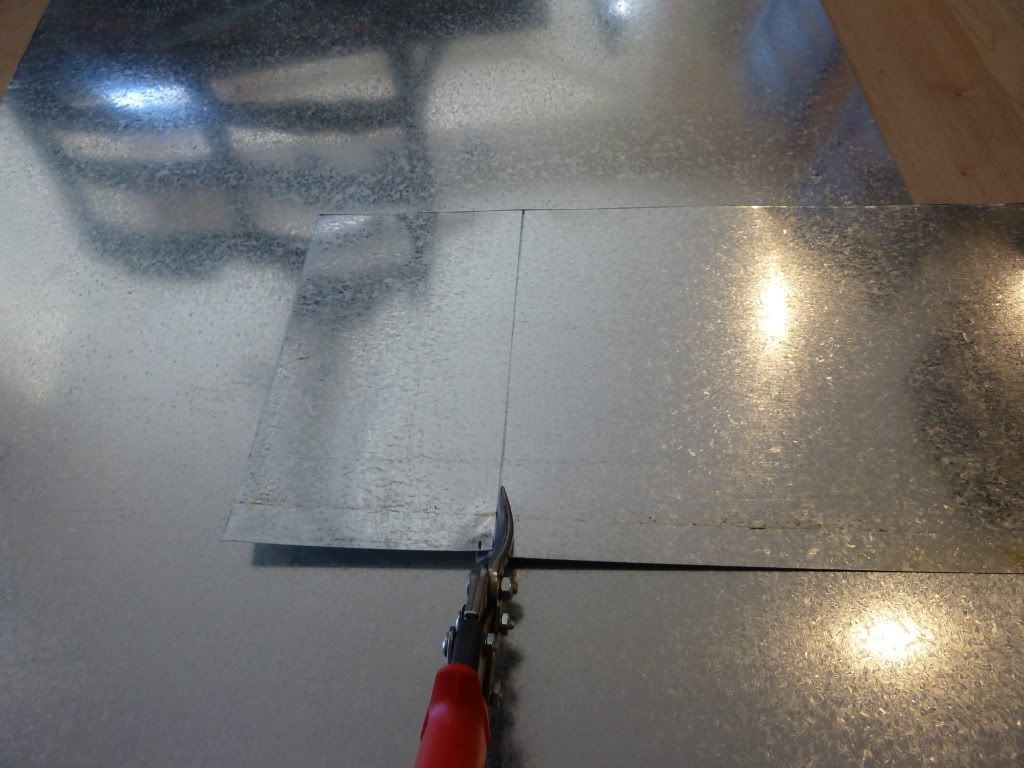
So, an idea formed in my mind.  First I got out the huge piece of sheet metal I am planning on using later for my command center.  The big huge sheet was about $15 at Lowes.
I measured it and cut it with some tin snips I borrowed from a neighbor.
Then, using Gorilla glue, I glued it on the front of the cabinet/frame.
the heavy stuff I used to hold it down.
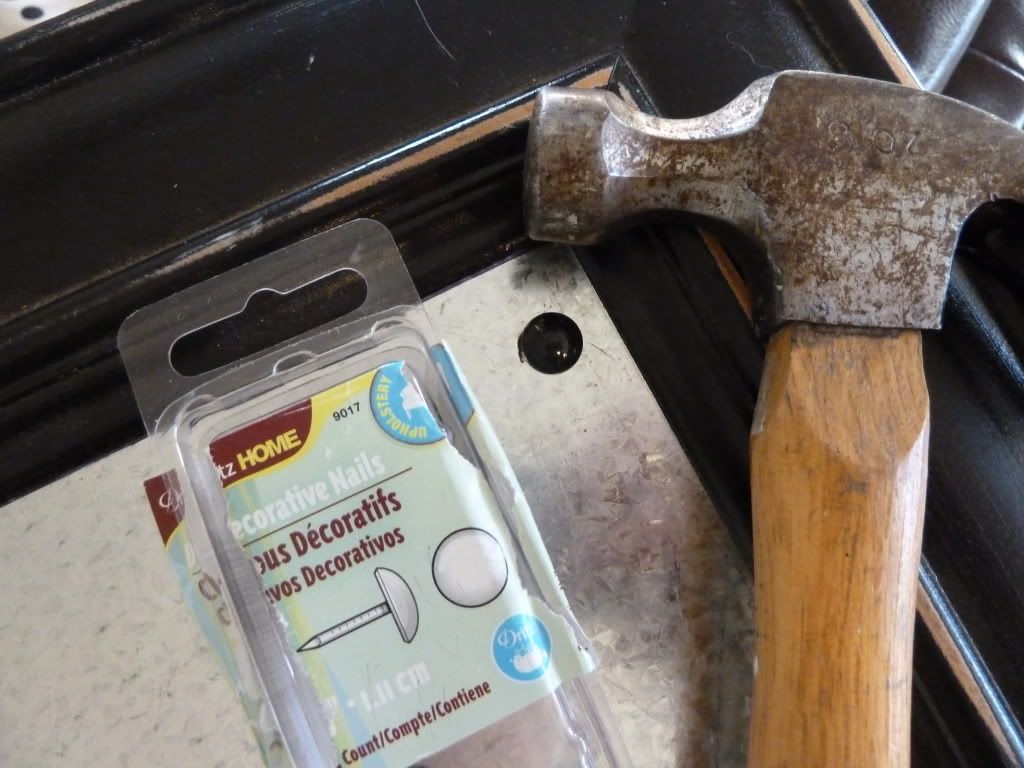
Now, if you ask my husband, Gorilla Glue isn't really glue.  He hates the stuff.  So, just to be safe and make sure the hunk of metal doesn't come crashing down on my son in the future, I used some cute decorative nails in the corners.  These are like $2 a package from JoAnns and I used them for hanging my curtains into the wall.
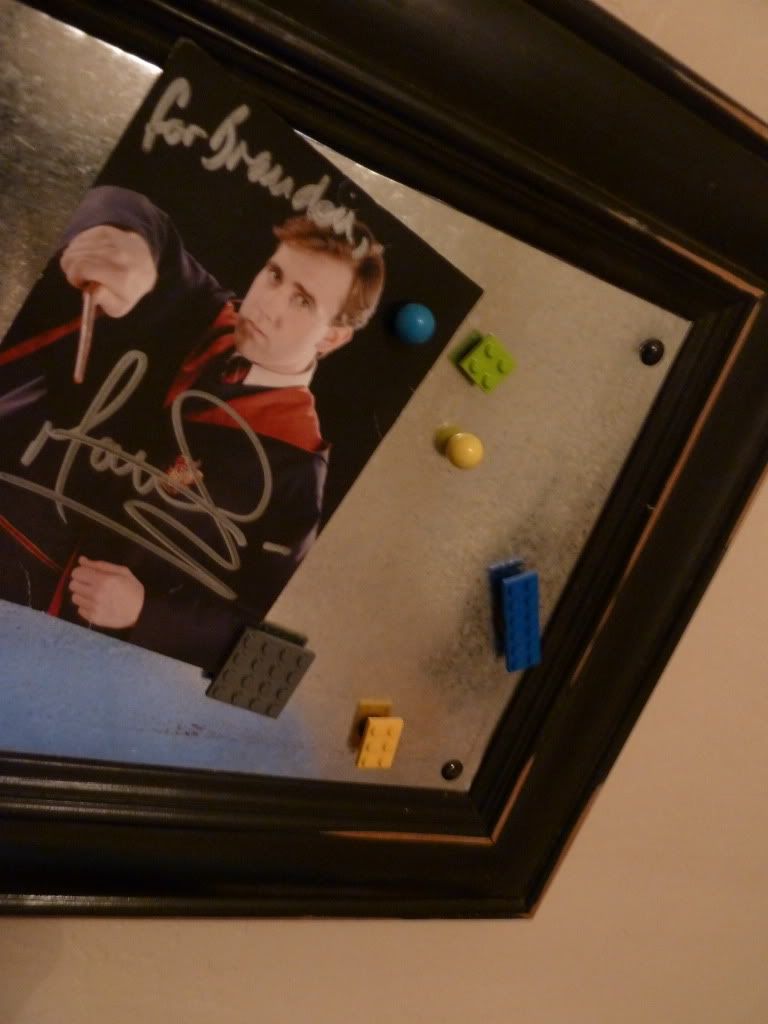
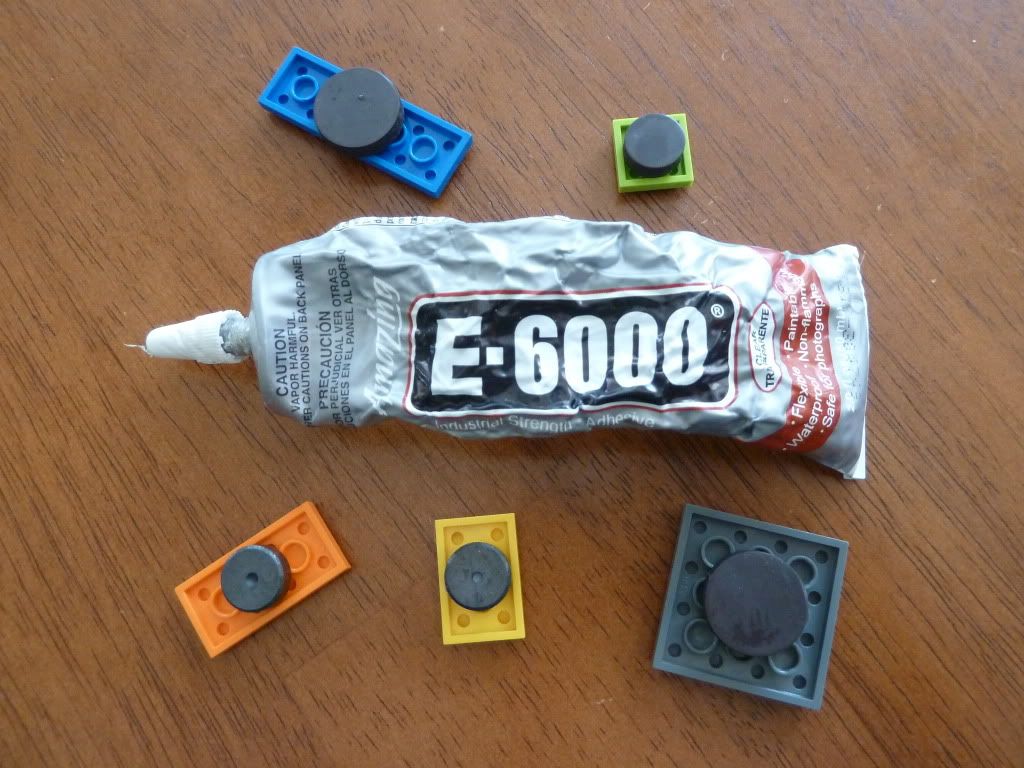
While this was sitting and drying, I grabbed some E-6000 (the REAL glue!) and glued some flat lego pieces onto some magnets.
You have got to let these dry for about 24 hours.  Trust me!

And voila!  A super happy 8 year old and a cute magnet board!
Now, as an added bonus, here is a cool trick my lego loving boy instantly did with his magnet board.
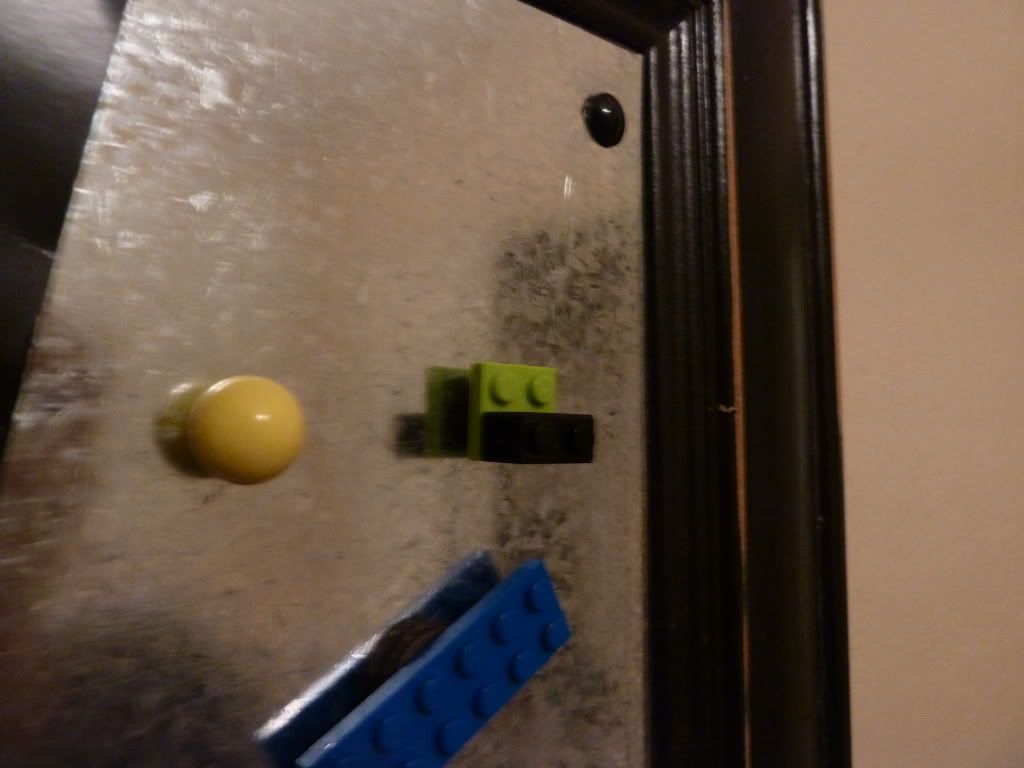
First, he added a small lego to the magnet to make a "shelf."
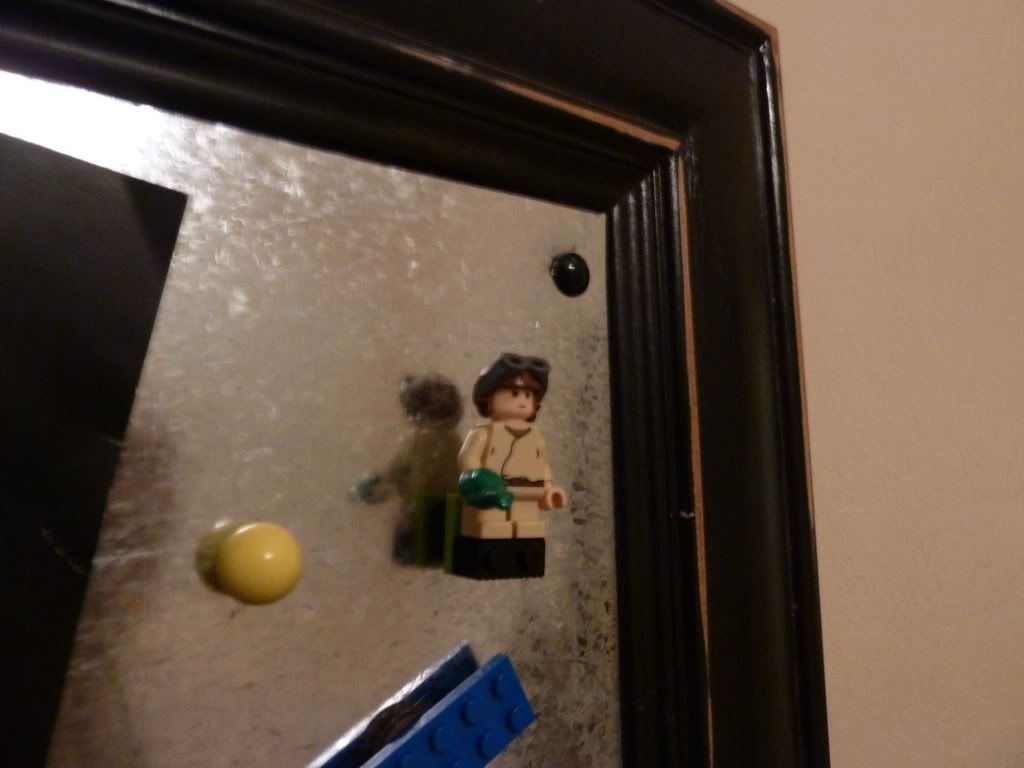
Then he stuck his little dude on there for what he calls "figurine of the day."  Fun!


Linked today with Lil Luna and Not just a Housewife, Ginger Snaps Todays Creative Blog House of Hepworths, Bear Rabbit Bear  Someday Crafts, seventhirtythree Idea Room

Monday, September 12, 2011

Painted Door (and other stuff)

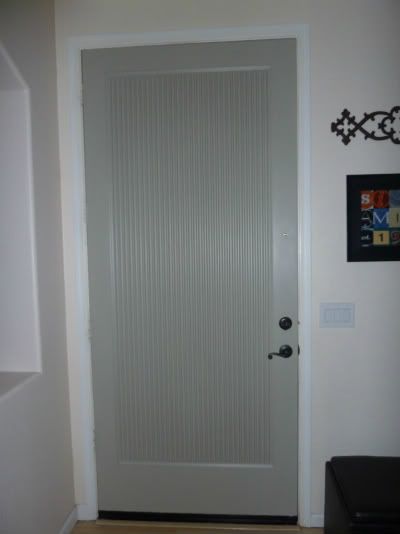
I did.  I jumped on that bandwagon.  I painted my front door from the inside.

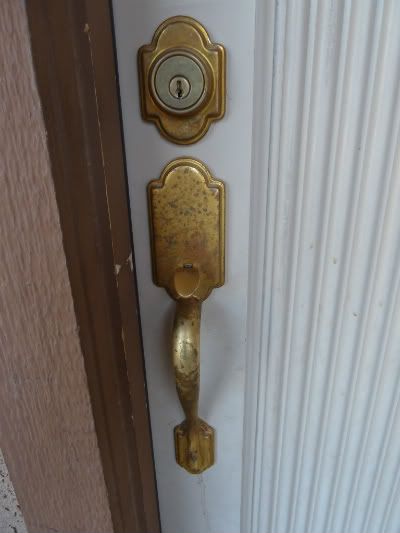
But I didn't just stop there.  I also painted my door knobs.
Melissa over at 320 Sycamore tried it and they ended up looking terrible.  But could mine possibly look any worse than they do now?
After a little research, what I figured out is that the shiny knobs need to be de-glossed.  But look at these babies.  There is no shine left.  The Arizona sun has just eaten them up!
So, I went ahead and cleaned, deglossed and sprayed.  I used primer for a few coats and then a few coats of Rustoleum Oil Rubbed Bronze.

So far....
It's already chipping.  So sad.  It's only been 2 days!  I did have all the supplies, so it was free.
And it DOES look better, if only for a while.
~sigh~
I will need to save up for some new hardware!

But on the bright side, the inside of the door looks fabulous painted gray!
Has anyone else tried this?  And have you had any luck?

Wednesday, September 7, 2011

Chalkboard paint + dishes = Awesome Halloween Decor!


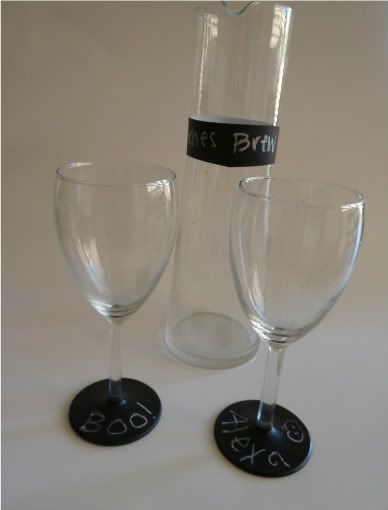
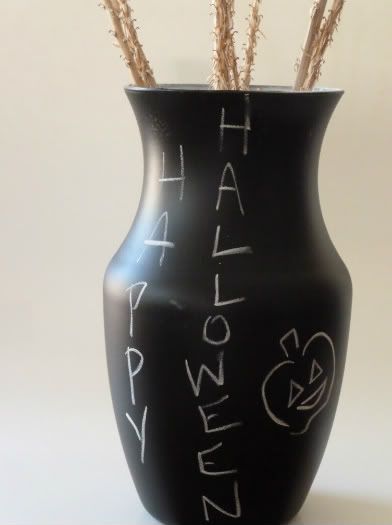
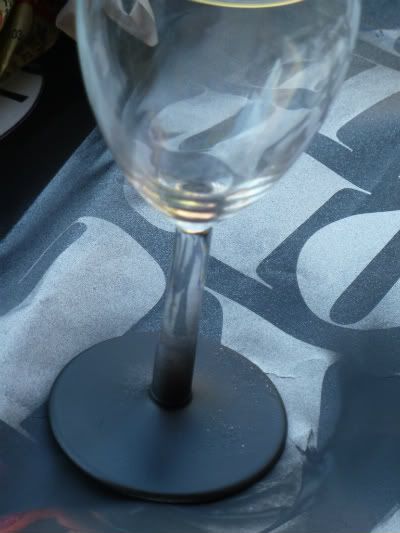
With a little chalkboard paint and a few glass pieces from the Goodwill, I made the cutest Halloween decorations!
Items needed:
*Glasses/Carafe/vase (mine were .49 for the glasses and 1.49 for the carafe.  The vase I already had.)
*spray paint primer
*Chalkboard spray paint
*tape and newspaper


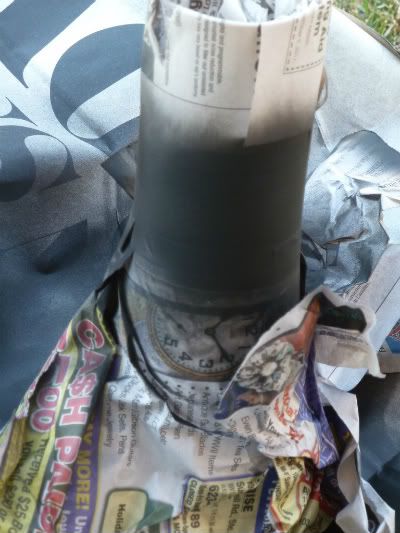
First, I taped the glasses and carafe.  I wanted a strip of chalkboard right across the top of the carafe, and I only wanted the bottom of the glasses painted.
I only had scotch tape, so that's what I used!  I wrapped newspaper around the caraffe to keep the paint from spraying all over, but was less careful on the glasses.  (Obviously!)


I primed, dried, and painted!  Super easy!  On the vase, I just flipped it upside-down and sprayed away!

I love how they turned out!  I can't wait to serve witches brew to my little goblins!
Linked today at:  Lil LunaBlue Cricket, Someday Crafts, House of Hepworths, Somewhat Simple, The Idea Room 504 Main Shabby Nest