Photobucket Photobucket Photobucket Photobucket Photobucket Photobucket Photobucket

Thursday, March 22, 2012

Chocolate Banana Muffins

I gave my daughter and her friend the task of making some muffins for me yesterday.  We meshed and tweaked a few recipes and these were SO good.  You have got to make these!
Chocolate Banana Muffins

Ingredients:
2 Tablespoons butter
1/2 cup sugar
2 egg whites
1 tsp vanilla
3 1/2 ripe bananas, mashed
1/4 cup plain greek yogurt
1 1/4 cup flour
1/4 cup cocoa powder
3/4 tsp baking soda
1/4 tsp salt
1/2 cup chocolate chips

Preheat oven to 325.
Cream butter and sugar.  Add egg whites, vanilla, bananas, and yogurt.  Stir in the dry ingredients and follow with chocolate chips.

Bake 30 minutes for regular sized muffins, 18 minutes for mini muffins.

We doubled the recipe and it made 14 regular muffins and 24 mini's.  So, bake a bunch and share some with a neighbor!

Linking up today at: Every Creative Endeavor, Sassy Sites, Kitchen Fun

Wednesday, March 21, 2012

Hunger Games T-shirt

Ryan and I have been so excited for Hunger Games to come out.  We both read the series and loved it.    One of his Christmas presents was a pair of movie passes specifically for Hunger Games.  


Today I jumped on the bandwagon and made a t-shirt for myself to wear on Friday night.  

Rae Gun Ramblings has so many Hunger Games ideas right now.  If you scroll through her blog you will be amazed.  I got this idea from one of the key chains I saw over there.

How to:

First, I cut out a stencil using freezer paper and my Silhouette.  Then I ironed it on to a t-shirt, shiny side down.
Next, I added fabric medium and glitter (of course!) to some acrylic paint I have.


And I painted on top of the stencil.

True story.  I couldn't find any paint brushes so I used my fingers.  ;P

After it was dry, I peeled off the freezer paper.

Can you see the cute mocking jay in the bottom corner?
And here's me, sporting my new shirt!
In the mirror, backwards.

So, are any of you going to see Hunger Games this weekend?

Friday, March 16, 2012

Those last minute St Patrick's Day Decorations

So I totally ignored St. Patrick's Day.  Until my girls asked me if we could decorate for it tonight.
Sure!

Sparkly paper shamrocks should do the trick.  Tied to ribbon, taped to wooden skewers.  Perfect!

By the way, this is what we have been have been doing for spring break.
The weather is just too perfect.  Have a great weekend!

Thursday, March 15, 2012

Finally Finished with the BEAST

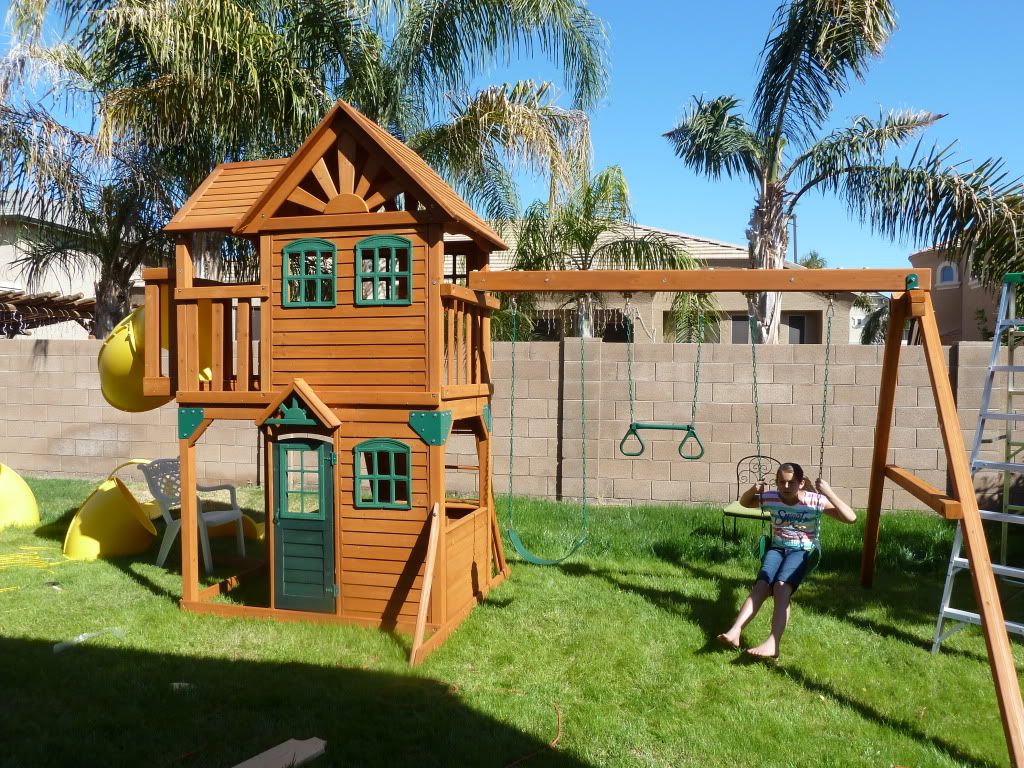
Yes, it is true.  The beast is finally complete!
Monday night we put in an hour and Tuesday night an hour.
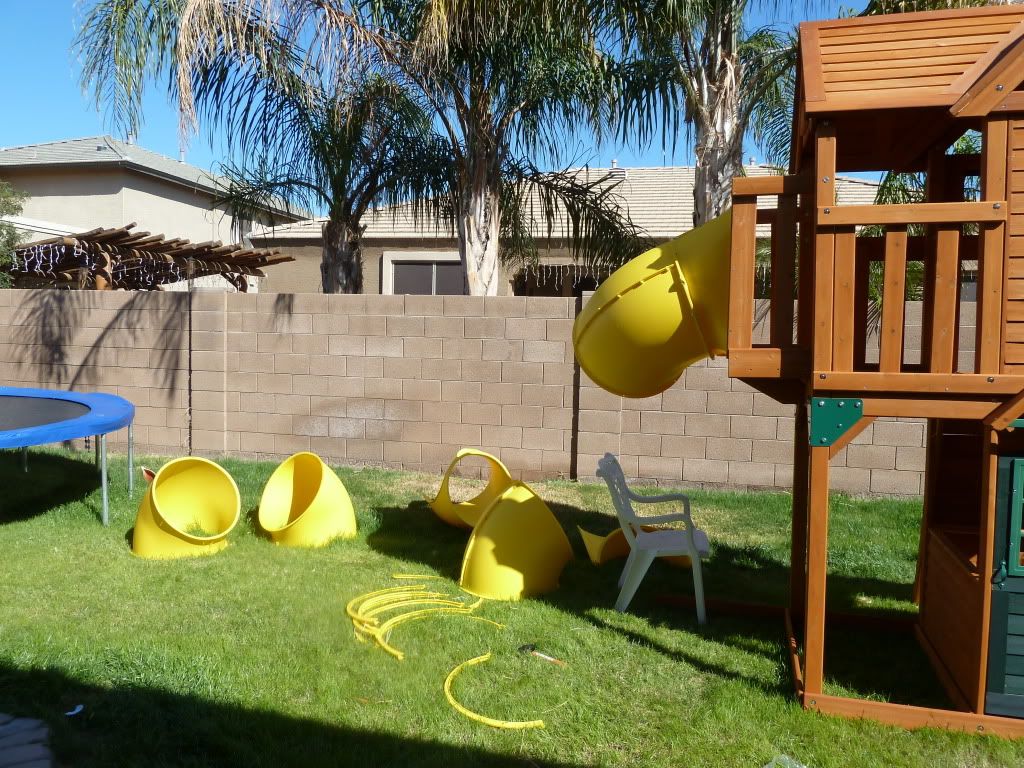
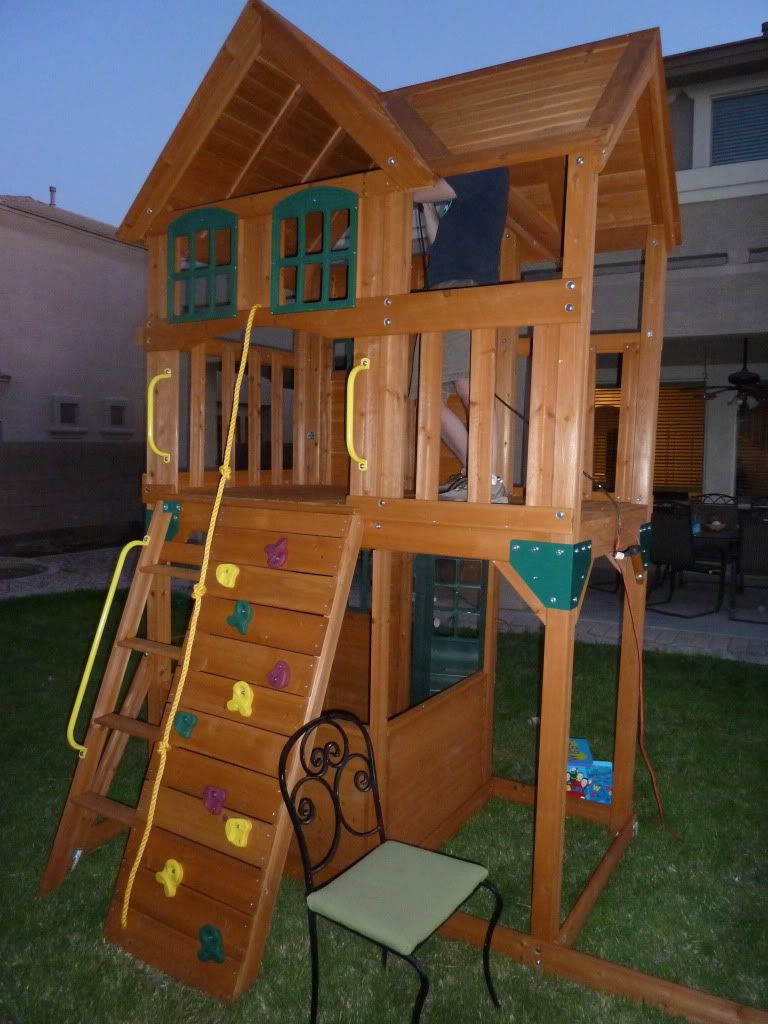
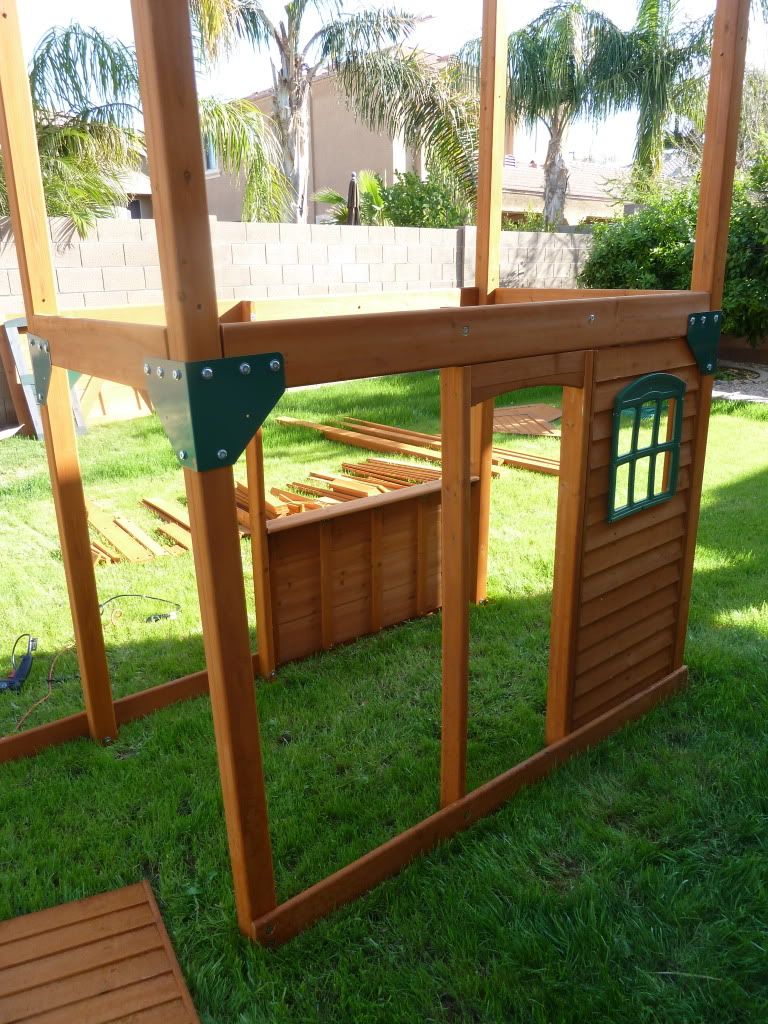
This is where we were at:
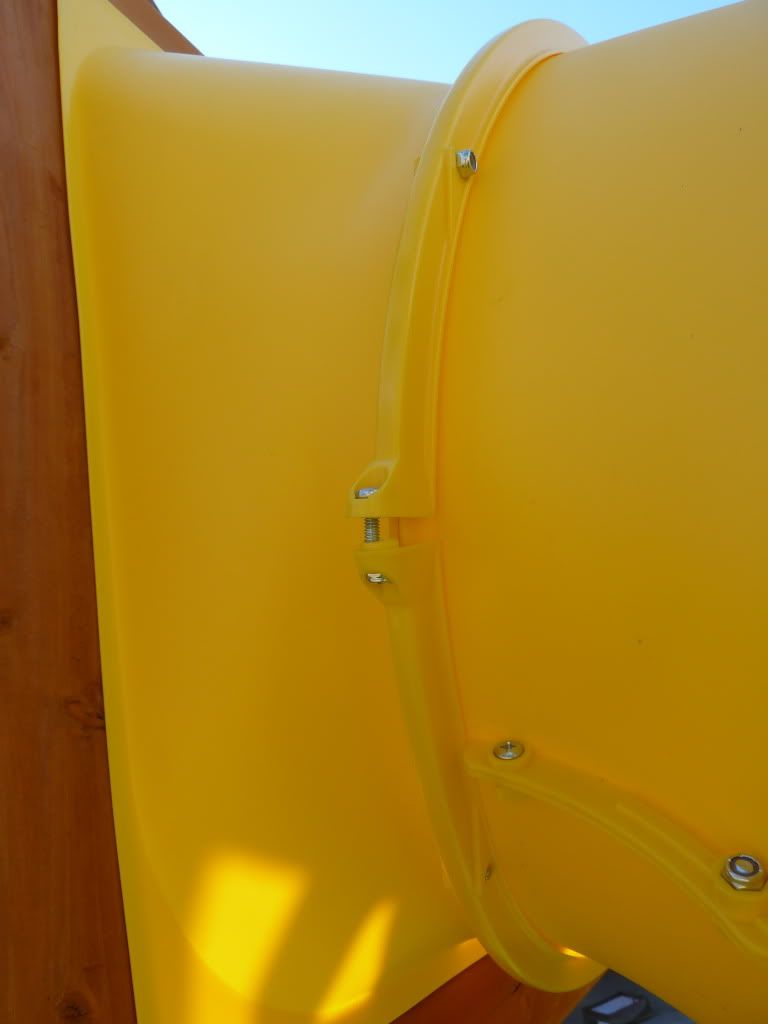
Notice the slide (or lack of?)


Oh, that slide was killing me!  I could NOT get the holes to match up.  My fingers were raw.  I tried for about an hour on Wed. morning.  And gave up!

So last night we worked for an hour and a half.  Almost there.  This morning my 11 year old and I finished up the slide.

I have to say...this has been such a long process!!!!  I am thrilled to have it done, though!

I have a couple of other thoughts I want to share with you.

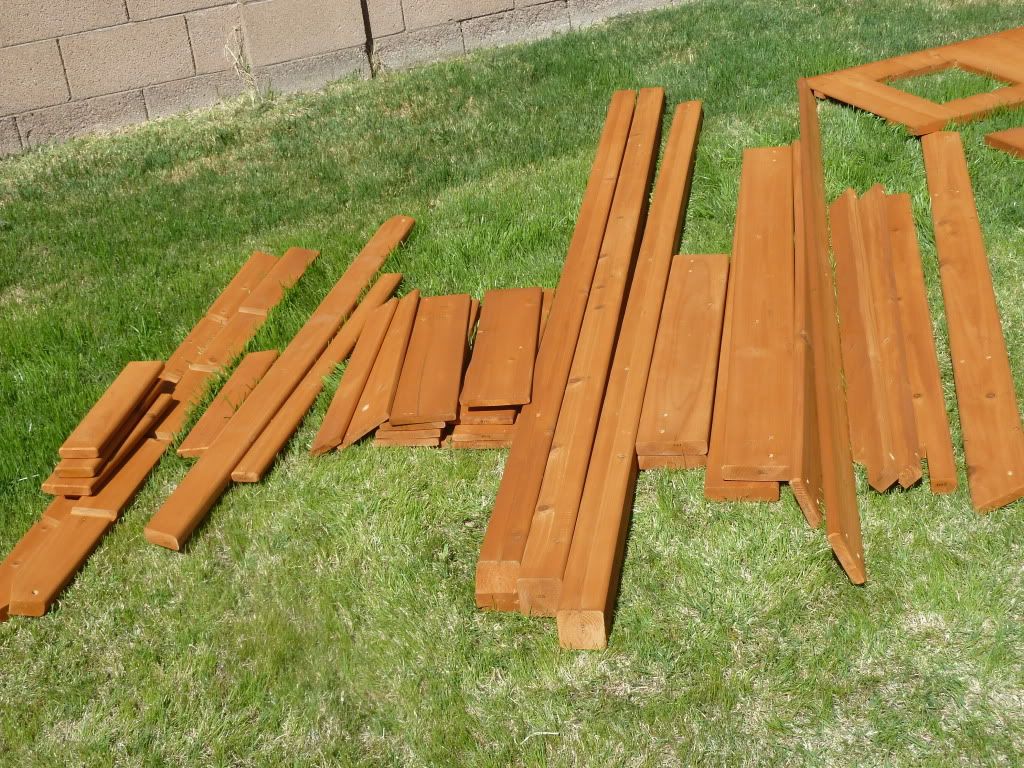
First, inventory your wood.  I rolled my eyes at this, honestly.  But I couldn't find a piece and called it in. They were super nice and said they would said a replacement, but I needed to inventory all my wood first.  They would only send ONE free shipment, so if any other pieces were missing I would have to pay shipping.  I inventoried the wood and found the missing piece.

Second, make sure you have the right drivers for your drill.  We went out and bought a kit with lots of different attachments and mangled all of them almost.

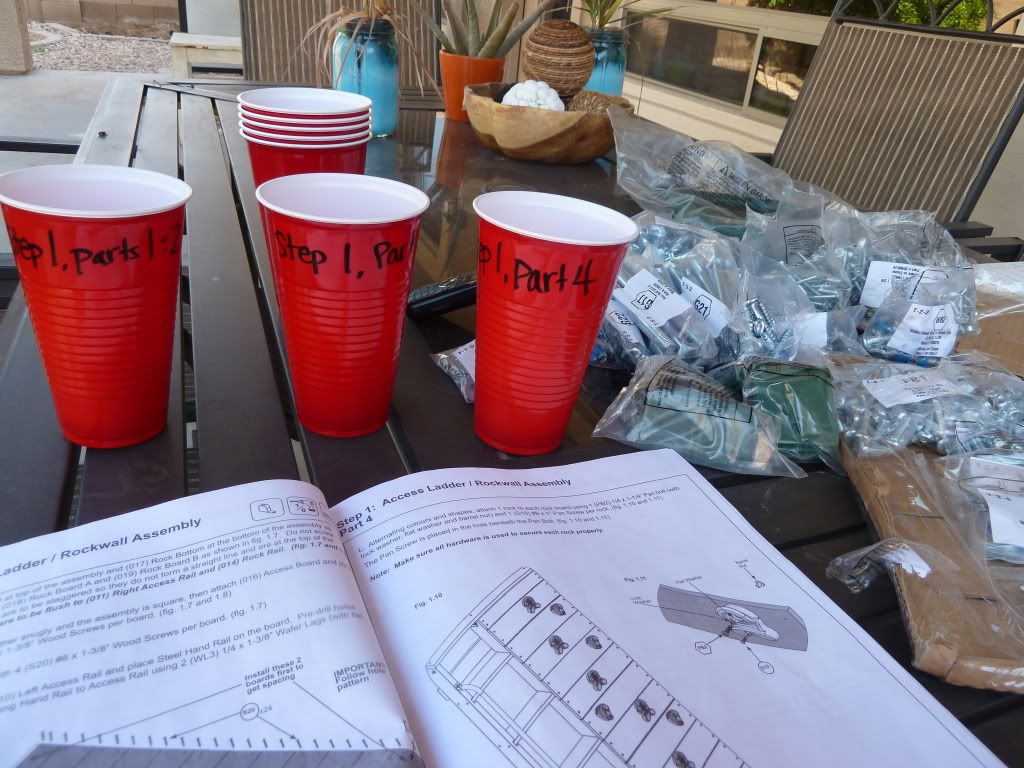
Third, organize!  It makes all the difference in the world!

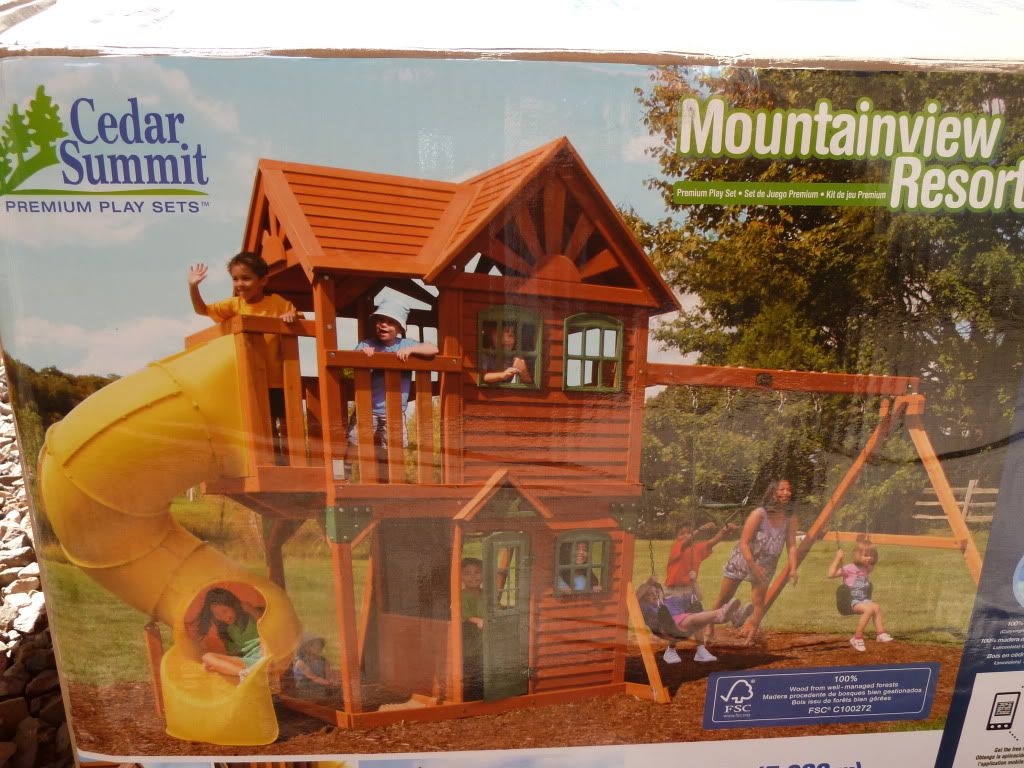
And last, watch the video!  I'm serious!  That happy smiling couple putting it together could be you!  It is a great video, and separated by steps.  I would watch it while Ryan was drilling.  Then I could tell him exactly where and how things were done.

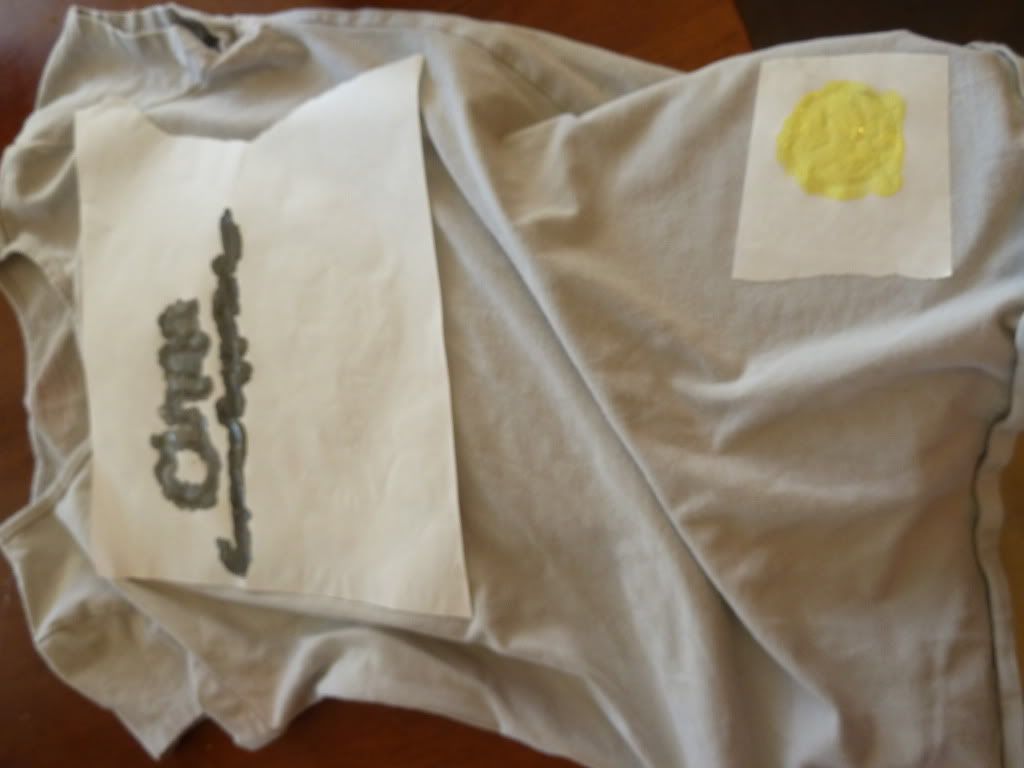
Next step...personalizing!  I am excited to make some cute curtains, a mailbox and a door bell!

Wednesday, March 14, 2012

Part 2 of that big old swing set from Costco

Saturday, Ryan and I spent a lot of hours working on this swing set, so I thought I would give you a low down, in case you are debating purchasing one of these monsters.  aka the Mountainview Resort by Cedar Summit.

Yesterday, I shared some organization tips that seriously saved us.  Using those same tips, I was ready for this day.  The box said 12 hours of labor, but after a little research, I heard it was more like 20.  So I was really nervous.  I put in about 3 hours during the week.

We started our day of fun at around 9:00 am.  We broke for lunch.  We had to take Ainsley to a soccer game, which took about 2 hours.  We ended at 6.  So...about 6 or 7 hours of labor.  And here is what we ended with.

and back side:

Yes, we stripped a few screws.  We mangled quite a few tools.  Our poor drill is barely hanging on.  But...we are getting there!

Tuesday, March 13, 2012

that big costco swingset (some tips for you!)

Have you seen this awesome swingset at Costco?

It's the Mountainview Resort from Cedar Summit.

After much begging and pleading from myself and my children, we finally bought it!
I thought I would share my journey putting it together with you.  And some super helpful tips!  My husband was not SUPER thrilled with having to put this together, so I knew that the easier I made it for him, the more likely he was to complete it in a timely manner.

This swing set has so many parts.  It's dizzying.  My friend Kristen and I picked it up in her truck and unloaded it into my backyard.  Whoa - heavy boxes!  We're pretty buff though, lol!
Look at all that wood!


The first thing I did was enlist the help of my kiddos after school and separate the wood.  We organized it in numerical order.


The second thing I did, was organize the hardware
Using paper cups, I labeled each step and part with a dry erase marker.  Then, I filled each cup with the appropriate hardware.  Grab the cup and go!

So, during the week, I did some work on this all by myself.  Just whatever I could while Alexa was running around outside.  That way, when Saturday came around, Ryan wouldn't have to start from square one.  So with about 1 hour a day (alone) this is what I came up with by Saturday.

A rock wall and ladder, and...

a pretty good start to the frame.

I was pretty happy with what I accomplished!
Tomorrow I will show you what we did on Saturday.....

Friday, March 2, 2012

Party Favors!

Today I wanted to share some really cute party favors with you.  I shared these with Lil Luna last week, and was going to share them with you at the end of this party series.  HOWEVER, my PC is no longer reading my SD card.  So hopefully I can get that fixed over the weekend!

I loved making these favor packets.  They were easy and turned out so cute!


Materials needed:  
Cupcake wrappers
glue stick
embellishments
favors

Instructions:
1. Pull the pleats and folds out of the cupcake liners, flattening them a bit.


2.  Using glue stick, glue 1/2 of one liner to the other.  Just glue the edges and make sure you leave an opening big enough to put your treats in.

3.  Glue the embellishments on top.  I used a simple flower cut out with a heart on it.  I can imagine some darling printable from you creative ladies with a professionally printed "thank you" on it.  I love it!

4. Insert your favors.  We made some earrings, hair clips, etc. and threw in some candy for fun.

5. Glue the rest of the of the paper together, again gluing only the edges.

There you go!  A simple, easy and adorable way to hand out party favors!


Linked up today at: Pocket Full of Pink, Joy in the Jumble, Every Creative Endeavor, Kitchen Fun, Whipperberry, 30 Handmade Days, Naptime Crafters, Lolly Jane, Tater Tots and Jello

Thursday, March 1, 2012

Birthday Activities - Ice Cream in a baggie

One of the biggest hits of the 11-year old birthday party last week was ice cream in a baggie.

If messes stress you out, you will definitely want to do this outdoors!  I can't tell you how many puddles of salt water I had around my kitchen.

But the girls said it was the best ice cream they EVER had!

Supplies:
Gallon baggies (1 per person)
sandwich size baggies (1 per person)
ice (we went through 2 big bags of ice for 16 girls)
rock salt, the kind made for ice cream

Ingredients:
1/2 cup half and half, per person
1 splash vanilla, per person
1 Tablespoon sugar, per person

I had the girls get in line and we loaded the ingredients into the little baggies.  Make sure they seal the baggie tight!

Have them fill the Gallon baggie 1/2 full of ice, then add 1/3 cup rock salt.  Put the little baggie inside the big baggie (with the ice and salt!) and zip.  Again, have them make sure it is zipped tight!

Shake!  Just shake, shake, shake!  I think it took around 5 minutes to get the consistency they like.

Take the little bag out of the big bag and pour into a bowl.  It will be a little soft, so I wouldn't recommed a cone.


Delicious!


Linking today at Somewhat Simple , Lil Luna, Every Creative Endeavor, Kitchen Fun, Whipperberry, 30 Handmade Days, Naptime Crafters!