With next week being the
last week of school (yay!) I wanted to give the teachers a little gift to say thanks for a great year. I saw
these clocks and decided to make them my own style. The great thing about this project is it can be used for any gift, really. I am picturing a cute baby gift with the name and birthday on it. Or a fathers day present for dad's office with a more masculine touch. Lots of possibilities! Best part:
only $3.99. Yes, you heard me right. $3.99!
Time it took for project: 1st project was 1 hour. 2nd and 3rd were 15 minutes. Hopefully my pictures and steps will save you some time.
Supplies needed:
-clock from target. These are only $3.99 They have these in every color.
-Scrapbook paper (we all have some laying around, right?
-Any embellishments wanted. I used some old rhinestones I had lying around and some vinyl cut with my Silhouette, but stickers would work or you could simply print it with your printer!
-glue stick
Part 1: Taking apart the clock
Step 1: Remove cardboard.
Honestly, I felt so dumb. I was trying to cut off the cardboard, etc. Oops. There are these little screws for a reason. Remove them.
Step 2: Push the tab in with a flathead screwdriver or a knife or something to pop off the plastic cover
 |
This is what you will have
Part 2: Clock face
|
 |
| Trace around the plastic cover and cut out circle. Cut on the inside of the circle so it is a little smaller. |
 |
| Cut out a small hole in the center. Cut a line about 1 1/2 inch coming out of the circle. This is necessary to get the hands of the clock through the hole. |
 |
| Test the paper before you glue it to make sure it fits. Put the 3 hands through the hole and carefully put the ends in through the slit you cut. Mine was a little too big, so it was a good thing I checked. Trim it down if you need to. |
 |
| Using a good, acid free glue stick, glue the heck out of the clock face |
 |
| Slip the paper back on. Looks great so far! |
Part 3: Embellish
 |
| Using e-6000, I glued some rhinestones on to bling it up a bit. |
 |
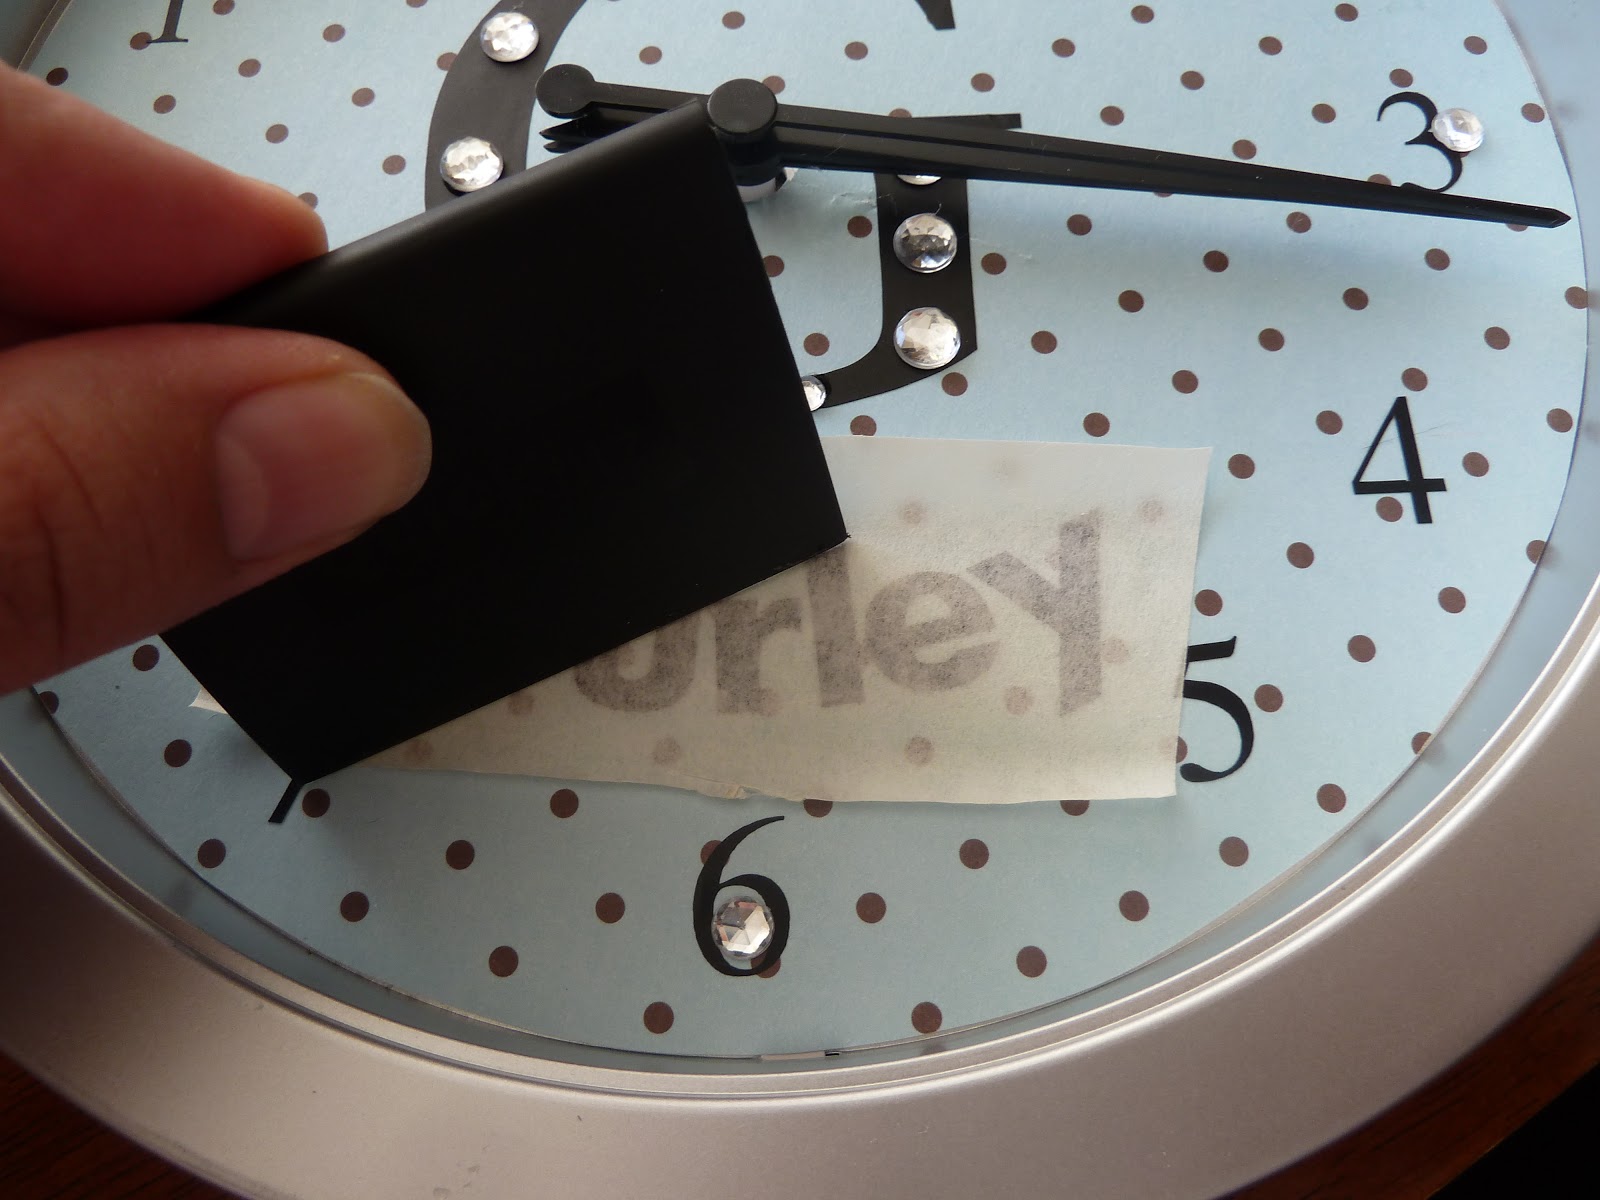
| I also used vinyl letters and numbers |
 |
| But ewwww! Look how horrible the middle looks! My other two did NOT have that problem. To fix this, I cut and extra "o" out of vinyl, and put it around the center. FIXED! |
 |
| Be sure to stick a battery in and make sure it works right before you put the cover on. I had troubles with my "B" clock. I had to play with and adjust the hands a bit. Whew! I almost had to fork out another $3.99 for a new clock! (wink)
Pop the cover on and
Finished! |
Here are the other two I made. I love them!


6 comments:
I LOOOOOVE these!!! What an awesome idea and I am totally going to do these for the end of the year!! Thanks so much for sharing!!
Love your blog and this project - so creative and fun and such a great gift to get! Just wanted to let you know I featured it in my roundup of clock re-dos and makeovers here. Feel free to check it out if you want and hope you like it! : )
-Mel the Crafty Scientist
You have written informative post on calendars. Looking forward to read more.
Clocks Wholesale
This article has helped me in understanding this. Keep Writing! . You can also check our blog: Personalized clocks
supreme clothing
stone island
pandora jewelry
yeezy shoes
bape
yeezy shoes
supreme clothing
jordans
pandora
lebron 18
This is such an easy DIY project, I love how versatile it can be.
Post a Comment