





Photobucket Photobucket Photobucket Photobucket Photobucket Photobucket Photobucket

Wednesday, November 16, 2011

Super Saturday: Bottle Cap Magnets

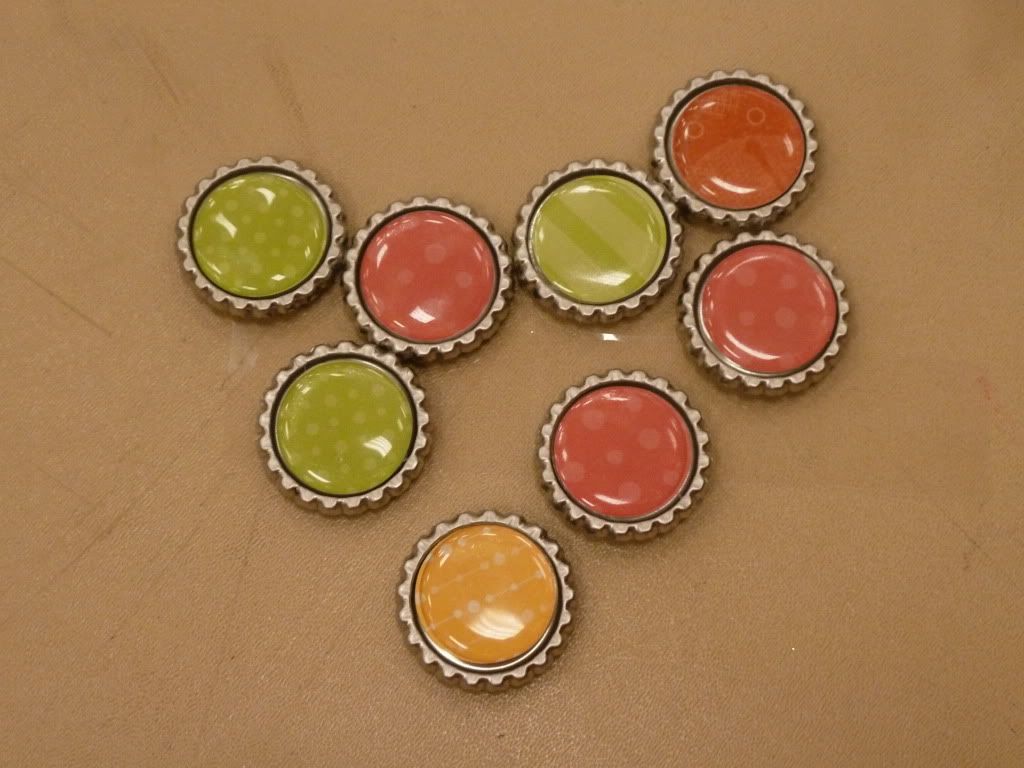
A few of you asked me to share how we made these cute magnets at our Super Saturday, so of course!

Now this project was actually done by Jen from Jen's Brain Things.  I have used some of her pictures, as well, with her permission (of course!)

Items needed:
Bottle Caps
3d Epoxy domes
scrapbook paper
magnets

First:  Buying the materials.

Bottle caps can be found SUPER cheap.  They are all over, but Aunt Christy's is 100 for $3.95.
The 3D epoxy dome stickers are 100 for $9.95.  Not quite as cheap as the bottle caps, but not bad.  Those were also at Aunt Christy's.  I linked the actual item for you in case you want to check them out.
They sell all this at the craft stores, but they are super crazy expensive there.
example:
Hobby Lobby stickers 24 for 2.99.  (OK not too bad.)
Hobby Lobby bottle caps 24 for 9.99 (Yowzers!!!)
Also, the pre-flattened bottlecaps can be found at bottle cap co, but they are $14 for 100.  Any color. (even cheetah.)  And the price goes down with quantity with free shipping over $25.

Magnets seemed to be strongest and cheapest at Hobby Lobby.  50 for $6.99.  Now Michaels are same price and the magnets look identical, but they weren't as strong.  JoAnn's didn't have any large packs at all.

Second:  Tools!!
Jen has this cool tool called a cuttlebug.  I'm not sure of another way around this.  Maybe run it over with your car?  lol.  If you are reading this Jen, let us know!
1 inch circle paper punch
hot glue gun

Ready?  Let's go!

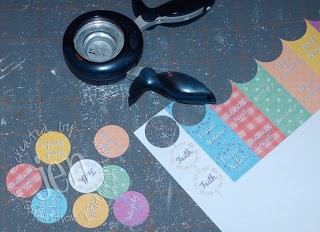
First, take your cuttlebug and run the bottlecaps through.  If you want a detailed description of how, go here.  (Or buy the preflattened bottlecaps!!)

Next, punch out your paper circles.

Place them on the bottle cap.
Add the sticker.  If you check out Jen's tutorial, you will notice she used a glaze instead of the stickers.  But trust me - the stickers are so much easier.  And if you are working on a large scale, they don't need drying time which is a BIG DEAL!

Use a glue gun to glue the magnets on the back.  If you have E6000, that is a good option, as well.

Done!  So easy!!

Jen did some cute YW values magnets I thought I would show you, as well.

Then she put them in a gift card tin.  So cute!

Thanks Jen for letting me share your Super Saturday craft today!
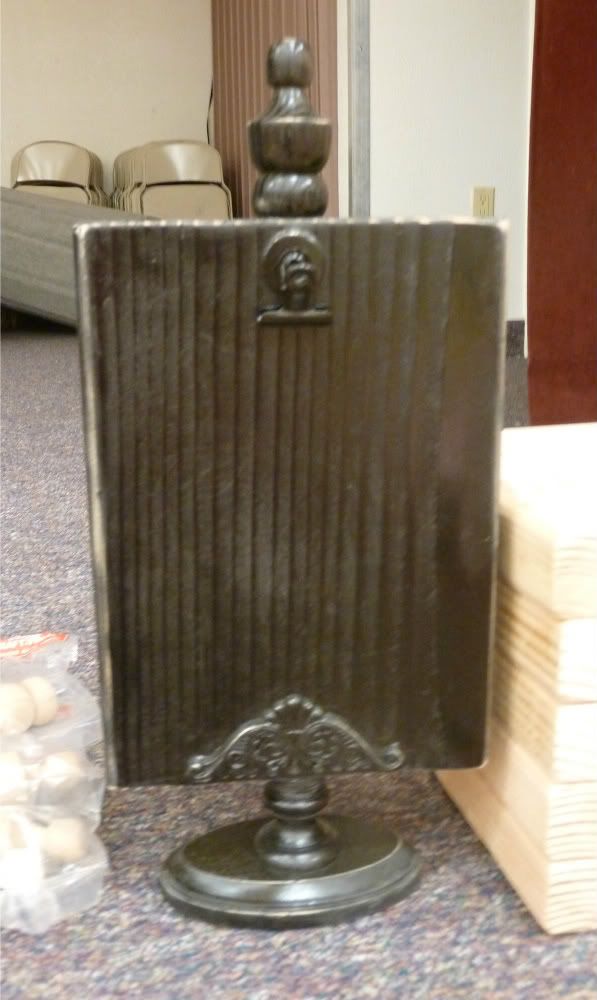
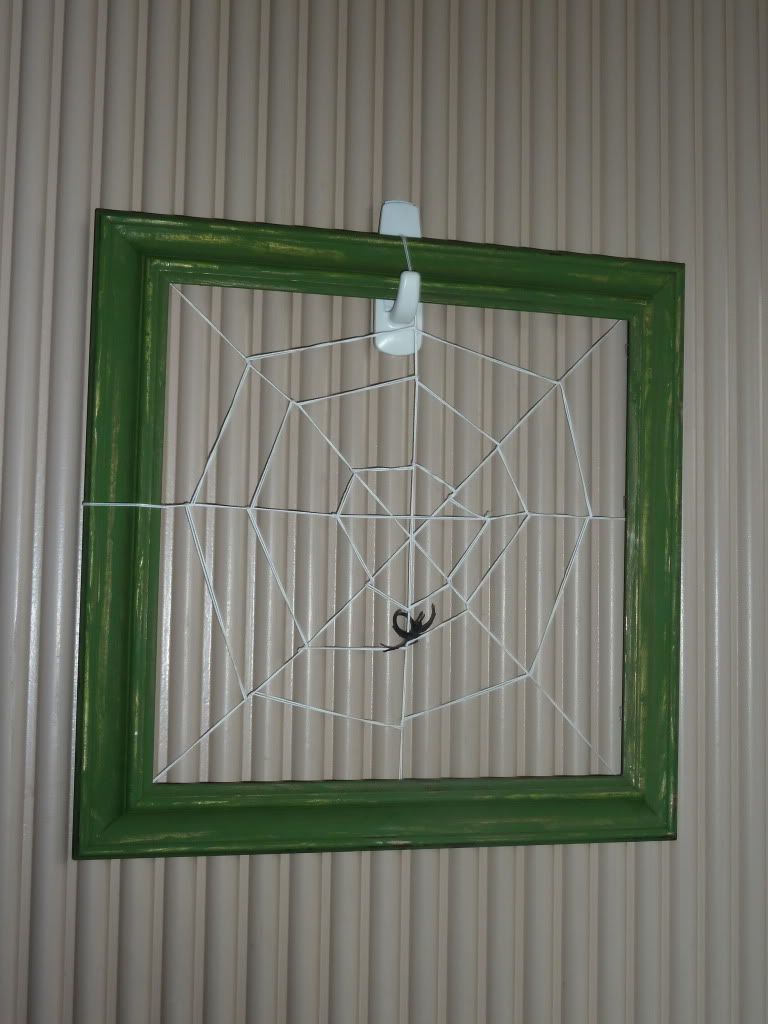
And for those of you wondering how the cute picture frame things were made, tutorial found here at Shanty2Chic.

Saturday, November 12, 2011

Gluten-Free Anyone?

This is a Sponsored post written by me on behalf of Schar for SocialSpark. All opinions are 100% mine.

It seems that everywhere I look more and more gluten-free options are available!  It's amazing!  Restaurants even have them on their menus.  

Now, I am not allergic to gluten, but I went gluten free for a while and decided that my body likes me a lot better when I don't eat it.  It really surprised me!

So when I heard about the new gluten-free products from Schar Club I was totally taken back!  Sub sandwich rolls.  Ciabatta rolls.  Baguettes.  I am not even kidding!  Maybe I live under a rock, but I didn't even know they existed.

scharlogo_hires_web.jpeg

My kids think baguettes are the best bread ever invented.  They would take a small baguette to school for lunch if I let them.  Just that.  Nothing else.  They LOVE it!  So I was thrilled that I could make food for my whole family, including me!  And can't you just imagine dipping them in some yummy soup?  Again - gluten-free!

Schar Club is not only the leader in gluten-free food, but the are the bomb in my book for launching this awesome line of food.

Want to try some free?  Click her for a Schar free sample.  This website has recipes, giveaways, dieticians and Coupons for a Free Sample!  All you have to do is sign up for the Schar Club.  Super easy. (and worth it!)

What are you going to make with your gluten-free bread?  A sub?  Meatball sandwich?  Turkey on Ciabatta?  Leave me a comment and let me know!

Visit Sponsor's Site

Tuesday, November 8, 2011

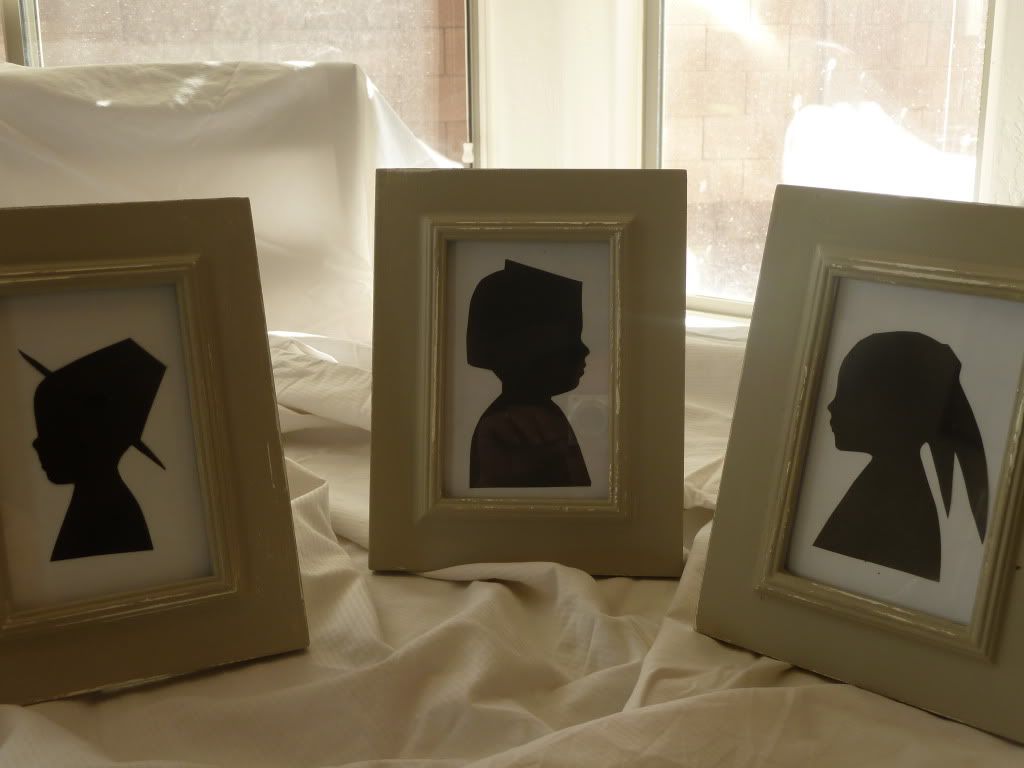
Thanksgiving Silhouettes


I know it hasn't been long since I did my Halloween Silhouettes, but I couldn't help myself.  When I saw these Thanksgiving silhouette table settings at Martha Stewart I knew I had to personalize them, as well.

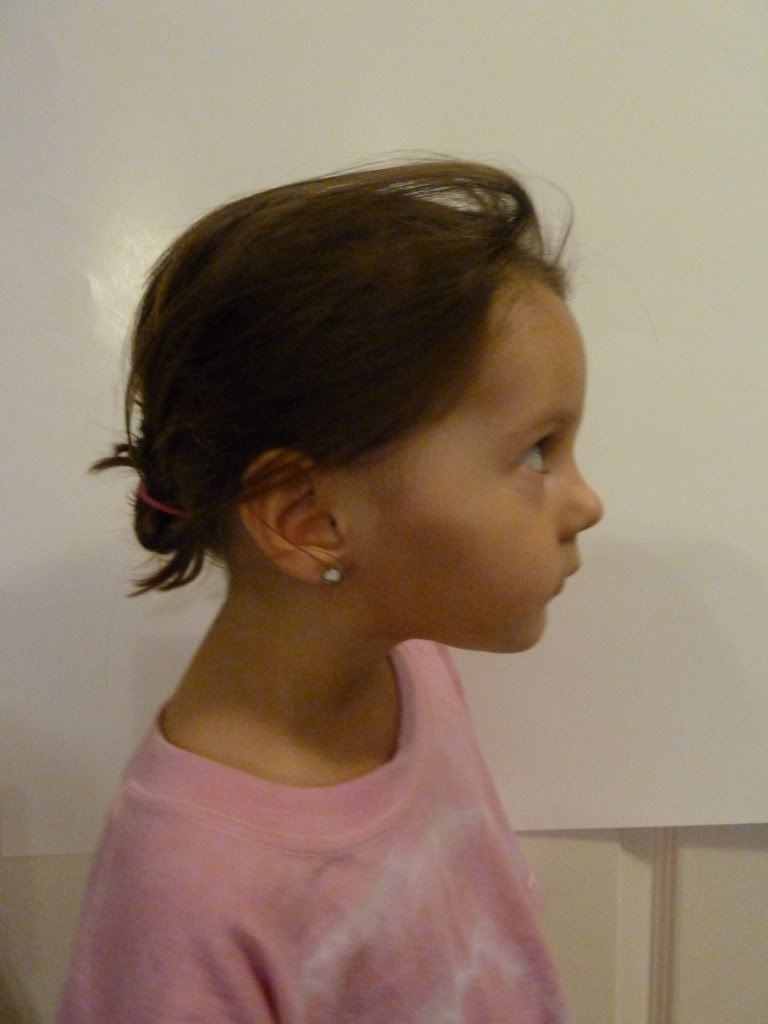
Just like my spooky Silhouettes, I took a side view picture of my kids and printed it out on regular paper.
Then, I drew the hats or feathers on the picture.
I did one thing differently this time, though.
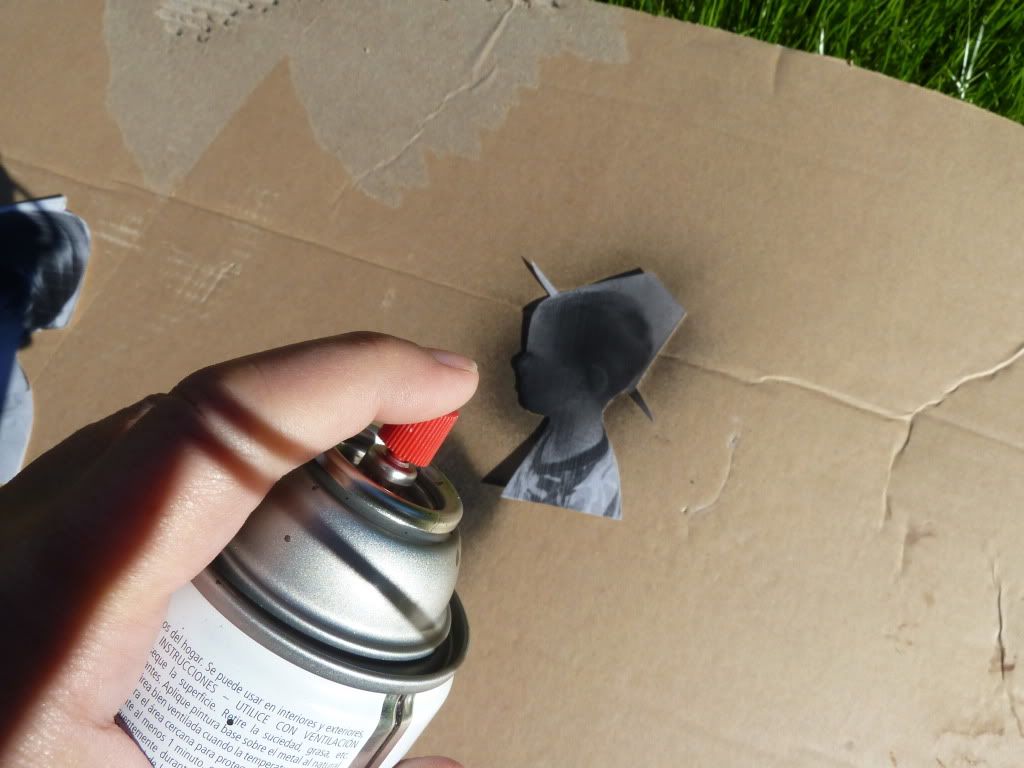
Check this out:
After I cut them, I took them outside and spray painted them black!  So much easier than using a Sharpie.
And they dried super fast.
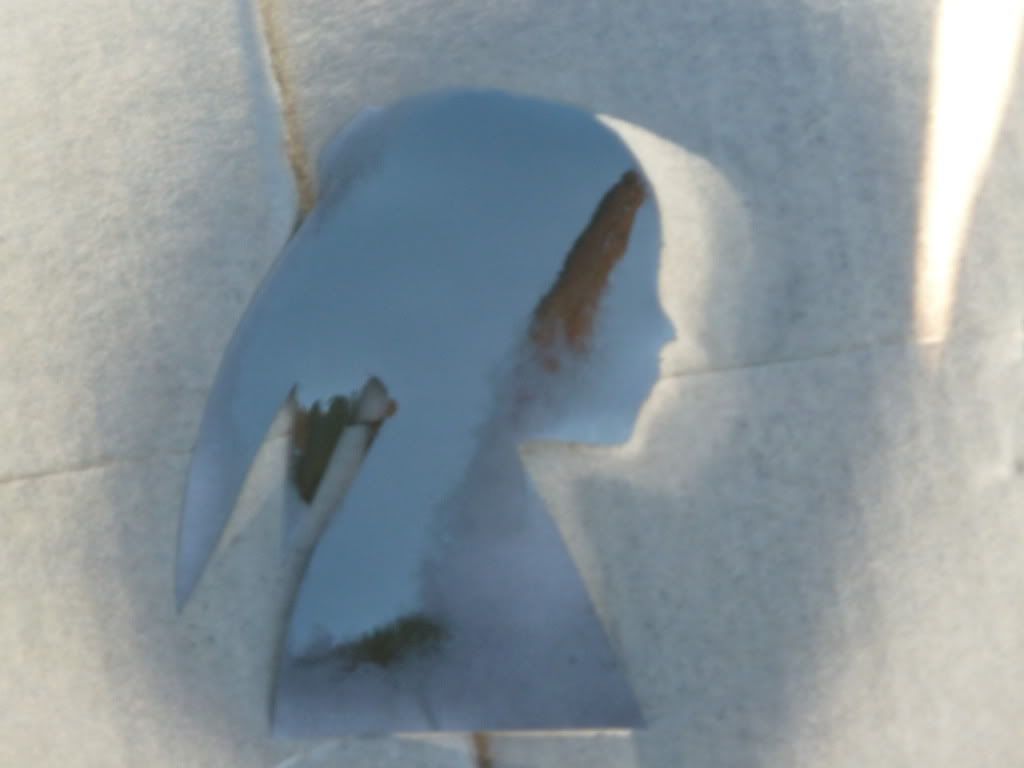
Then, I just stuck them on card stock and framed them!  Super easy!


Sunday, November 6, 2011

Super Saturday Crafts - Magnet Board Tutorial

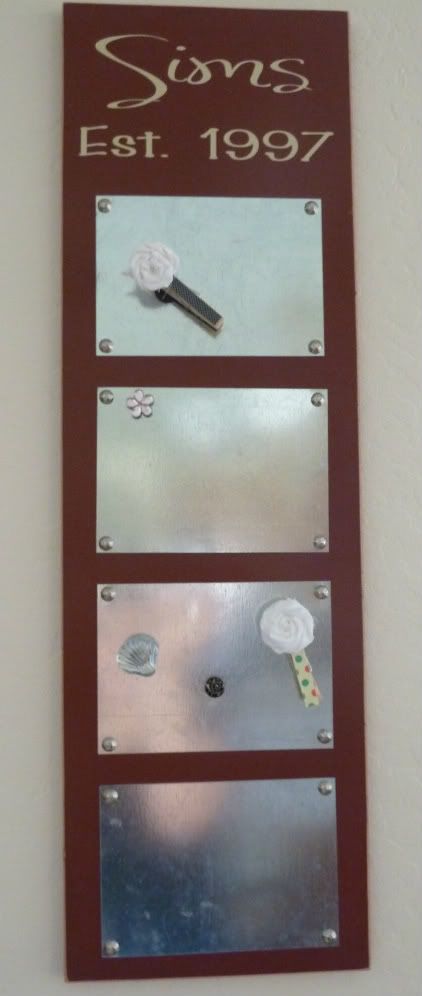
For some CRAZY reason I volunteered my services at our neighborhood Super Saturday. We had a few crafts for the ladies to put together to hand out this year as holiday gifts. Whew! Who knew that a project so easy to make for 1 could be such a pain in the butt for 20? The project I chose was this magnet board:

We also made these awesome picture frames:
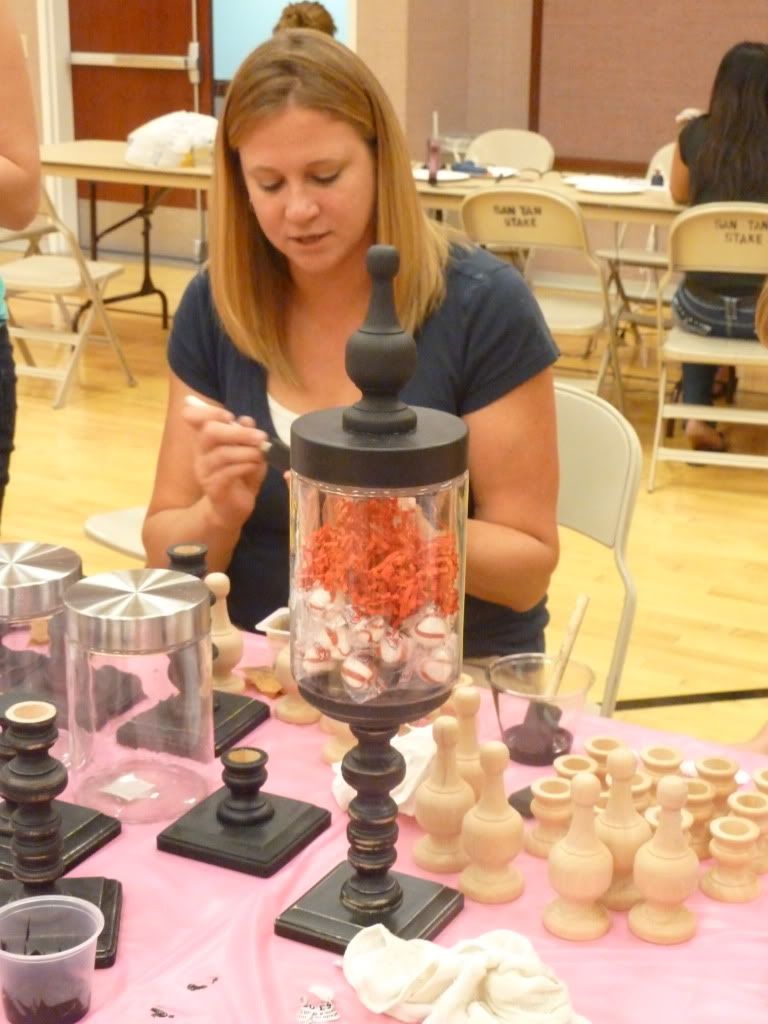
And some really cute apothecary jars:
Oh, and how can I forget the magnets?!?
These are going to look super great on the turquoise magnet board my mom and I made for my niece.

I have to give you the low down on finding supplies for this project.  Lowes is my usual "go to" store, but not this time.  Oh no.  Home Depot was the only place for this magnet board.  Lowes originally had some metal flashing sheets in their roofing dept. for about $1 that I was going to clip in half with some tin snips.  I was NOT looking forward to this because I knew it would leave them a little jagged and that always makes me nervous with kids around.  When I went to buy them, however, they informed me that they stopped selling them.  So my only option was aluminum flashing.  Well hello!!!!!  Aluminum is not magnetic so no!!  I already checked out Home Depot and they said they didn't have any either.

I was so disappointed.  I had already collected the money from all the ladies and didn't know what to do. I searched and searched the internet with no luck (in my price range.)

I went back to Home Depot on a whim and did NOT ask for help this time.  I just went straight to the roofing dept. and guess what!!! They sell the sheet metal for 64 cents a piece!  Yeah!  I was so excited.  They had piles of them.  


Magnet Board Tutorial
total cost:  less than $10/per board

Items needed:
10" x 2 1/2' board.  These come in 10" sections and they cut them for free.  (They are about $16 a piece, equaling $4 each)
4 pieces of sheet metal from HOME DEPOT 5"x7" (64 cents each)
16 decorative nails (about $1.50 for 24)
Vinyl lettering
paint 
sand paper

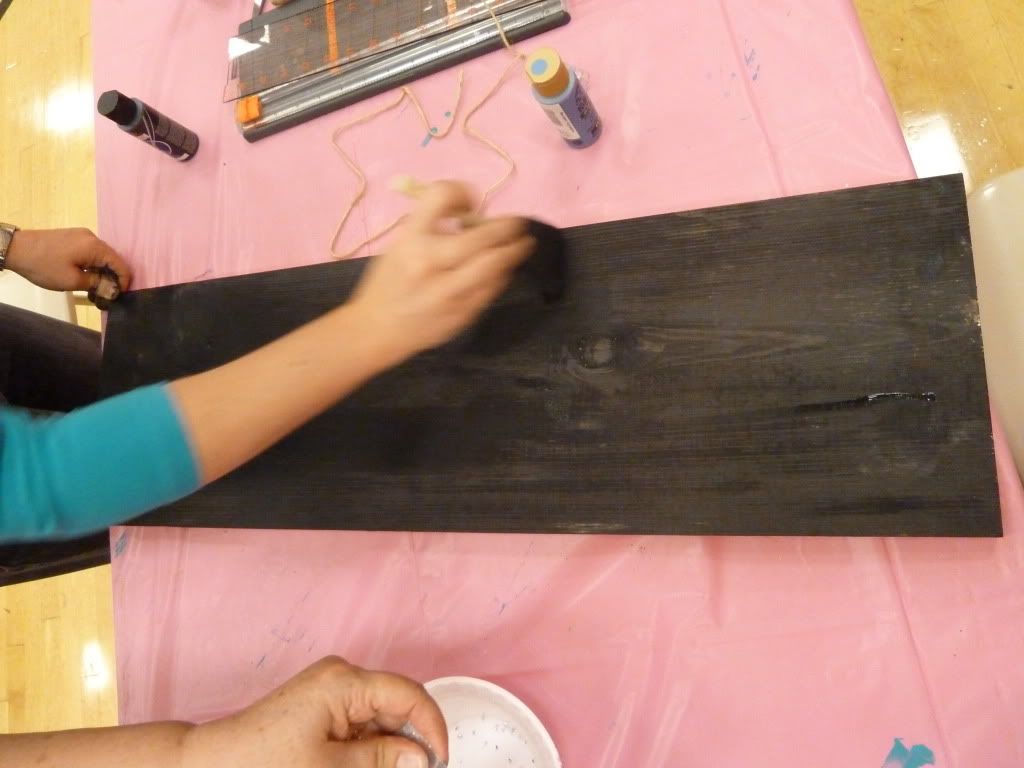
Step one:  Paint the board.  Front and sides.


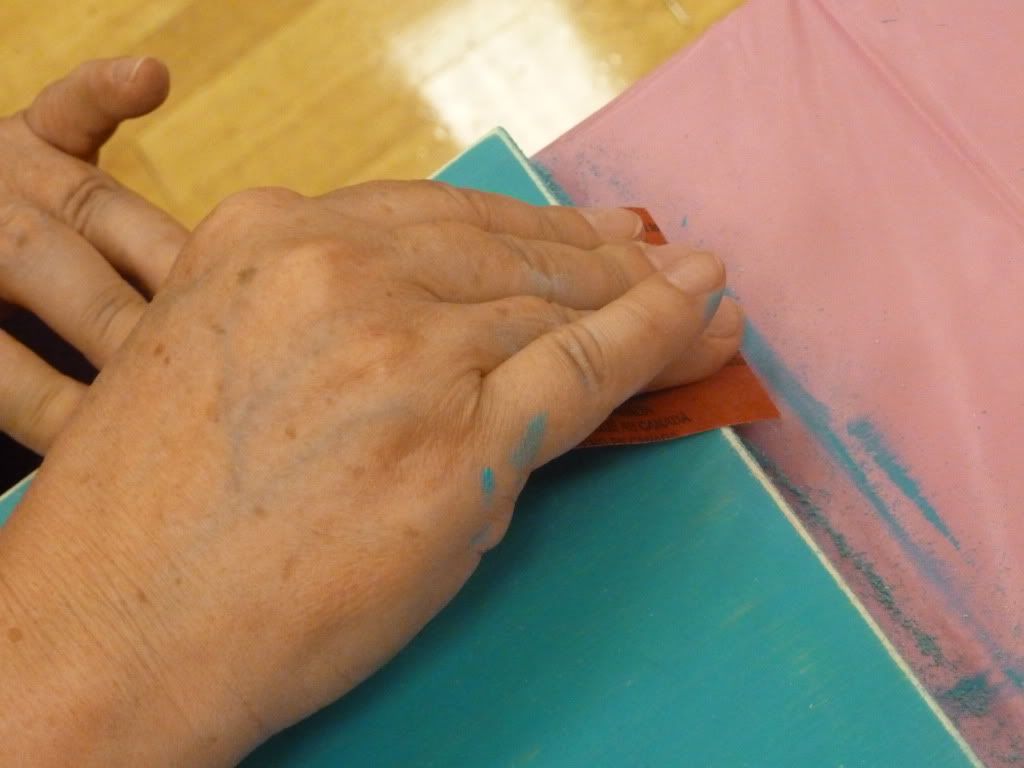
Step 2:  Sand the edges.

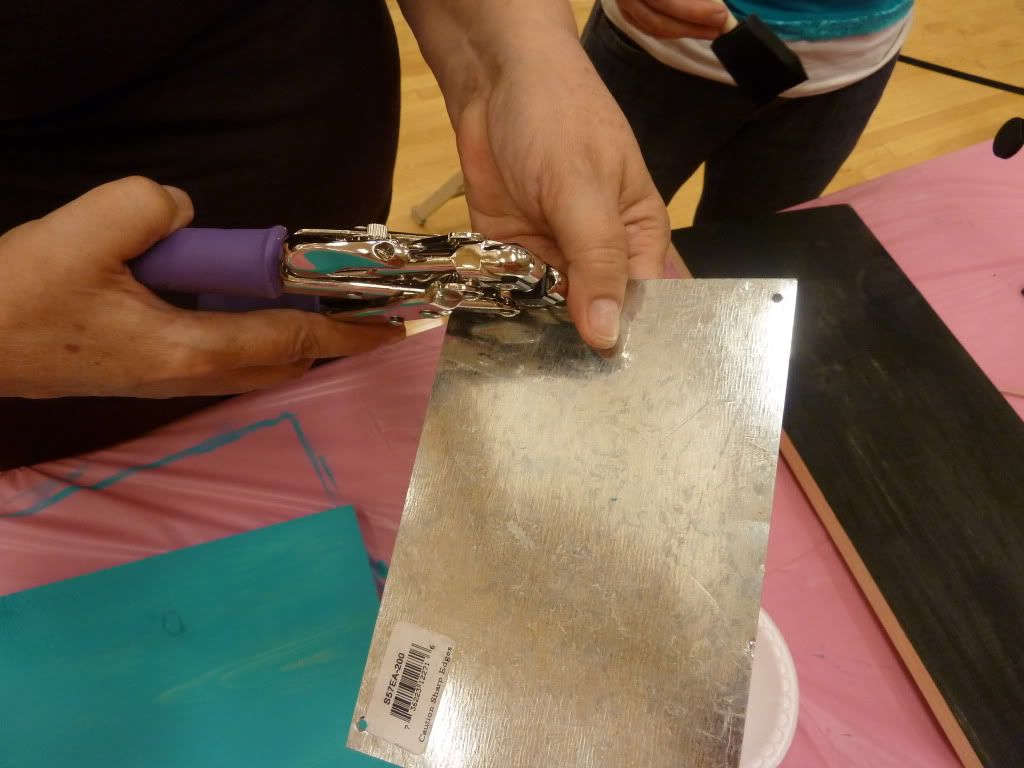
Step 3:  Drill or punch holes in all four corners of the metal.
Now my friend Jen has this really cool tool called the "crop o dile" or something like that.  It was awesome.  It punched right through the metal.  I have GOT to get me one of those.  Otherwise, just drill little holes in the corners.

Step 4:  Nail the corners on the wood.  Just use a regular hammer and pound them in.

Step 5:  Add your lettering to the top.  I used Ma Sexy font.  It was just a free one I found on the web and cut out using my Silhouette.

They turned out super cute and not bad for an under $10 project!

Monday, October 31, 2011

Happy Halloween!

After my 10 year old daughter spied on my while I was looking at this tutorial from MADE, look what I found all around the house...
and...
And a few others.  That girl takes after her mom, I tell you.

Happy Halloween from the Sims!
(plus one in the dark)

Tuesday, October 25, 2011

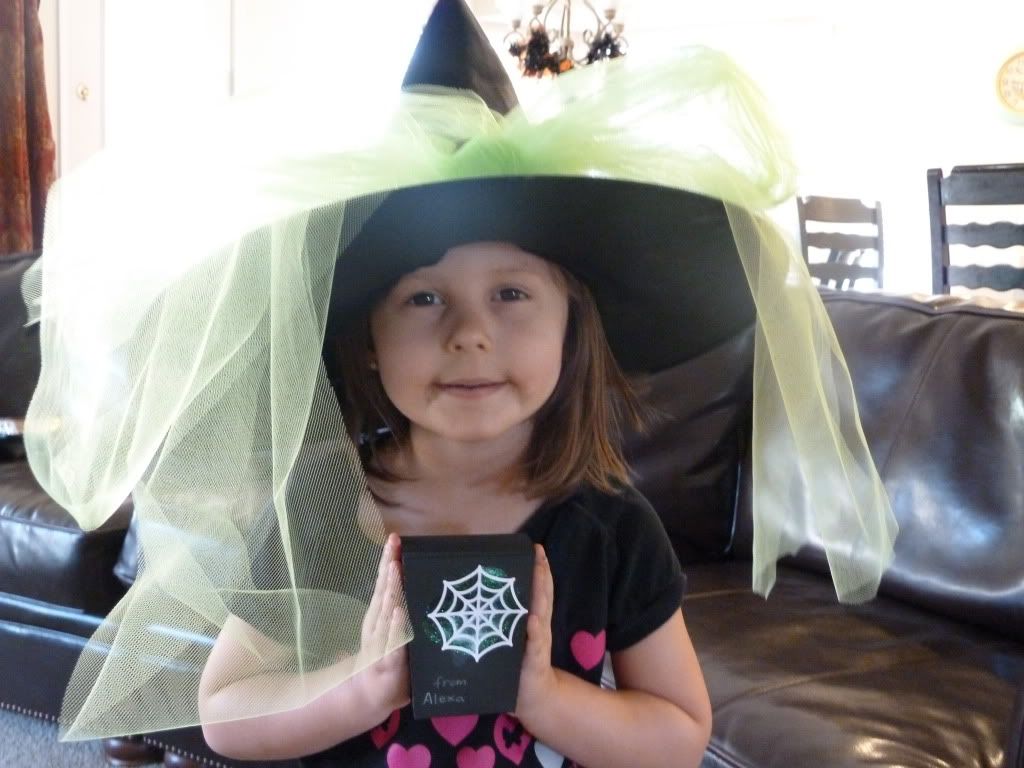
Trick Or Treat Boxes

What do you do when your 3 year old decides she doesn't want to go to dance class today?  Sometimes I let her stay home, but 3 weeks in a row?  And she really loves it! It's just that lazy day afternoon setting in.

So today we decided to make treats to share with all the little girls at dance class.  It is the Halloween party, after all!
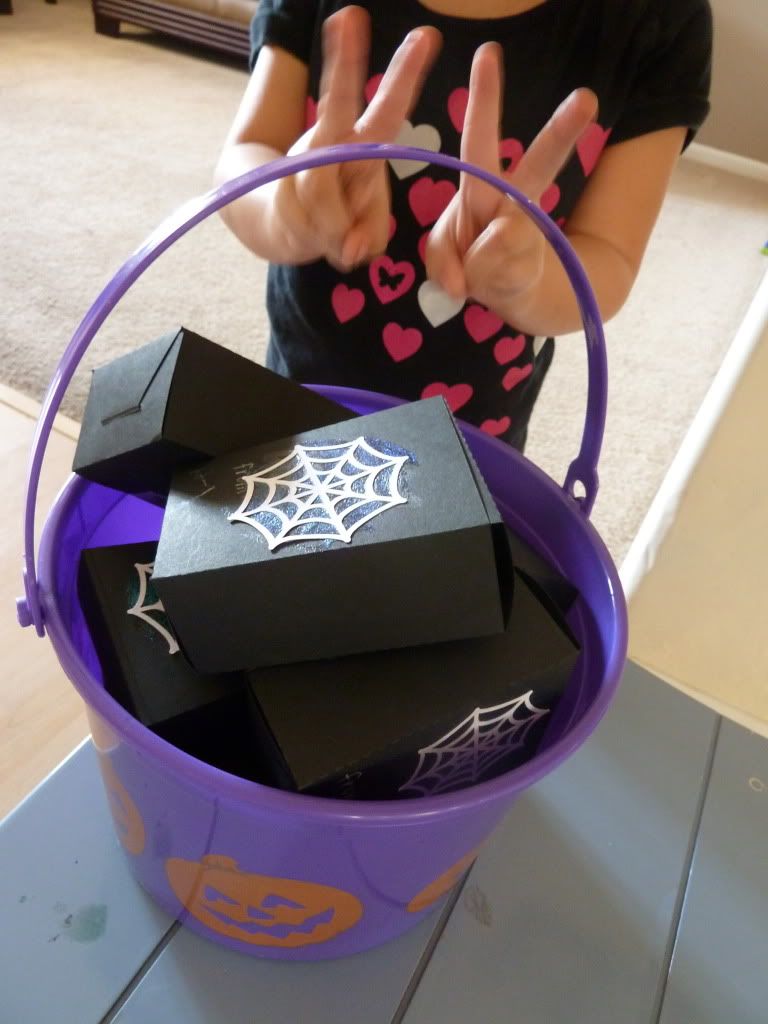
Using the Silhouette, we simply cut black cardstock into boxes using Adorable box 6
I folded them and she taped them.


At this age, it is all about what they can do alone.  "All by myself!"
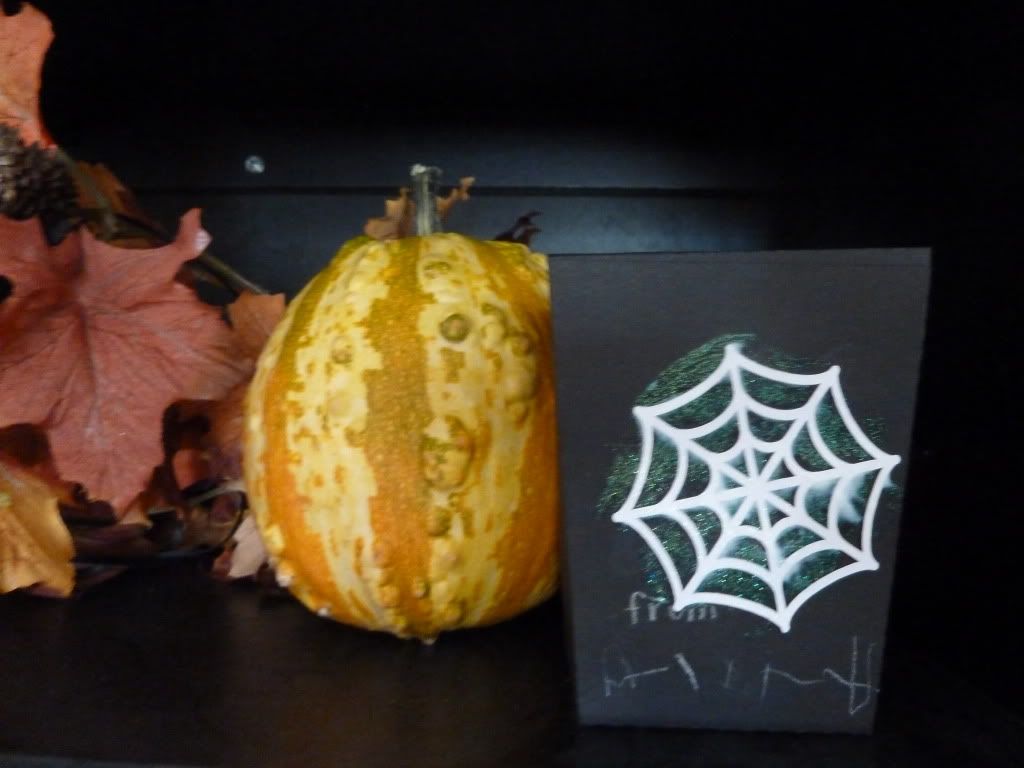
So she then glued the webs on with a glue stick.  We cut those out with spiderweb 1042.


Finally, she painted over the web with glitter paint and we took turns writing her name on the bottom with a white colored pencil.
These little boxes are the perfect size for just a couple pieces of candy and a spider ring.

After talking these up all morning, she wouldn't put on her costume.  OK, I can handle that.  And then came the "I'm not going.  No way."
In my head I was thinking, "Get in the dang car!  I already paid for this class!"  But my mouth was saying something about sharing our fun presents with all our friends.  And....it worked!  Yay!  We made it to dance class with a smile on both of our faces.

Linked at Living Life Intentionally, Mom to 2 posh little divas, and Crafty Moms Share

Monday, October 24, 2011

Waffle Turtle Cookies and a little organization tip!


Thanks to Tervis for sponsoring my writing. Visit their website http://www.tervis.com to learn more about the world’s first smart cup.

While we were in Utah, my son and hubby got to go to a late at night football game.  I knew that wouldn't be a good idea for my 3 year old, so we girls headed over to my friend Cassie's house for the night.
Cassie is one of those beautiful, organized, wonderfully nice people.  And I love her home and her creativity.
You aren't going to kill me for this picture, are you Cas?

While we were there, she made last minute plans on Sunday morning to have someone over for dinner that night.  Knowing she wouldn't be going to the store, I asked how she would manage that.  Then she shared one of her secrets of life.  ;)

Always have -on hand- ingredients for an extra dinner and dessert.  Always.

This has already proven helpful for me.  I keep an organized dinner menu.

BUT, there are days where I have extra kids, or less time, or I just don't WANT to eat what is on the menu for that day.

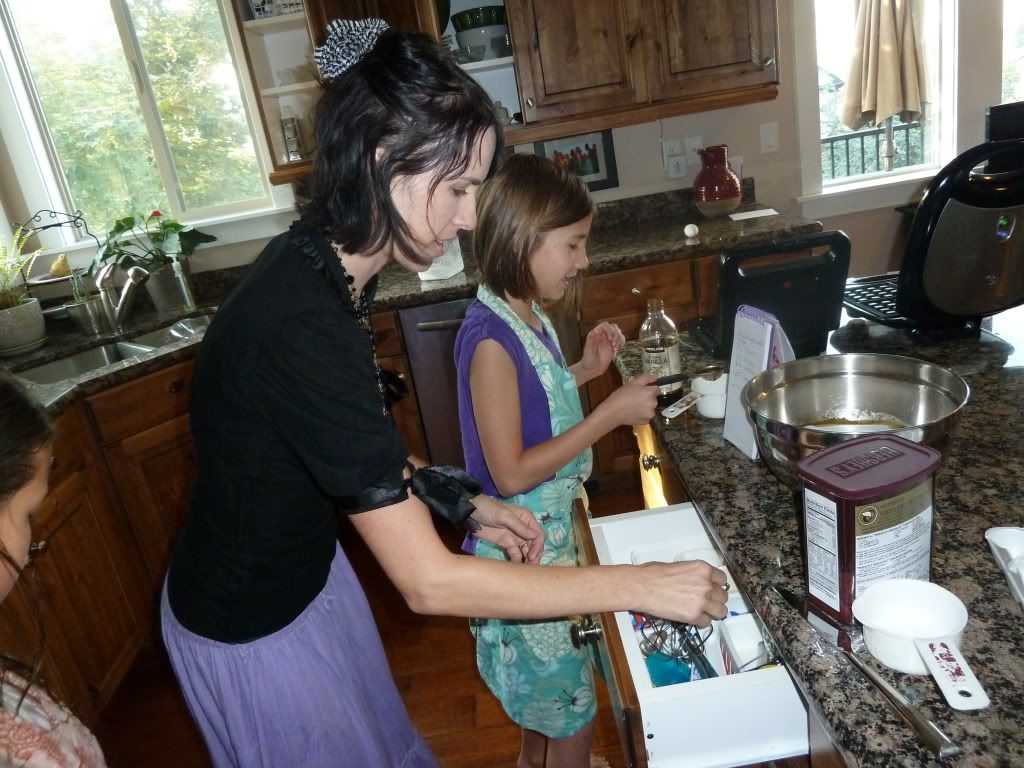
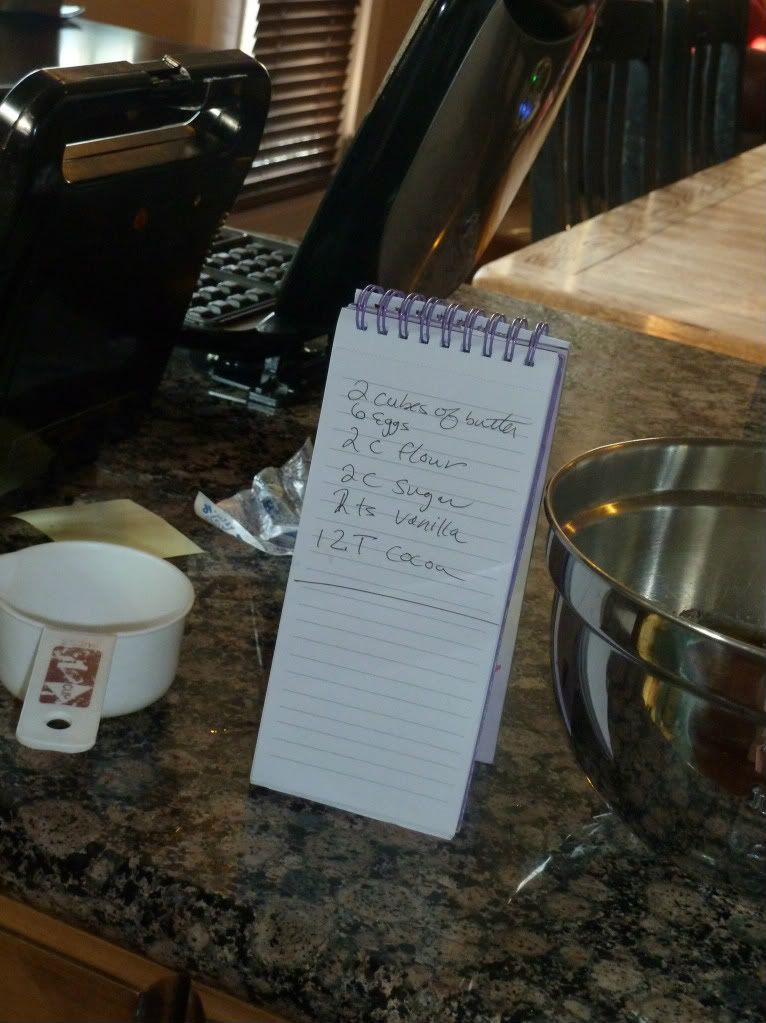
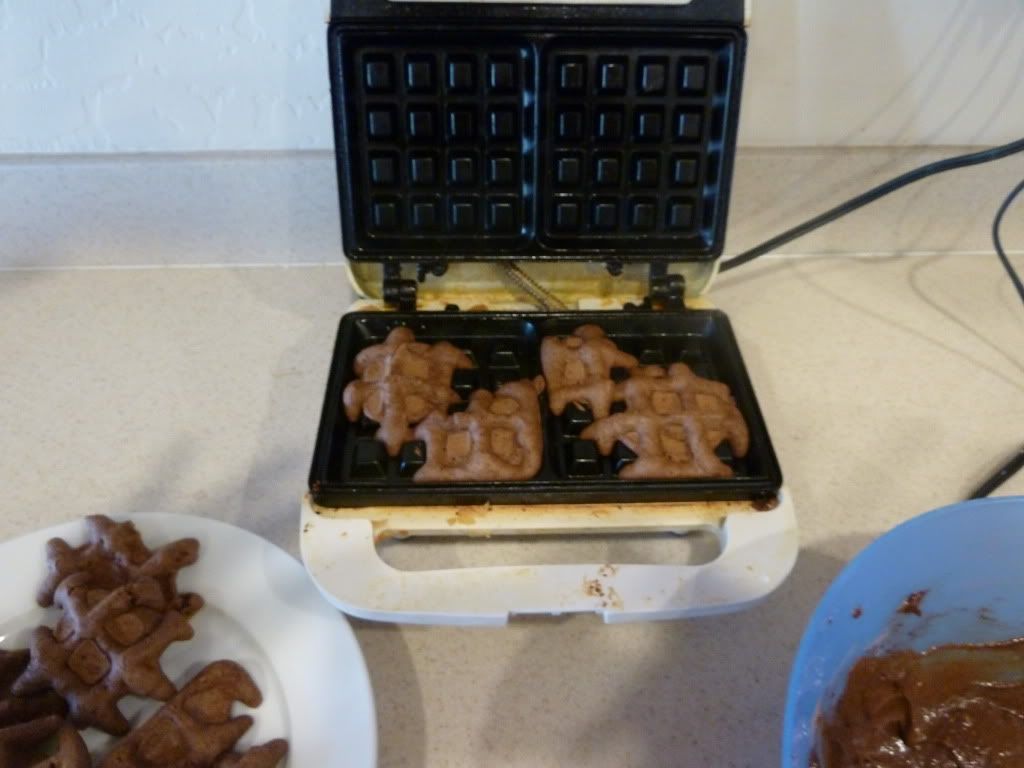
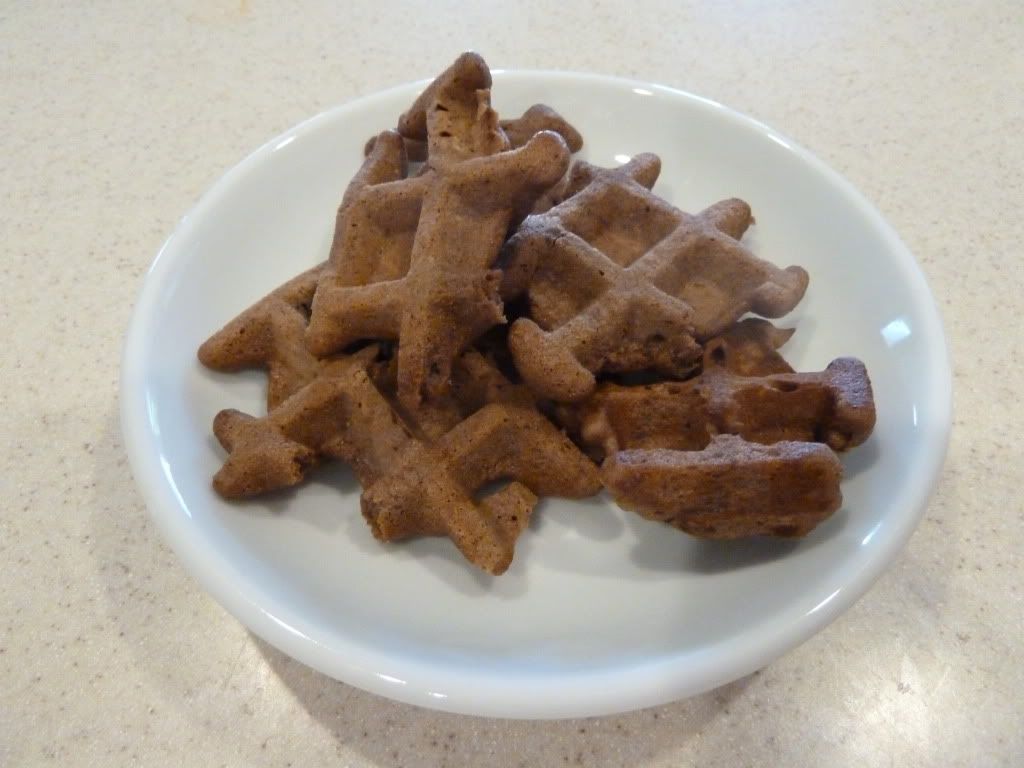
So, with no further ado, I want to share Cassie's Chocolate Turtle Waffle Cookies with you.  This is the dessert she always has on hand.

First mix mix mix.  Then, dallop on a heated waffle iron, close and cook.

Simple!  The best part about this, is my kids can totally make it on their own.  They both get a little nervous about taking things out of the oven, but even my 8 year old can use a waffle iron with no help from mom.


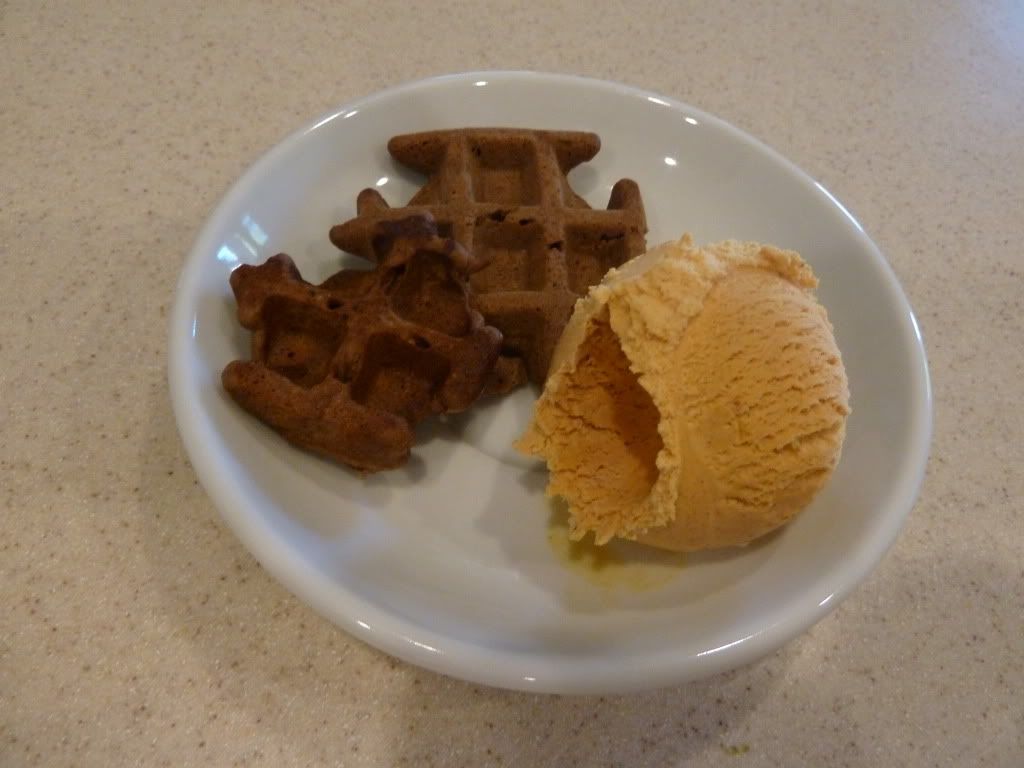
We served them with a little pumpkin ice cream!


I was selected for this sponsorship by the Clever Girls Collective. To learn more about Tervis, visit their website http://www.tervis.com.

linked today at Chef in training, Sugar Bee Crafts, Not just a housewife, Funky Polkadot Giraffe, My World Made by Hand Home Stories A to Z Skip to my Lou