





Photobucket Photobucket Photobucket Photobucket Photobucket Photobucket Photobucket

Sunday, June 24, 2012

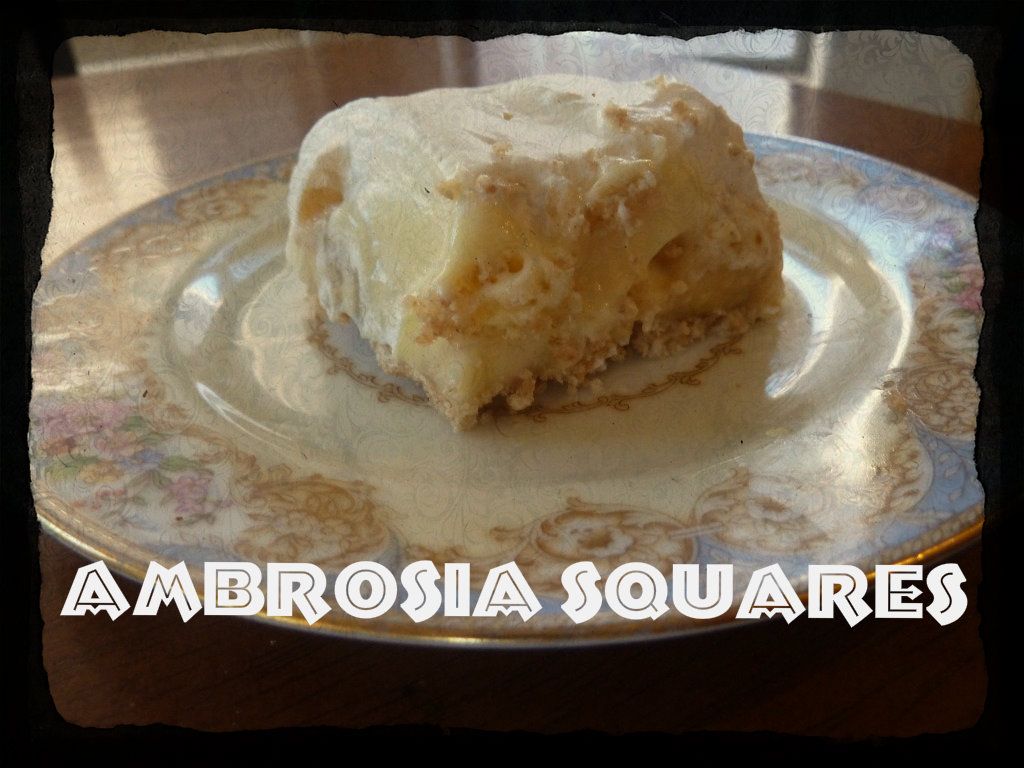
Ambrosia Squares - A cool, no cook dessert

I am so excited to share this delicious dessert today!  I was asked to bring a treat to a church meeting for the ladies the other night, and knew I didn't want to cook.  It is just so dang hot here!  Turning on the oven turns my stomach.  I remembered this young 12 year old girl (who is now getting married!) many years ago telling me this was her favorite dish.  I remembered the basics, and changed it up just a little.  It is so yummy!

Ambrosia Squares
Crust Ingredients:
1 1/2 cups graham cracker crumbs
1/4 cup sugar
1/4 cup melted butter

Filling:
1 8oz. package cream cheese
3 cups milk, divided
1 large (6 serving) package instant vanilla pudding
1 can mandarin oranges (I used peaches instead and they were awesome!) DRAINED and patted dry with a paper towel
3 bananas

Topping:
1 cup whipping cream
1/4 cup powdered sugar
1 tsp vanilla


To prepare crust, mix all ingredients and press into a 9x13 pan
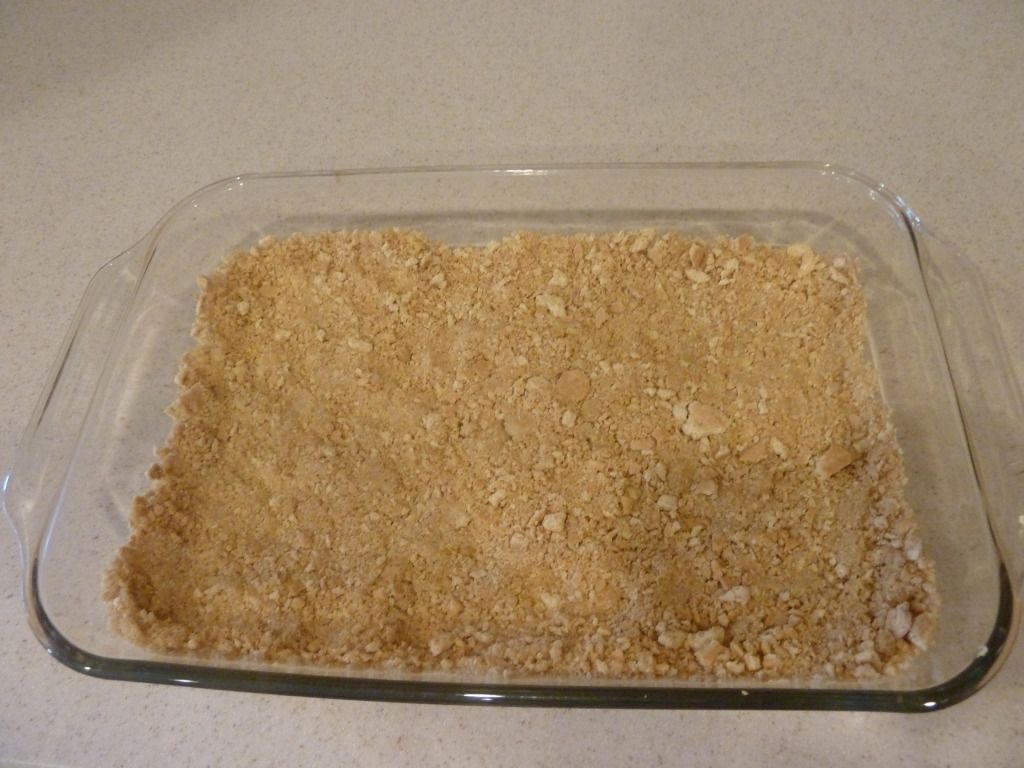
Filling:
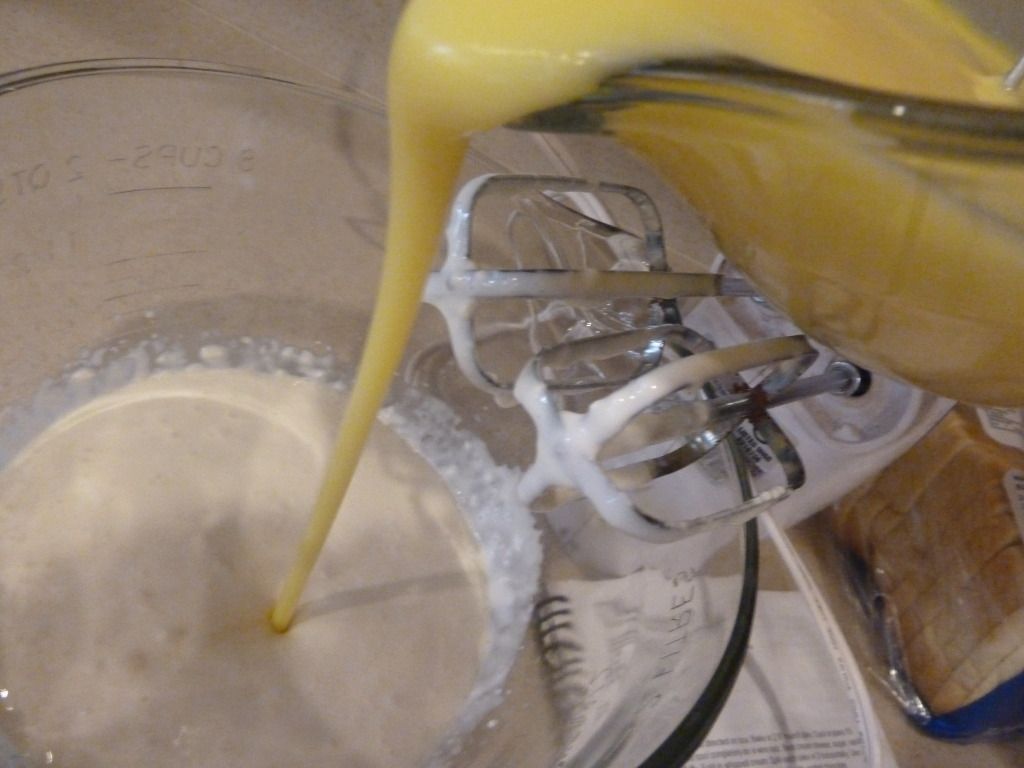
In a mixing bowl, beat the cream cheese.  And 1/2 cup milk gradually while beating.  In a separate bowl, make pudding using remaining milk.  Add pudding to cream cheese and beat together.  Let sit until thick.

Meanwhile, slice the bananas and layer evenly on crust.  When the pudding is thick, fold in the oranges (or peaches.)
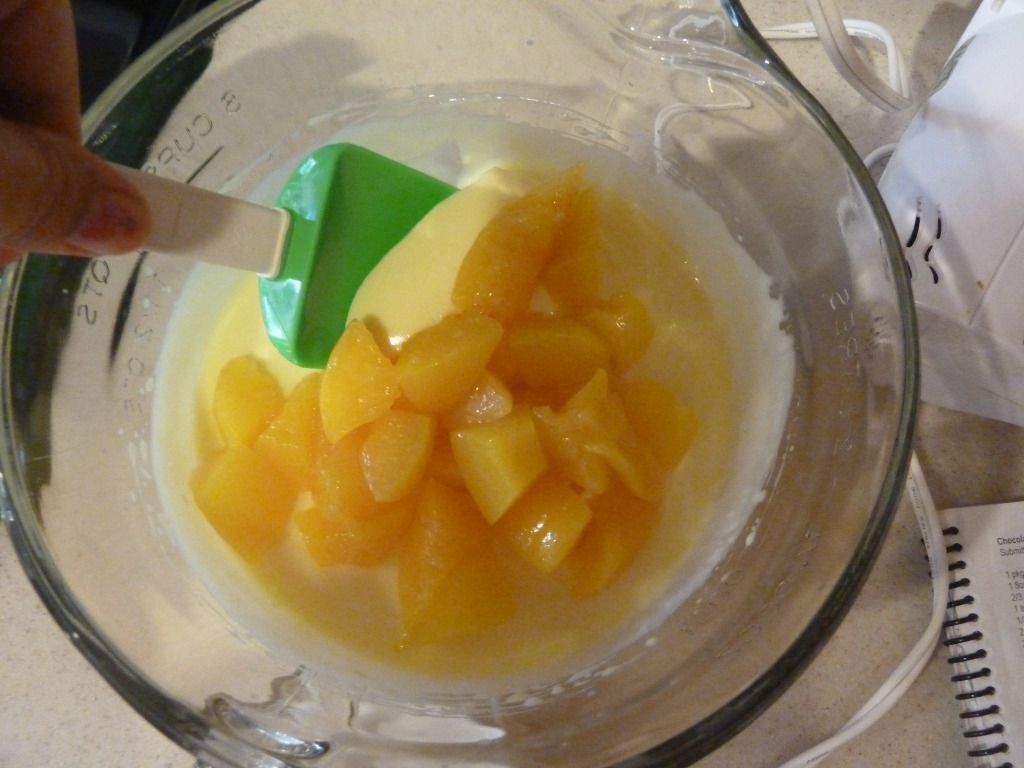

Pour on top of crust.
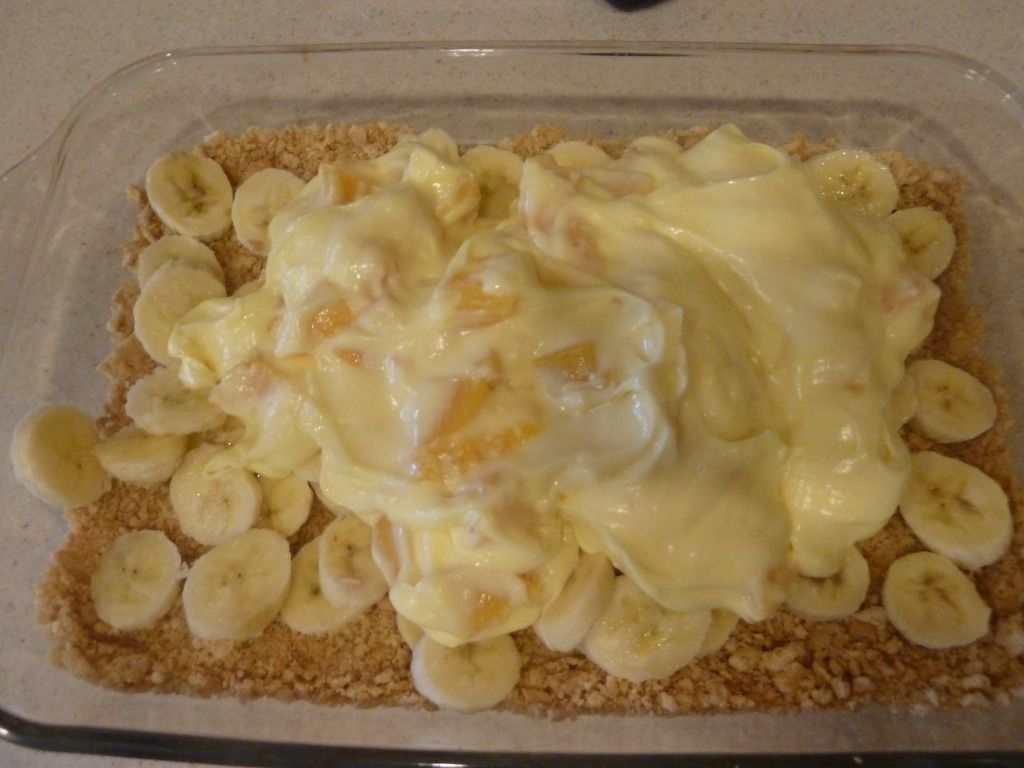
Topping:
Beat whipping cream, powdered sugar and vanilla until stiff peaks form.  Spread on top of pudding.
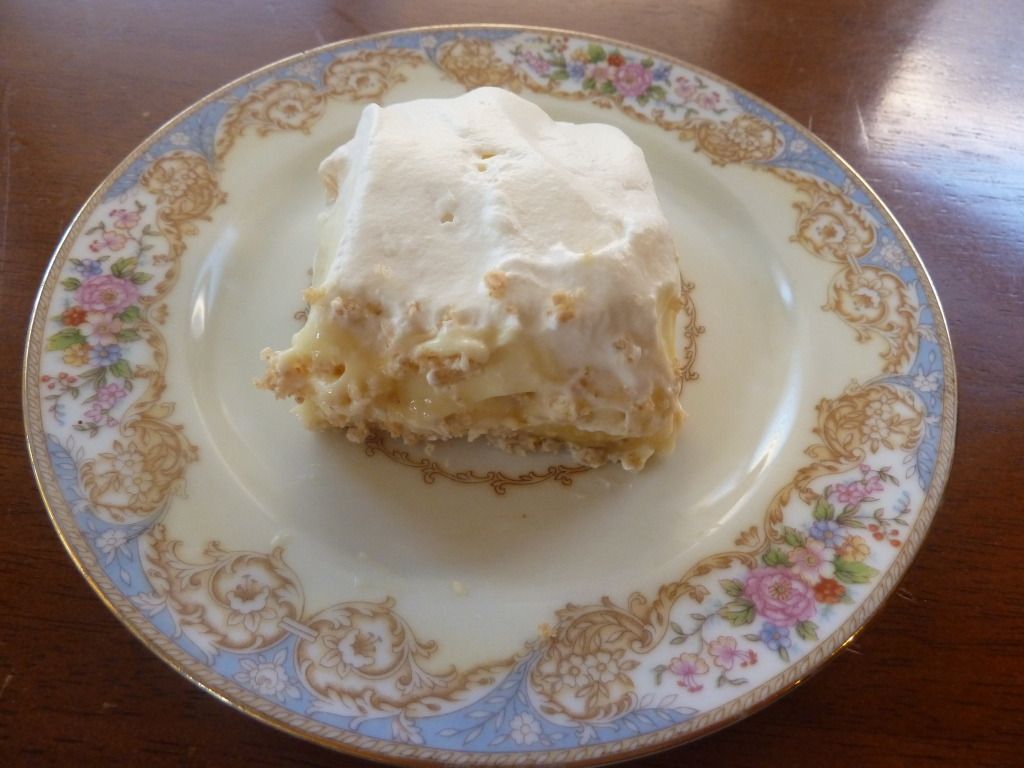


There you go!  A delicious desert to share this summer!

Linked today at:
I heart naptime, Under the table and dreaming, Keeping it simple, Brassy Apple, The Girl Creative, Craft-o-maniac, Lil Luna

Monday, June 18, 2012

4th of July ideas

I wanted to share some fun ideas for the 4th of July.  These are all from last year, back when I blogged over at Turbo Bubble Gum.    Enjoy!

Red, White and Blue Cupcakes

Patriotic Sandals
Flag Shirt


Flag Onesie


Flip Flops

Have fun getting ready for the fourth!

Wednesday, May 30, 2012

Pioneer Trek Part 7: Buzz Saw

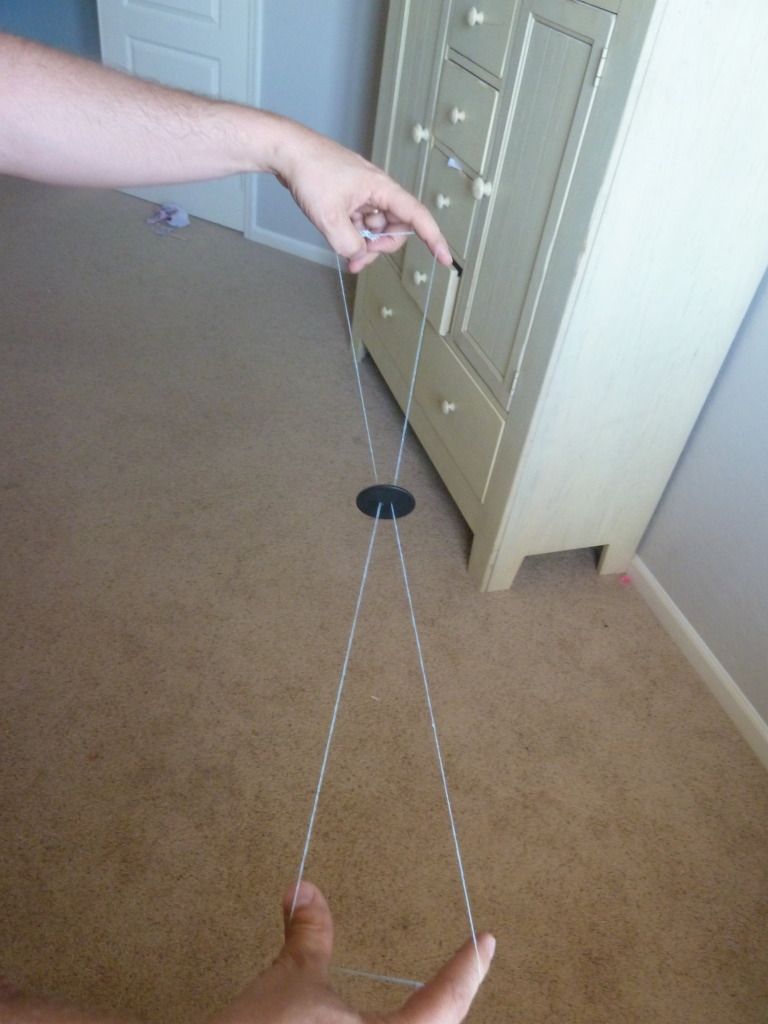
When I saw this simple toy the pioneers made to play along the trail, I thought it would be a perfect thing to mess around with during our get-to-know-you time.

Buzz Saw
Items needed:
Large Button
String (I used embroidery floss because it's what I had around the house)

Simply thread the string through the button and tie in a knot.  It will look like this:
To play, just twist twist twist.  Try to keep it going as long as you can.  Here is a video of my hubby doing it.


So easy!  And seriously keeps those kids busy for a while!  Give it a try!

Trek part 6: Leather Cuff Bracelets

Last night I was dropping off some music at a friends house, and she showed me these cute bracelets she made for her Trek kids.  I was giddy.  She gave me supplies to make my own and I am excited to show you!

For more information on why we are going to Trek, click here.  You can also see tutorials on bonnets, pioneer shirts, padded buckets, and personalized chap stick.


I guess the reason I was so excited to make these is because not only are they rustic and fun, but they have a spiritual thought on them.  My friend Britt chose a scripture reference to put on hers.  But I have had this verse of "How Firm a Foundation" in my mind for weeks as I have thought about the trek.  Fear not, I am with thee.  I plan on using it as a teaching moment tonight (our FIRST NIGHT!!!) I really want these kids to remember that God is with us in our trials!  This will be hard, but with his help, all is possible.

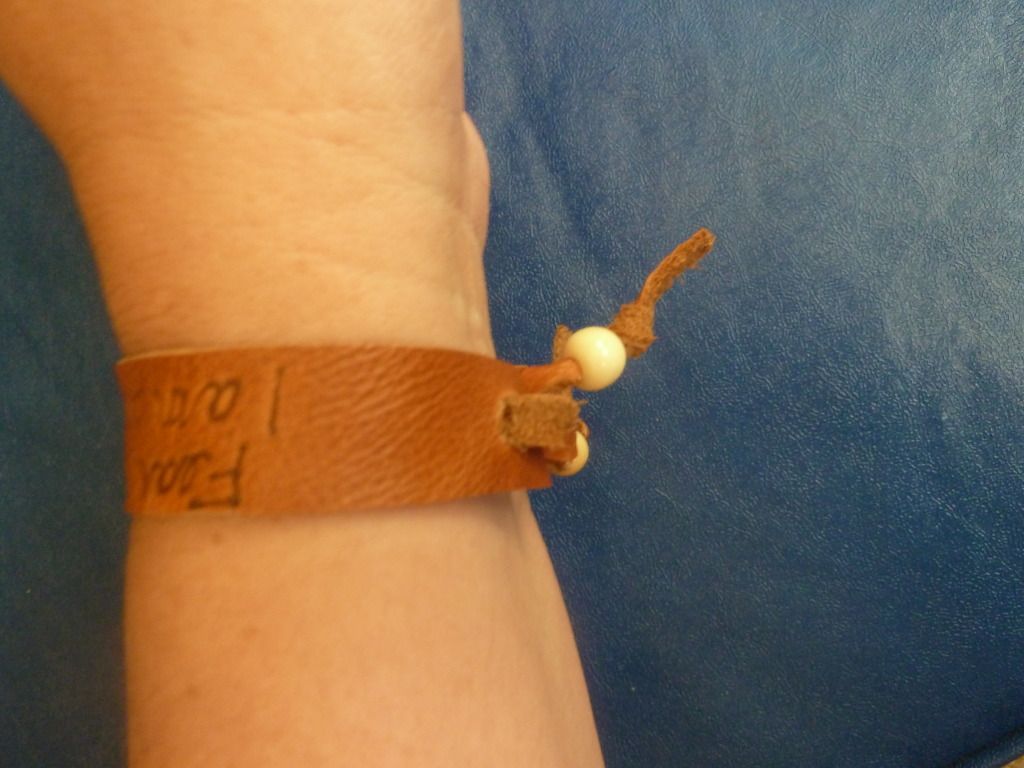
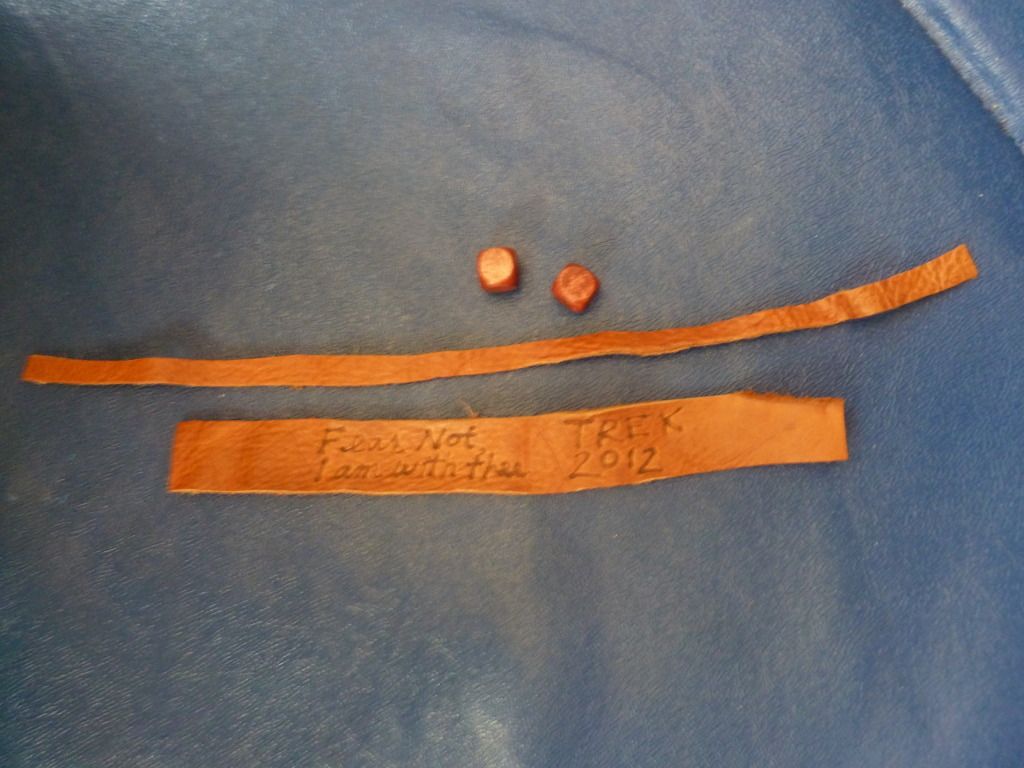
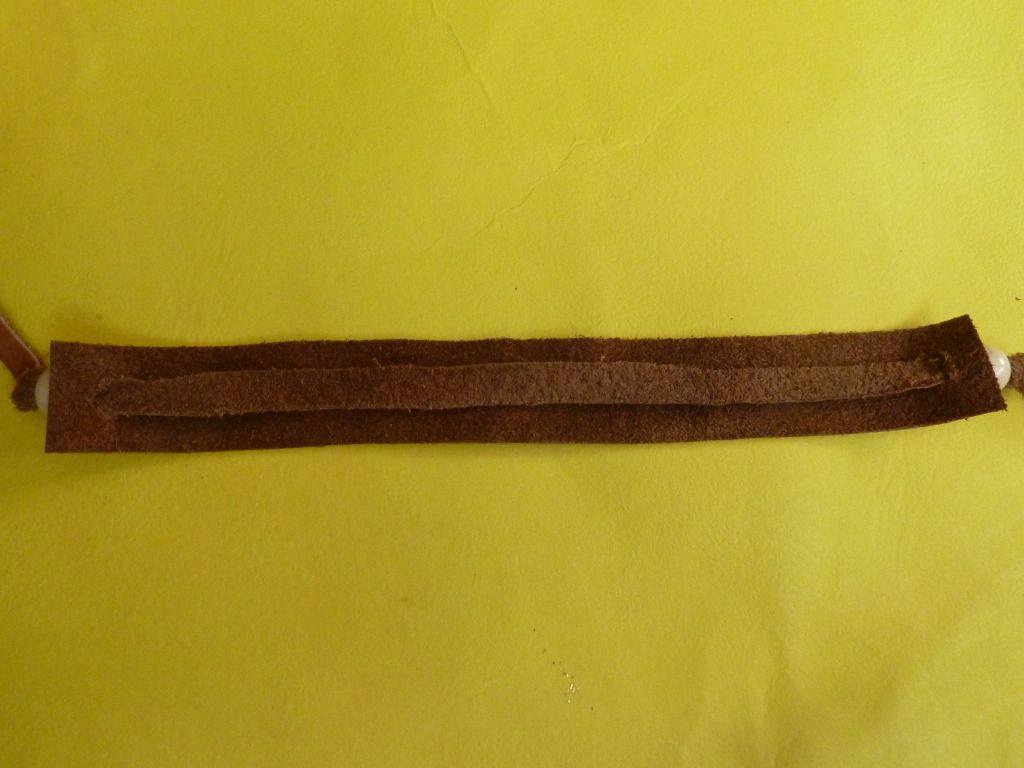
To make, we used some leather scraps.  The thicker one is 6 inches by 3/4 inch.  The thin piece is 10 inches long, and really thin.  We also used a couple of wooden beads.

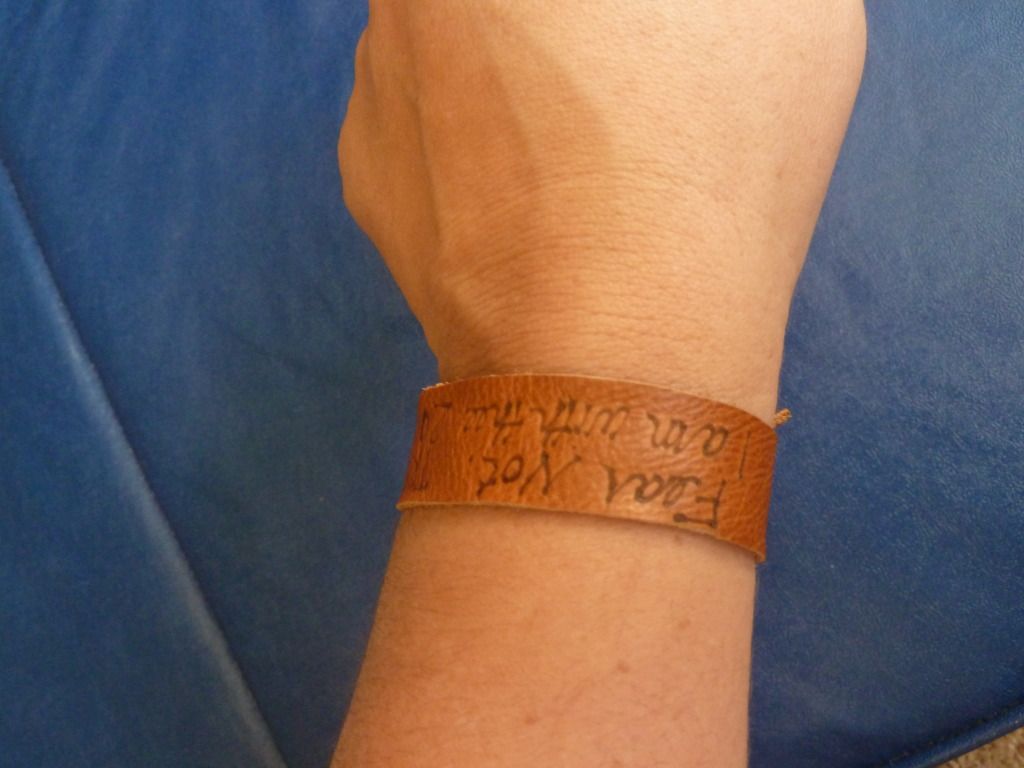
Before I put these together, I used a little tool Britt loaned me that burns on leather.  I think a thin Sharpie would work, too.  Mine says, "Fear not I am with thee Trek 2012"

Punch 2 holes, one on each side of the thicker piece of leather.  Poke the skinny piece through, add bead and tie knot.  We used a hammer and nail to punch the hole.

Front
back

These would be awesome to make for girls camp or a family reunion, too.

Trek Part 5: Personalized chapstick

Did you all know that packing tape is the same size as the chapstick container?  This makes personalizing it a cinch!
I simply googled Orange Paisley Bandana and found a background picture.  Went into Picmonkey and added text.  I made some for my friend, too, using a googled image of parchment.

I pasted a bunch of my finished photo onto a word doc and hit print.

Cut out, taped on.


I do think they would be a bit cuter if you took off the factory sealed top, but I decided to leave it on, anyway.  Now we have chapstick to give to all our kids on Trek!

Sunday, May 27, 2012

Visit Newport Beach, CA

This is a Sponsored post written by me on behalf of Newport Beach for SocialSpark. All opinions are 100% mine.

We LOVE visiting California.  I was born and raised in LA, but when we go back it's the coastal areas we want to visit.  In Novemeber we visited Newport Beach with some great friends of ours.  They came from Oregon, and us from AZ.  It was a good place to meet up.  

.

Visiting Newport Beach will exceed your expectations.  It's the chic big city of Los Angeles meets laid-back beach town.  And the perfect place for families.

One visit to the Newport Beach websiteand you will have your bags packed and your family in the car.  This website helps you plan your entire vacation.  Where to go, what to do, where to stay, where to eat.  Everything. You can even make hotel reservations and find city information.

Two years ago when we visited Newport Beach, we visited the LDS temple which is so beautiful, then headed over to see some tide pools.  It was amazing!  

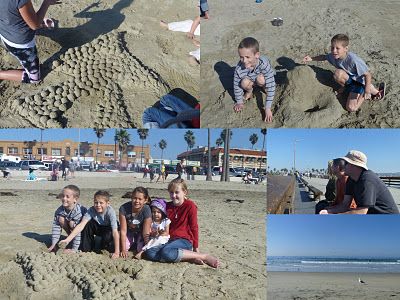
Last year, it was Novemeber and we weren't sure of the weather.  So we headed over and simply played in the sand.  You can see the Christmas tree the girls made and the toilet the boys made.  haha!

Have you heard of the Hyatt Regency Newport Beach Hotel? The Hyatt Regency Newport Beach Hotel has a special promotion right now.  Buy one room at full price, receive a connecting room for kids 18 and under at 50% off!  

Sounds like heaven, right?

Here is a short video you will love.  Like you need more persuading to get you there?

So are you excited to visit Newport Beach yet?  What would you do with your family?  Surfing lessons?  Shopping?  There are even summer camps for your kids!


Do you NEED this vacation?  What would you do when you got there?

Visit Sponsor's Site

Wednesday, May 23, 2012

More Teacher Clocks!

Last year, I made these clocks for a teacher's end of the year gift.  They were a hit!  I had random teachers in the hall saying they wanted my kids in their class.  lol!  So I made a few more this year, and thought I would share the designs with you, as well as a tutorial update.

For the tutorial, click here.

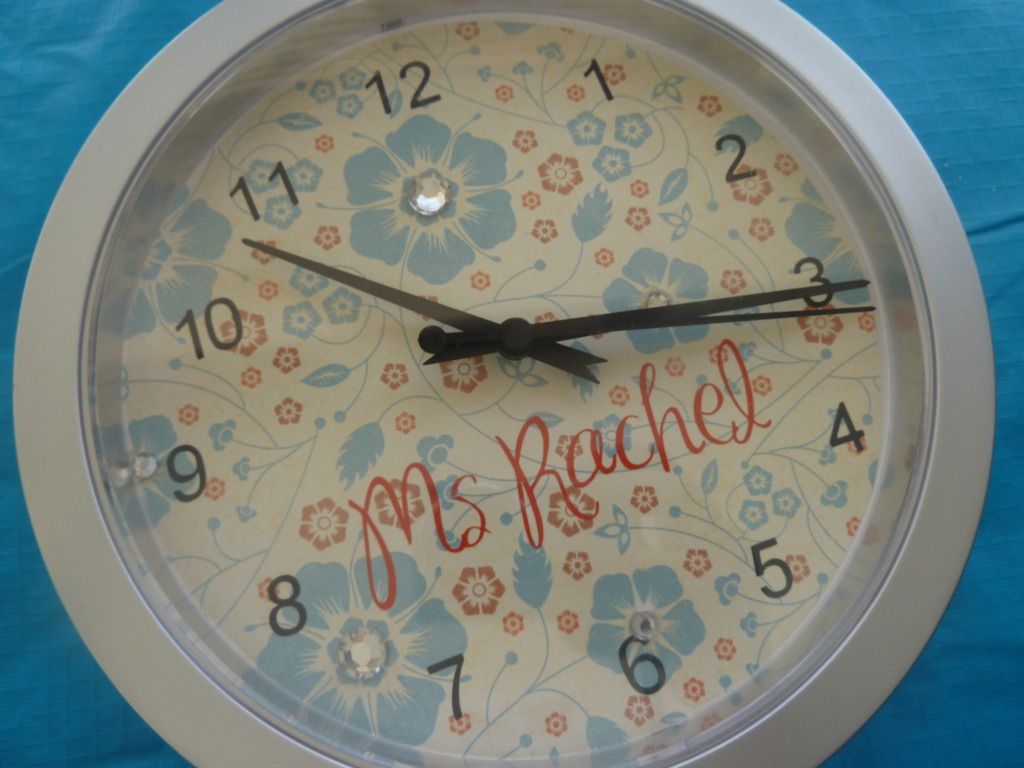
This one was simple.  The easiest, yet my favorite!  Just some quick bling in the center of the flowers.

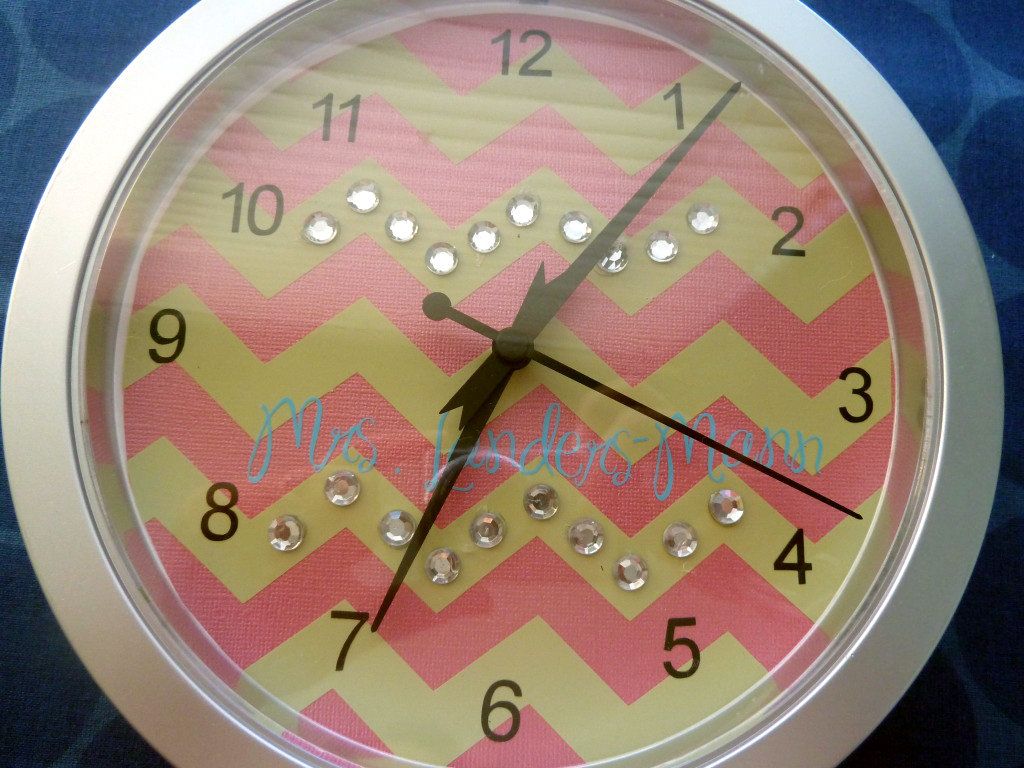
This chevron was fun.  Pink paper, with green vinyl.

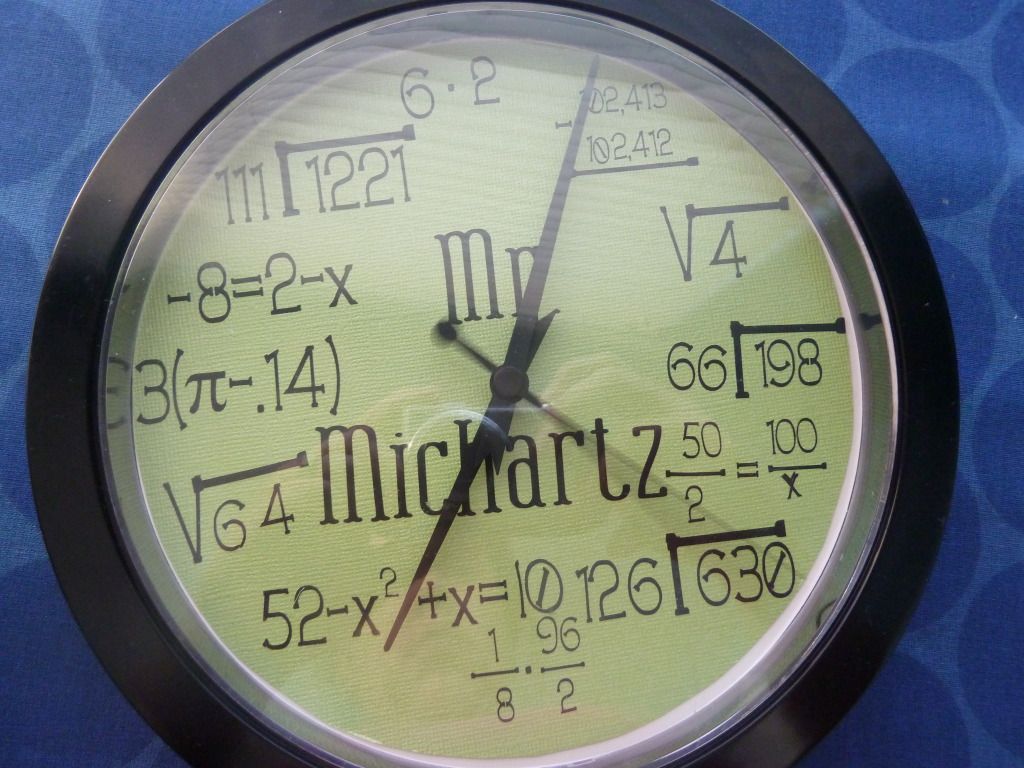
The Math Nerd clock.  Definitely the hardest to make.  All those little pieces of vinyl.  It looks a little "off" in this picture, but it's pretty well spaced and even.

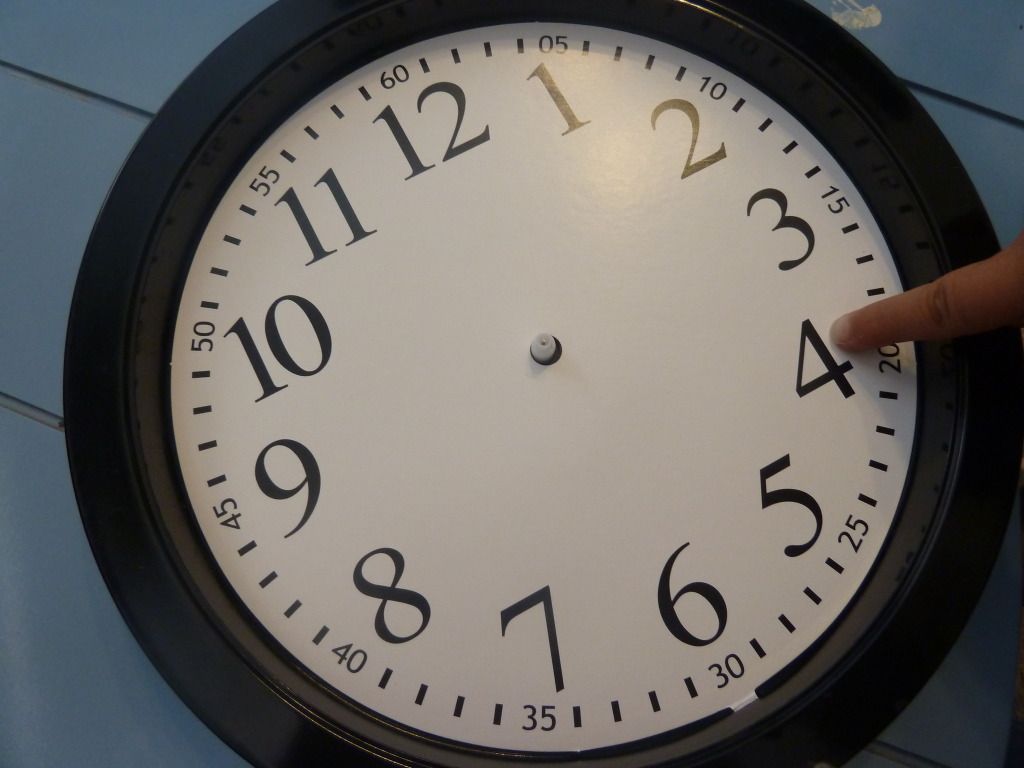
As for the tutorial update, I found that if you simply pull off the hands of the clock, it's so much easier to glue on the paper.

Just be careful to not bend the hands.  Pull from the middle and be SO gentle.

So, which one is your favorite?

Linked today at:  Home Stories A to Z, Junk in their Trunk, Creations by Kara, A Little Tipsy, Lil Luna, Ginger Snap, DIY by Design, Uncommonly Yours, The DIY Dreamer, Tater Tots and Jello, Lolly Jane